| Ligne 2 : | Ligne 2 : | ||
|Main_Picture=How_to_Make_Your_Own_Easter_Egg_easteregg.jpeg | |Main_Picture=How_to_Make_Your_Own_Easter_Egg_easteregg.jpeg | ||
|Licences=Attribution (CC BY) | |Licences=Attribution (CC BY) | ||
| − | |Description=Find out how to make your own chocolate egg this Easter! | + | |Description=<translate>Find out how to make your own chocolate egg this Easter!</translate> |
|Area=Art, Food and Agriculture | |Area=Art, Food and Agriculture | ||
|Type=Creation | |Type=Creation | ||
| Ligne 16 : | Ligne 16 : | ||
}} | }} | ||
{{ {{tntn|Introduction}} | {{ {{tntn|Introduction}} | ||
| − | |Introduction= | + | |Introduction=<translate></translate> |
}} | }} | ||
{{ {{tntn|Materials}} | {{ {{tntn|Materials}} | ||
|Step_Picture_00=How_to_Make_Your_Own_Easter_Egg_chocolate.jpeg | |Step_Picture_00=How_to_Make_Your_Own_Easter_Egg_chocolate.jpeg | ||
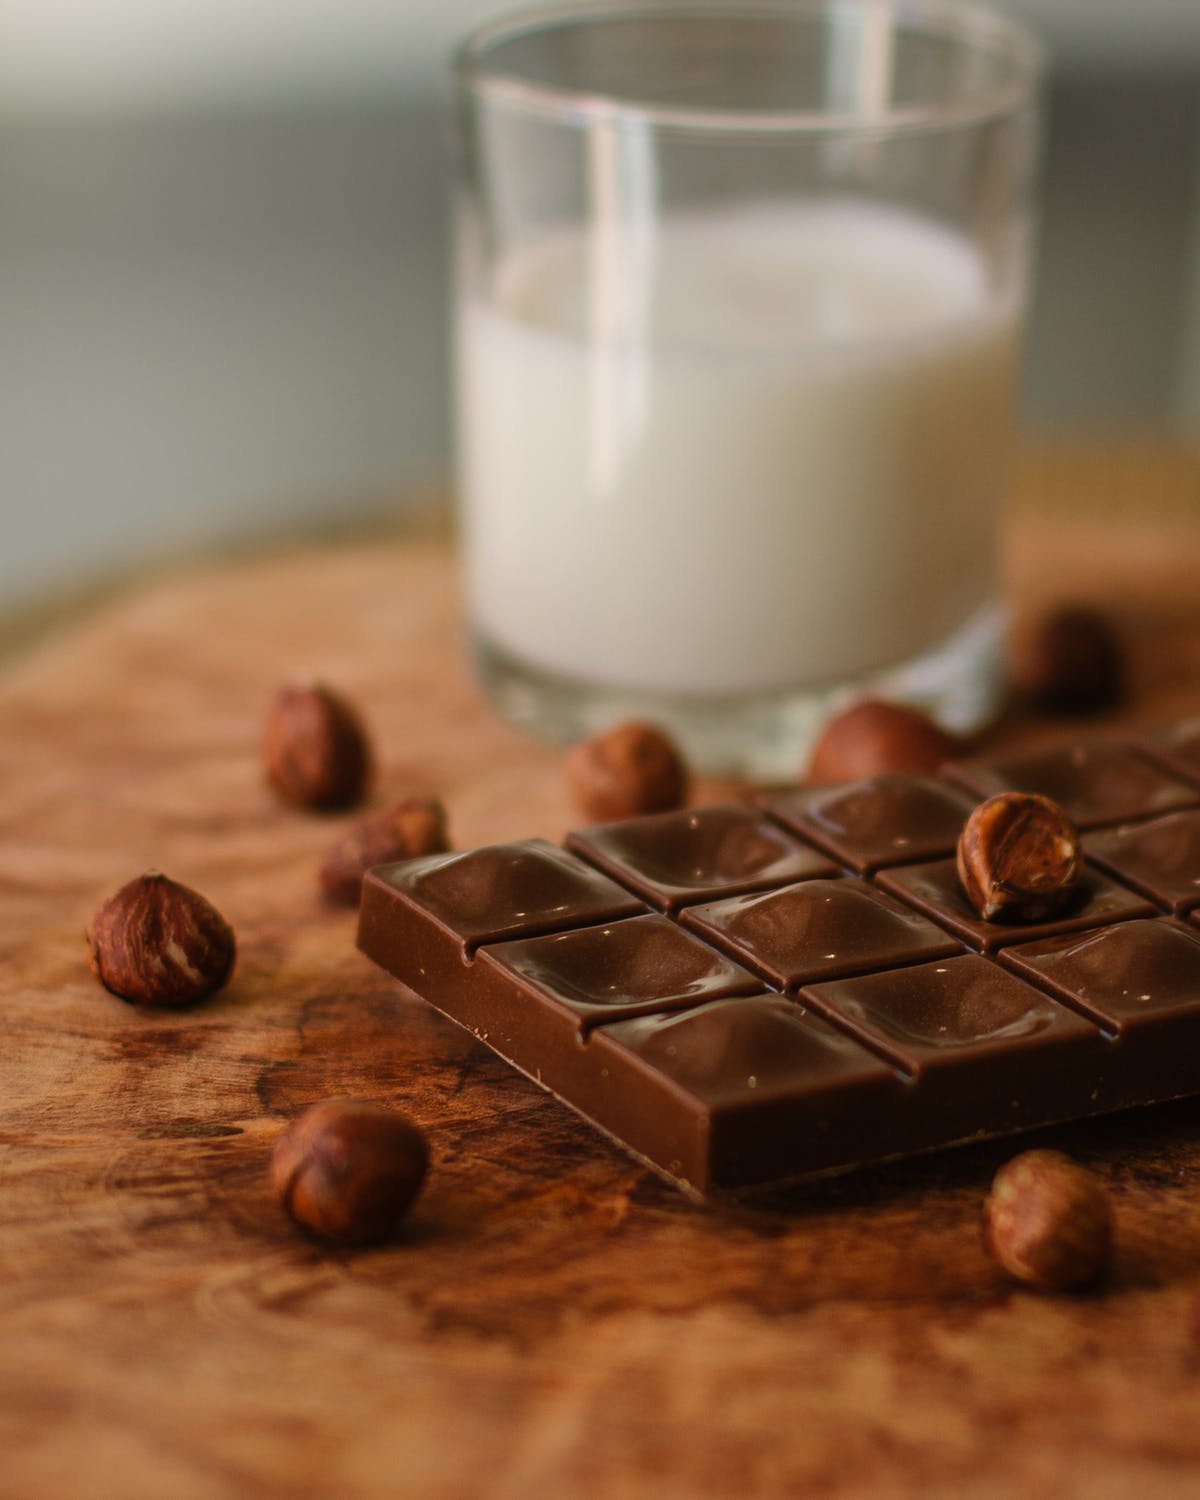
| − | |Material=* Cooking Chocolate | + | |Material=<translate>* Cooking Chocolate |
| − | * Decorations of your choice | + | * Decorations of your choice</translate> |
| − | |Tools=* An Easter Egg mould | + | |Tools=<translate>* An Easter Egg mould |
* A Pan for Boiling Water in | * A Pan for Boiling Water in | ||
* A Ceramic or Glass Bowl | * A Ceramic or Glass Bowl | ||
* A Spoon | * A Spoon | ||
| − | * A Fun Attitude | + | * A Fun Attitude</translate> |
}} | }} | ||
{{ {{tntn|Separator}}}} | {{ {{tntn|Separator}}}} | ||
{{ {{tntn|Tuto Step}} | {{ {{tntn|Tuto Step}} | ||
| − | |Step_Title=Melting the Chocolate | + | |Step_Title=<translate>Melting the Chocolate</translate> |
| − | |Step_Content=This is one of the best bis of crafting your Easter egg! Make sure that you have invested in some high quality and luxurious cooking chocolate before beginning! | + | |Step_Content=<translate>This is one of the best bis of crafting your Easter egg! Make sure that you have invested in some high quality and luxurious cooking chocolate before beginning! |
| − | Pour some water into a pan and bring to the boil. Meanwhile, make sure that your chocolate is cut up into small chunks ready to melt. Once the water is boiling, balance a ceramic bowl on top of the pan and add your chocolate chunks to it. Keep stirring the chocolate as it melts. Yum! | + | Pour some water into a pan and bring to the boil. Meanwhile, make sure that your chocolate is cut up into small chunks ready to melt. Once the water is boiling, balance a ceramic bowl on top of the pan and add your chocolate chunks to it. Keep stirring the chocolate as it melts. Yum!</translate> |
|Step_Picture_00=How_to_Make_Your_Own_Easter_Egg_chocmelt.jpg | |Step_Picture_00=How_to_Make_Your_Own_Easter_Egg_chocmelt.jpg | ||
}} | }} | ||
{{ {{tntn|Tuto Step}} | {{ {{tntn|Tuto Step}} | ||
| − | |Step_Title=Making the Shape | + | |Step_Title=<translate>Making the Shape</translate> |
| − | |Step_Content=Once the chocolate has fully melted (there shouldn’t be any lumps), you can start to spread it evenly into your mould. Naturally, the chocolate will gather in the bottom of the egg shape, so try to make sure you pour it around the edges as well. As the chocolate begins to melt, you can flip the mould the other way to ensure that the chocolate falls evenly around the edges as well. Repeat this with both sides of the egg. | + | |Step_Content=<translate>Once the chocolate has fully melted (there shouldn’t be any lumps), you can start to spread it evenly into your mould. Naturally, the chocolate will gather in the bottom of the egg shape, so try to make sure you pour it around the edges as well. As the chocolate begins to melt, you can flip the mould the other way to ensure that the chocolate falls evenly around the edges as well. Repeat this with both sides of the egg.</translate> |
}} | }} | ||
{{ {{tntn|Tuto Step}} | {{ {{tntn|Tuto Step}} | ||
| − | |Step_Title=Letting it Set | + | |Step_Title=<translate>Letting it Set</translate> |
| − | |Step_Content=Once you are happy that the chocolate is evenly spread, you can place your agg in the fridge so that it properly sets. This should only take about an hour. | + | |Step_Content=<translate>Once you are happy that the chocolate is evenly spread, you can place your agg in the fridge so that it properly sets. This should only take about an hour.</translate> |
}} | }} | ||
{{ {{tntn|Tuto Step}} | {{ {{tntn|Tuto Step}} | ||
| − | |Step_Title=Sticking the Two Halves Together | + | |Step_Title=<translate>Sticking the Two Halves Together</translate> |
| − | |Step_Content=Take the two halves out of the fridge and gently take them out of the egg mould. To stick the two sides of your egg together you will need to gently heat a tray in the oven. Once the tray is hot you can get it out and gently place the two sides that you want to stick together onto the tray in order to melt them slightly. The two halves can now be pressed together! | + | |Step_Content=<translate>Take the two halves out of the fridge and gently take them out of the egg mould. To stick the two sides of your egg together you will need to gently heat a tray in the oven. Once the tray is hot you can get it out and gently place the two sides that you want to stick together onto the tray in order to melt them slightly. The two halves can now be pressed together!</translate> |
}} | }} | ||
{{ {{tntn|Tuto Step}} | {{ {{tntn|Tuto Step}} | ||
| − | |Step_Title=Decorating Your Egg | + | |Step_Title=<translate>Decorating Your Egg</translate> |
| − | |Step_Content=Now for the decorations! Whether you want to get some edible paint, glitter or stick on decorations, make sure that you get creative and have fun while making your egg look lovely and original! Sticking chocolate buttons and decorations to your egg will make it look as good as it will taste! | + | |Step_Content=<translate>Now for the decorations! Whether you want to get some edible paint, glitter or stick on decorations, make sure that you get creative and have fun while making your egg look lovely and original! Sticking chocolate buttons and decorations to your egg will make it look as good as it will taste!</translate> |
|Step_Picture_00=How_to_Make_Your_Own_Easter_Egg_eggdecorating.jpeg | |Step_Picture_00=How_to_Make_Your_Own_Easter_Egg_eggdecorating.jpeg | ||
}} | }} | ||
{{ {{tntn|Tuto Step}} | {{ {{tntn|Tuto Step}} | ||
| − | |Step_Title=Eat Your Egg | + | |Step_Title=<translate>Eat Your Egg</translate> |
| − | |Step_Content=Now for the best part: eating your Easter egg! Make sure that you really savour the egg that you have made! You can even give your egg to a friend or family member as a present! | + | |Step_Content=<translate>Now for the best part: eating your Easter egg! Make sure that you really savour the egg that you have made! You can even give your egg to a friend or family member as a present!</translate> |
|Step_Picture_00=How_to_Make_Your_Own_Easter_Egg_choc_easter.jpeg | |Step_Picture_00=How_to_Make_Your_Own_Easter_Egg_choc_easter.jpeg | ||
}} | }} | ||
{{ {{tntn|Notes}} | {{ {{tntn|Notes}} | ||
| − | |Notes=Making Easter eggs is a really fun and entertaining thing to do at Easter time and it can be enjoyed both on your own or as a group as well. So if you want to do something a little bit different this Easter then this may well be the activity for you! I know i’ll be making one! | + | |Notes=<translate>Making Easter eggs is a really fun and entertaining thing to do at Easter time and it can be enjoyed both on your own or as a group as well. So if you want to do something a little bit different this Easter then this may well be the activity for you! I know i’ll be making one!</translate> |
}} | }} | ||
{{ {{tntn|Tuto Status}} | {{ {{tntn|Tuto Status}} | ||
| − | |Complete= | + | |Complete=Published |
}} | }} | ||
Version du 16 avril 2019 à 11:29
Étape 1 - Melting the Chocolate
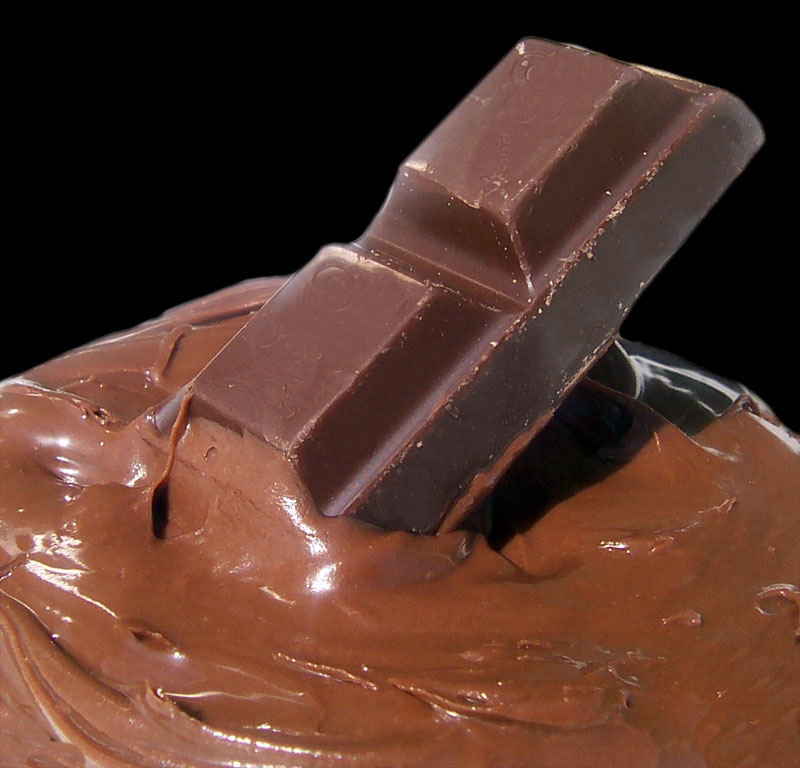
This is one of the best bis of crafting your Easter egg! Make sure that you have invested in some high quality and luxurious cooking chocolate before beginning!
Pour some water into a pan and bring to the boil. Meanwhile, make sure that your chocolate is cut up into small chunks ready to melt. Once the water is boiling, balance a ceramic bowl on top of the pan and add your chocolate chunks to it. Keep stirring the chocolate as it melts. Yum!
Étape 2 - Making the Shape
Once the chocolate has fully melted (there shouldn’t be any lumps), you can start to spread it evenly into your mould. Naturally, the chocolate will gather in the bottom of the egg shape, so try to make sure you pour it around the edges as well. As the chocolate begins to melt, you can flip the mould the other way to ensure that the chocolate falls evenly around the edges as well. Repeat this with both sides of the egg.
Étape 3 - Letting it Set
Once you are happy that the chocolate is evenly spread, you can place your agg in the fridge so that it properly sets. This should only take about an hour.
Étape 4 - Sticking the Two Halves Together
Take the two halves out of the fridge and gently take them out of the egg mould. To stick the two sides of your egg together you will need to gently heat a tray in the oven. Once the tray is hot you can get it out and gently place the two sides that you want to stick together onto the tray in order to melt them slightly. The two halves can now be pressed together!
Étape 5 - Decorating Your Egg
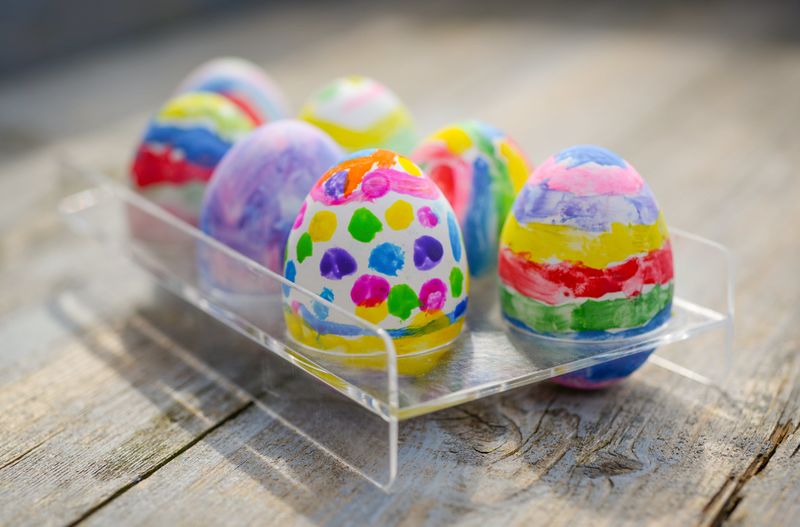
Now for the decorations! Whether you want to get some edible paint, glitter or stick on decorations, make sure that you get creative and have fun while making your egg look lovely and original! Sticking chocolate buttons and decorations to your egg will make it look as good as it will taste!
Étape 6 - Eat Your Egg
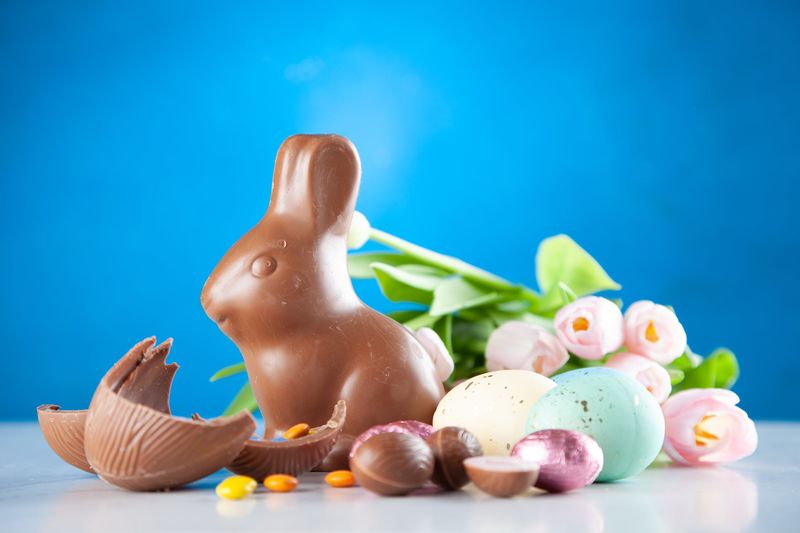
Now for the best part: eating your Easter egg! Make sure that you really savour the egg that you have made! You can even give your egg to a friend or family member as a present!
Notes et références
Making Easter eggs is a really fun and entertaining thing to do at Easter time and it can be enjoyed both on your own or as a group as well. So if you want to do something a little bit different this Easter then this may well be the activity for you! I know i’ll be making one!
Published
 Français
 English
 Deutsch
 Español
 Italiano
 Português