| Ligne 56 : | Ligne 56 : | ||
}} | }} | ||
{{ {{tntn|Tuto Step}} | {{ {{tntn|Tuto Step}} | ||
| − | |Step_Title= | + | |Step_Title=Remarque importante à propos de l'alimentation |
|Step_Content=Dans votre conception, gardez l'alimentation et le LilyPad proche l'un de l'autre. S'ils sont trop loin, vous pouvez avoir des problèmes avec le LilyPad qui redémarre, ou qui ne marche pas du tout. | |Step_Content=Dans votre conception, gardez l'alimentation et le LilyPad proche l'un de l'autre. S'ils sont trop loin, vous pouvez avoir des problèmes avec le LilyPad qui redémarre, ou qui ne marche pas du tout. | ||
Version du 19 juin 2018 à 16:53
Sommaire
- 1 Étape 1 - Conception
- 2 Étape 2 - Remarque importante à propos de l'alimentation
- 3 Étape 3 - Transférez le schéma sur le vêtement
- 4 Étape 4 - Préparation avant de coudre
- 5 Étape 5 - Cousez la batterie et le LilyPad à votre veste
- 6 Étape 6 - Coudre le pétale + de votre LilyPad
- 7 Étape 7 - Mettez de la colle à vêtement sur chacun de vos nœuds
- 8 Étape 8 - Testez votre couture
- 9 Étape 9 - Cousez les clignotants en LEDs
- 10 Étape 10 - Testez les clignotants
- 11 Étape 11 - Placez vos boutons de contrôle
- 12 Étape 12 - Cousez les boutons
- 13 Étape 13 - Cousez un simple LED sur la manche de chaque bras
- 14 Étape 14 - Programmez votre veste
- 15 Étape 15 - Allez Pédaler
- 16 Commentaires
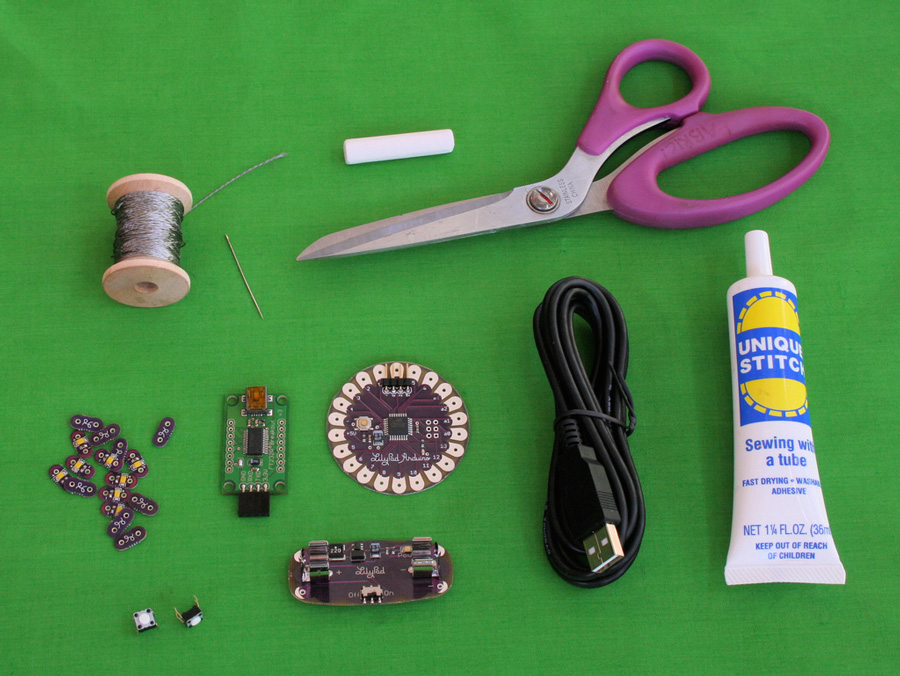
Matériaux
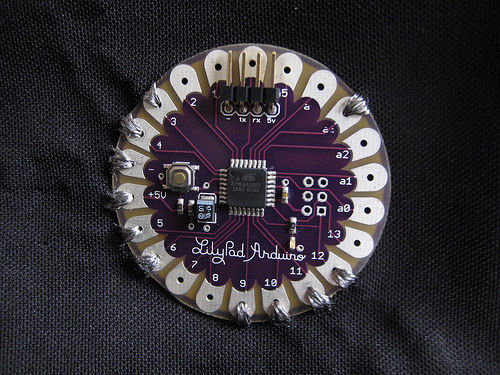
- LilyPad Arduino main board
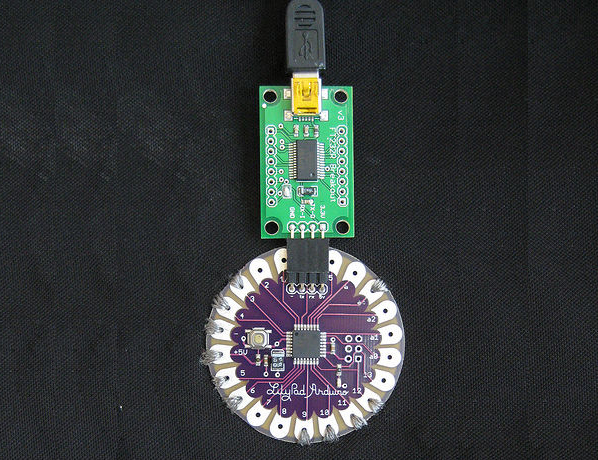
- FTDI connector
- mini cable USB
- LilyPad power supply
- LilyPad LEDs
- 2 push button switches
- a spool of 4-ply conductive thread
- un vêtement ou un morceau de tissu
-
Outils
- un multimètre digital, avec un test de continuité avec biper
- une ou deux aiguilles
- un marquer ou une craie
- peinture
- de la colle pour vêtements
- un mètre
- une paire de ciseaux
- scotch double face (optionnel)
- une machine à coudre (optionnel)
Étape 1 - Conception
Dessiner le design et le circuit électrique de la veste
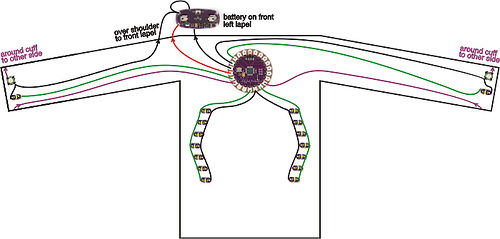
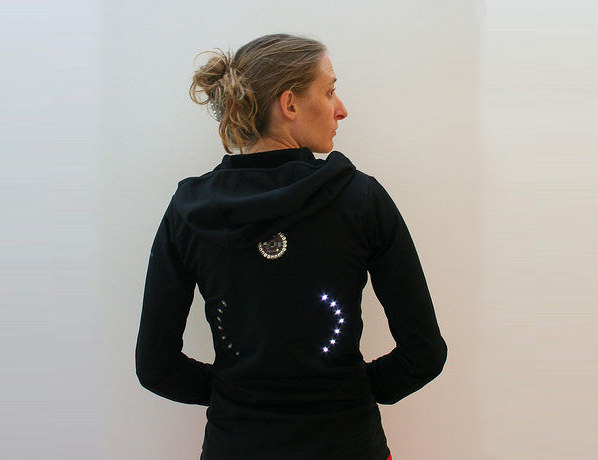
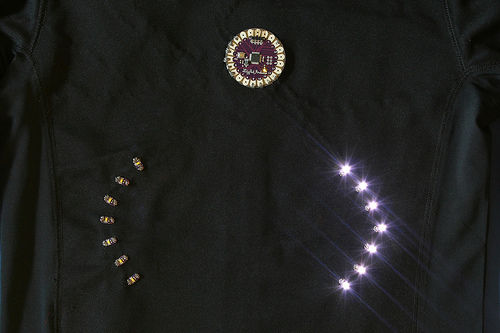
Choisir où placer les différents composants. Repérer comment les coudre ensemble, en évitant au maximum que les fils conducteurs se croissent. Faites un schéma pour pouvoir vous y référer pendant votre travail. Voici le schéma utilisé pour ma veste. Le point de couture pour l'alimentation (+) est en rouge, la prise terre (-) en noir, les LEDs en vert et les boutons en violet.
Étape 2 - Remarque importante à propos de l'alimentation
Dans votre conception, gardez l'alimentation et le LilyPad proche l'un de l'autre. S'ils sont trop loin, vous pouvez avoir des problèmes avec le LilyPad qui redémarre, ou qui ne marche pas du tout.
Pourquoi ? LEs fils conducteurs ont une résistance non négligeable. (Le fil de SparkFun qui va avec le LilyPad a une resistance de 14 ohms pour 30 cm environ.) Selon les modules que vous utilisez, LilyPad peux consommer jusqu'à 50mA. Selon la loi de Ohm, la tension chute à travers un conducteur, et la valeur de tension perdu est égale à la résistance du matériau fois la valeur du courant qui le traverse.
Par exemple, si votre LilyPad est à 30cm de votre alimentation, le résistance totale est d'environ 28 Ohms (14 Ohms du pôle négatif au LilyPad + 14 Ohms pour relier le pôle positif). Cela signifie que l'on va avoir une chute de 1,4 Volts (28 Ohms * 0,05A). Donc si on a une alimentation de 5V, le LilyPad va recevoir seulement 3.6 Volts. Si la tension descent sous 3.3 Volts environ, le LilyPad va redémarrer. Il faut donc une resistance de 10 Ohms maximum entre l'alimentation et le LilyPad. Concevez les distances en accord avec cela.
Si tout cela vous prête à confusion, ne vous inquiétez pas, gardez simplement le LilyPad et l'alimentation proche l'un de l'autre.
Étape 3 - Transférez le schéma sur le vêtement
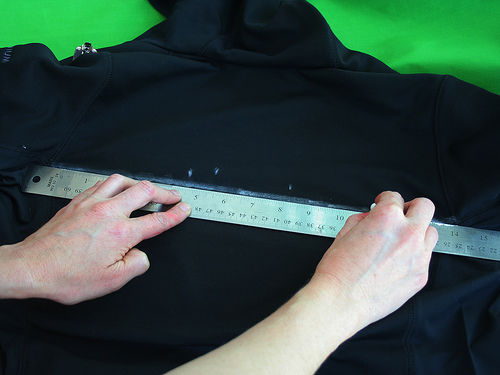
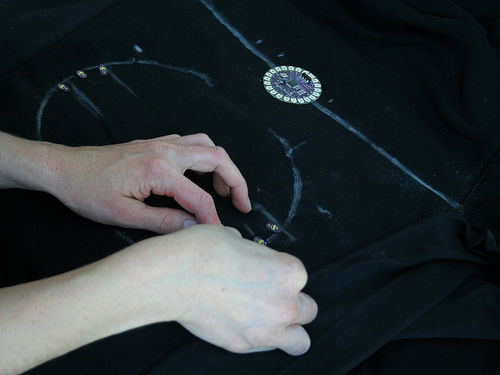
Utiliser la craie ou un marker non-permanent pour reproduire votre schéma sur le vêtement. Si vous le souhaitez, utilisez un mètre pour être sur que tout est droit et symétrique.
Utiliser du scotch double face pour attacher temporairement les composants au vêtement. Cela vous donnera un bon apercu de ce à quoi va ressembler votre pièce finale. Cela maintiendra aussi tout en place pendant que vous cousez, tant que le scotch colle.
Étape 4 - Préparation avant de coudre
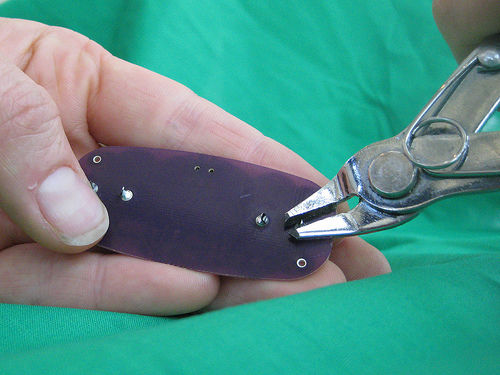
D'abord, coupez les fils sortant derrière l'alimentation
Prenez l'alimentation de votre LilyPad et couper les parties métalliques qui dépassent sur le dessous. Des petites pinces comme celle sur la photo sont idéales pour ça, mais vous pouvez aussi utiliser des ciseaux.
Fixez la batterie sur le vêtement
On veut généralement faire tout ce que l'on peut pour empêcher l’alimentation de bouger sur le vêtement. Je recommande de coller ou coudre la batterie avant de faire le reste. Vous pouvez coller ou coudre quelque chose sous la batterie pour l’empêcher de tirer sur le vêtement, et de rebondir lorsque l'on bouge.
Si vous voulez travailler sur du tissu fin, considérez bien votre choix ! Il est beacoup plus facile de travailler sur des pièces épaises de tissu non-élastique. Si vous voulez tout de même utiliser un tissu léger, choisissez judicieusement l'emplacement de la batterie. C'est la composant le plus lourd, donc placer le là ou il ne va pas trop déformer le vêtement. Dans ce cas, cousez ou coller quelque chose sous la batterie.
Étape 5 - Cousez la batterie et le LilyPad à votre veste
Cousez le pétale + de l'alimentation à votre vêtement
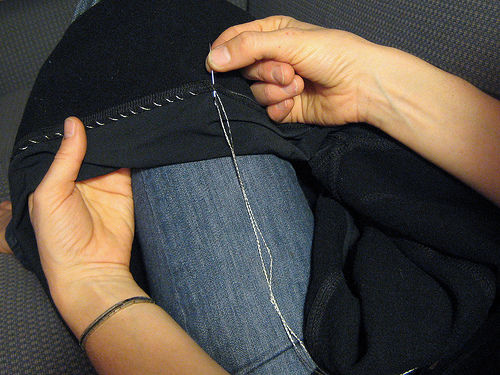
Coupez un file conducteur de 1m environ. Passez le dans l'aiguille, suffisamment pour que vous ne le perdiez pas facilement. Faites un nœud au bout du fil. Ne coupez pas le fils trop proche du nœud pour ne pas qu'il se défasse.
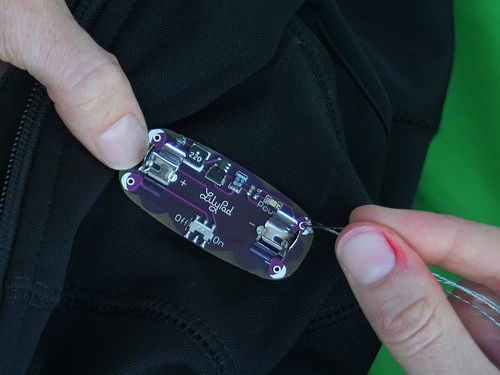
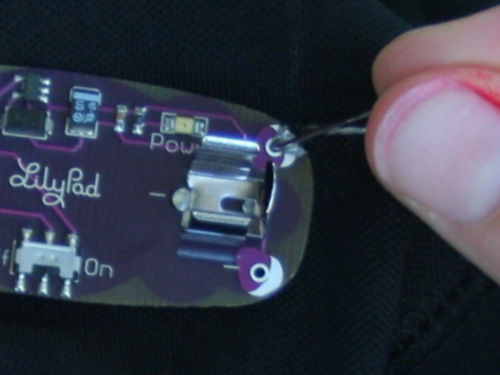
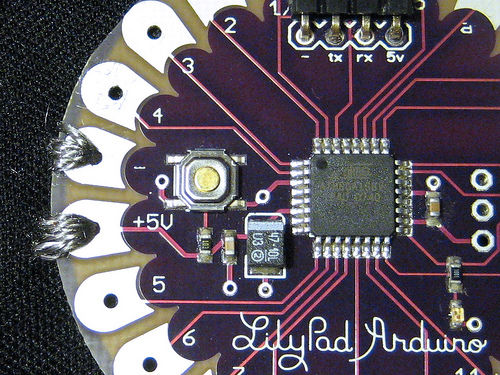
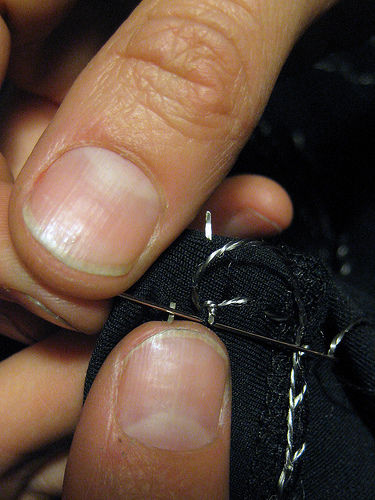
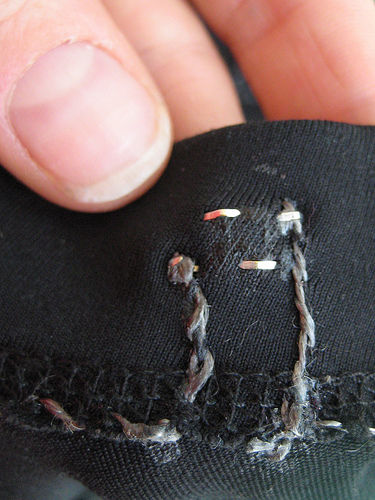
En partant du dessous de vêtement vers le dessus, piquer l'aiguille dans le vêtement à coté du pétale + de l'alimentation, puis, depuis le dessus, pousser l'aiguille à travers. Le nœud au bout du fils bloqueras le fils dans le vêtement. Maintenant, faites un point dans le trou du pétale +. Faite le plusieurs fois, passant du dessous au dessus du vêtement, en passant dans le pétale + à chaque fois.
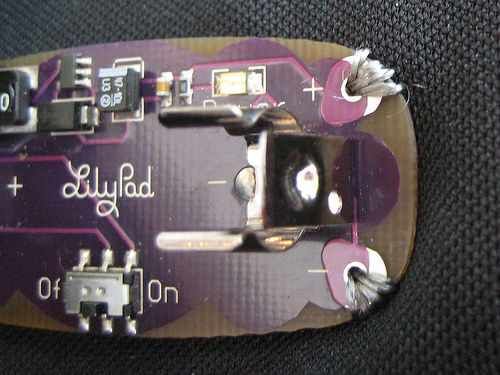
Faites attention à cette couture, c'est la connexion la plus importante de votre projet.Soyez sur de bien faire contact entre l'alimentation et le fils, passez à travers le trou plusieurs fois (5 fois au minimum). Continuez à coudre jusqu'à ce que vous ne puissiez plus passer l'aiguille. Ne coupez pas le fils, continuez à l'étape suivante.
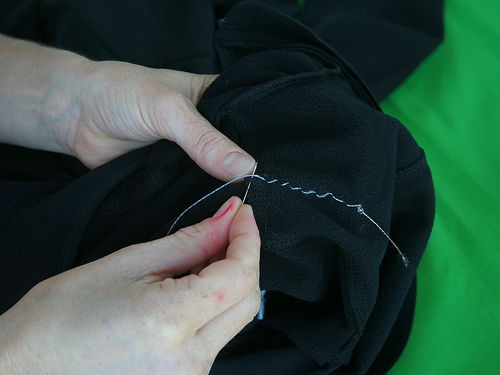
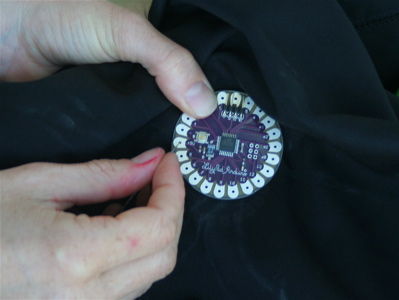
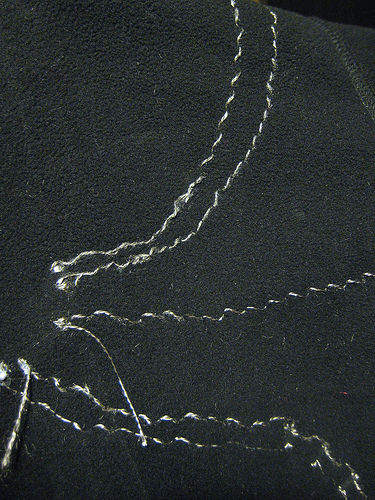
Coudre de la batterie au LilyPad. On fois que la couture du petale + de la batterie est faite, faire de petits points sur le pétale + du LilyPad. J'ai utilisé une veste avec une doublure en polaire, et cousu seulement à l’intérieur de la doublure pour que les coutures ne soient pas visibles de l’extérieur.
Étape 6 - Coudre le pétale + de votre LilyPad
Coudre le pétale + du LilyPad pour finir la connection.
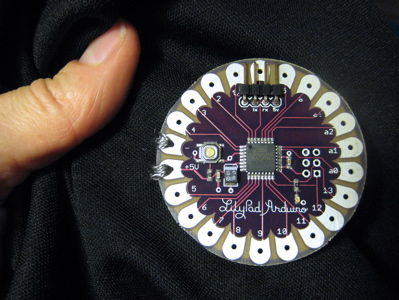
Lorsque vous arrivez au LilyPad, cousez le pétale + à la veste avec le fil conducteur. Tout comme vous avez fait avec le pétale de la batterie, vous devez faire très attention à faire une couture robuste ici. Ce raccord fait la connexion électrique entre l'alimentation et le LilyPad.
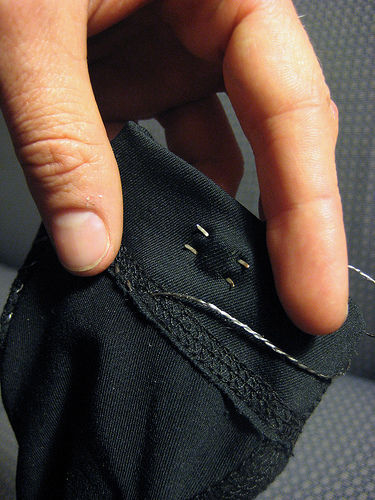
Quand vous avez fini ce raccord, cousez un retour de 2cm environ le long de votre couture, faites un nœud, et coupez le fil à 1cm du nœud pour éviter que le nœud se défasse.
Étape 7 - Mettez de la colle à vêtement sur chacun de vos nœuds
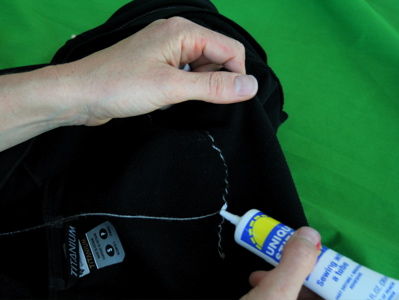
Mettez de la colle à vêtement sur chacun de vos nœuds pour éviter qu'ils se défassent.
Une fois la colle sèche, couper les fils qui dépassent de chaque nœud.
Étape 8 - Testez votre couture
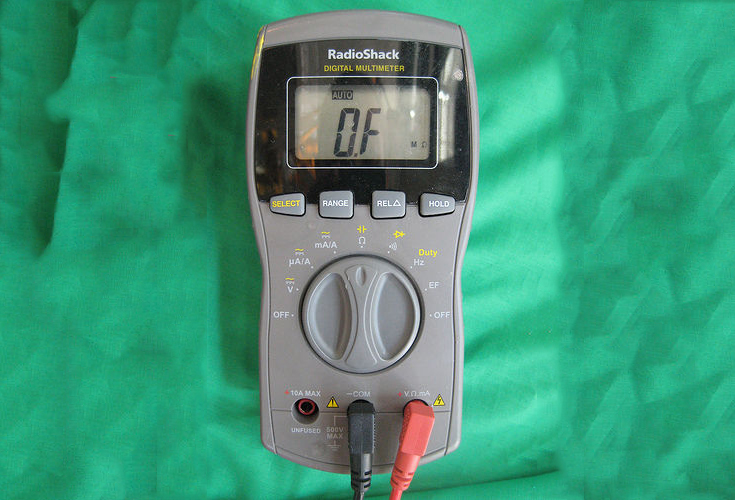
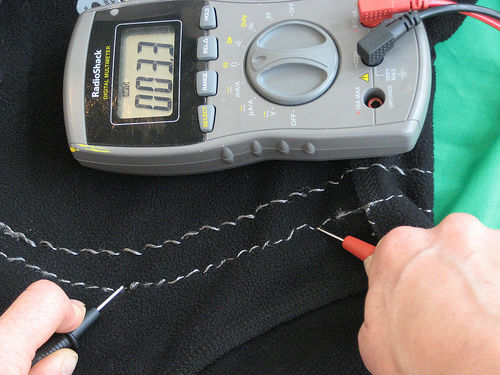
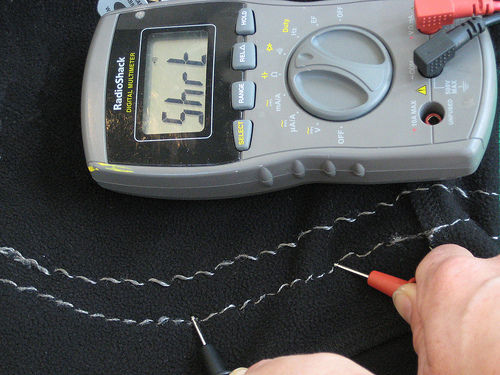
Measure the resistance of your stitching. Get out your multimeter and put it on the resistance measuring setting. Measure from power supply + to LilyPad + and power supply - to LilyPad -. If the resistance of either of these traces is greater than 10 ohms, reinforce your stitching with more conductive thread.
Put a AAA battery into the power supply and flip the power supply switch to the on position. The red light on the power supply should turn on. If it doesn't and you're sure you flipped the switch, quickly remove the battery and check for a short between your + and - stitches. (Most likely there is a piece of thread that's touching both the - and + stitching somewhere.) You can test for a short between + and - by using the beeping continuity tester on your multimeter.
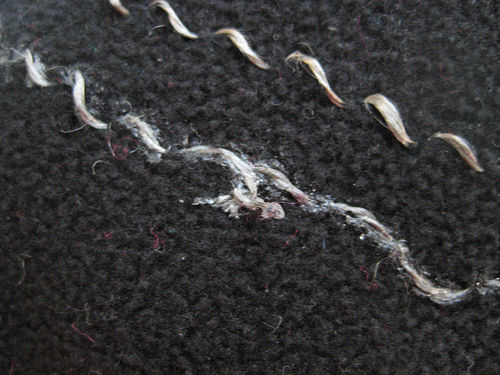
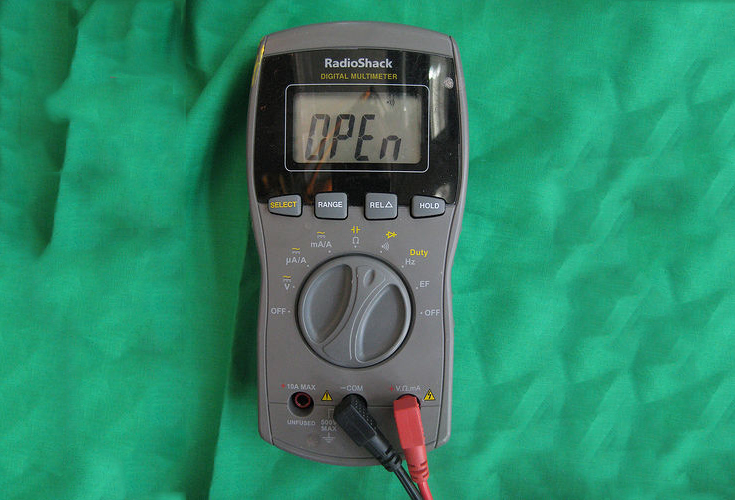
Also check the resistance between the + and - stitching. If the resistance is less than 10K Ohms or so, you've got a mini-short (probably a fine conductive thread hair that is touching both + and -) that you need to find and correct.
If the power supply does turn on, look at your LilyPad. It should blink quickly each time you press its switch. Once these connections are working properly, turn off the power supply and remove the battery.
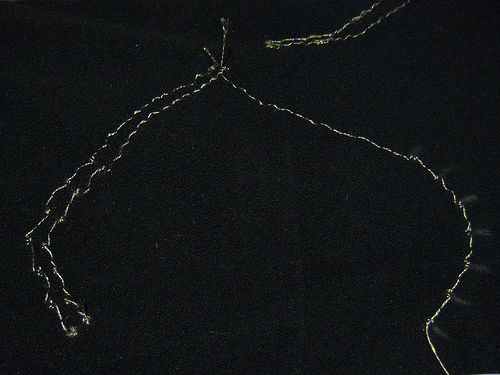
Insulate your power and ground stitching So, your jacket is now full of uninsulated conductive stitches. This is fine when a body is inside of it. A body will prevent sewn traces from contacting each other. But when the jacket is off of a person and you bend or fold it, traces will touch each other and short out. To fix this problem, cover your traces with puffy fabric paint (or another insulator like a satin stitch in regular thread). But, you don't want to cover traces until you're sure that everything works! So, use good judgment in when to coat traces.
Étape 9 - Cousez les clignotants en LEDs
Sew in your left and right signals.
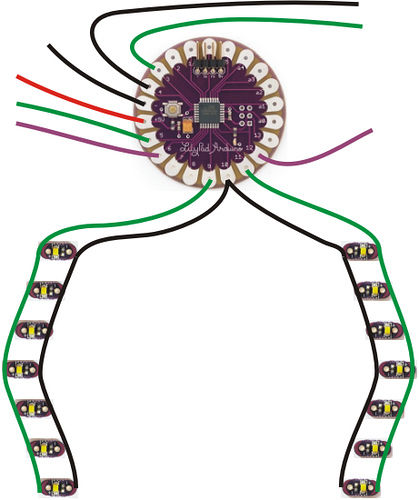
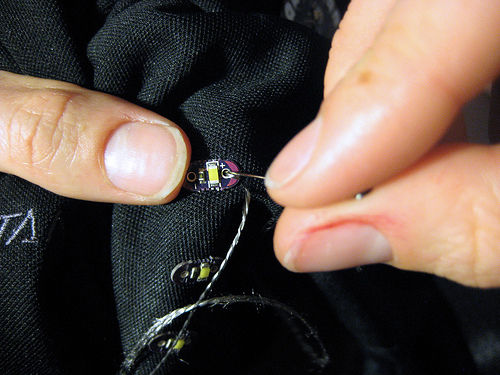
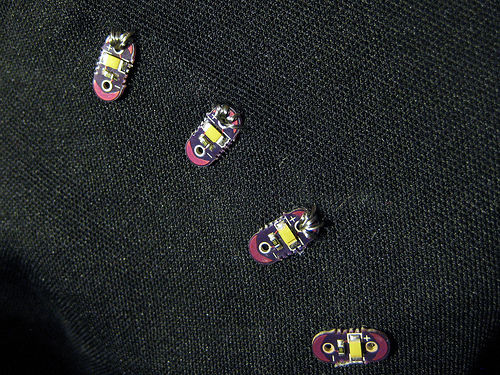
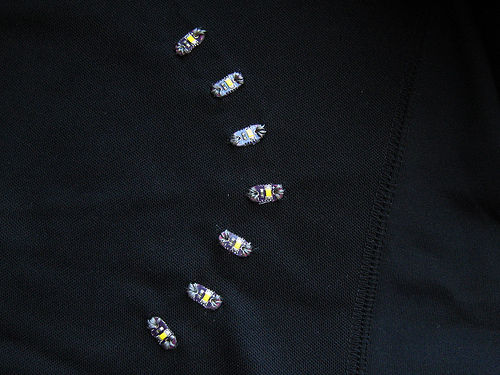
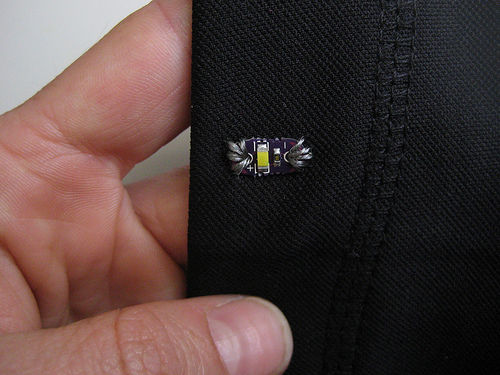
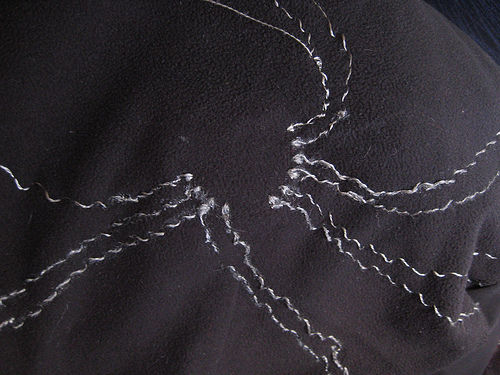
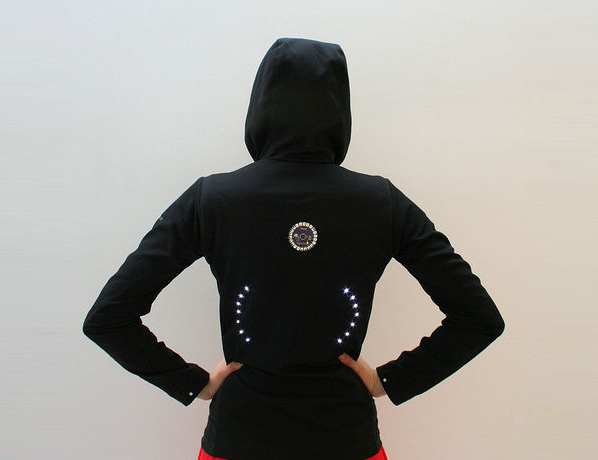
Using the same techniques you used to sew the power supply to the LilyPad, attach all of the + petals of the lights for the left turn signal together and to a petal on the LilyPad (petal 9 for me) and all of the + petals for the right signal together and to another LilyPad petal (11 for me). Attach all of the - petals of the lights together and then to either the - petal on the LilyPad or another LilyPad petal (petal 10 for me). Refer back to my design sketches if any of this is confusing.
Étape 10 - Testez les clignotants
Load a program onto your LilyPad that blinks each turn signal to make sure all of your sewing is correct.
Voici mon programme de test: Fichier:Turn signal code.pdf
If your layout is the same as mine, you can just copy and paste this program into your Arduino window.
insulate your turn signal stitches Cover your traces with puffy fabric paint. Remember, you don't want to cover traces until you're sure that everything works! Use good judgment in when to coat traces.
Étape 11 - Placez vos boutons de contrôle
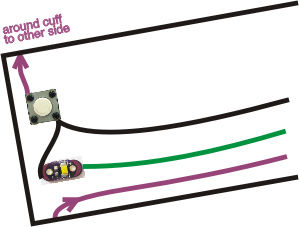
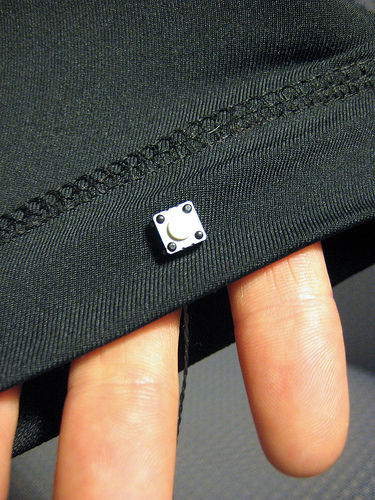
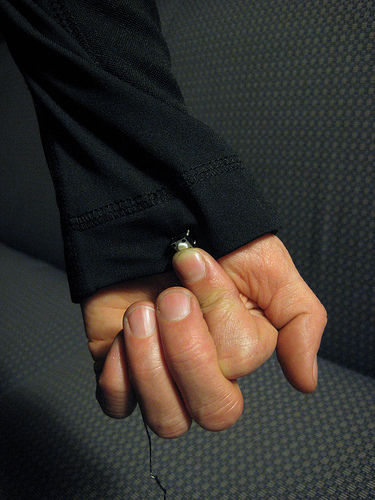
Find a spot for your switches where they'll be easy to press when you're riding your bike. I mounted mine on the underside of my wrists. I found a good spot by trying out different places. Check out the photos to see what I mean.
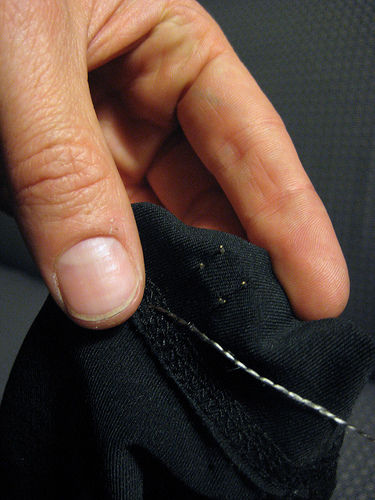
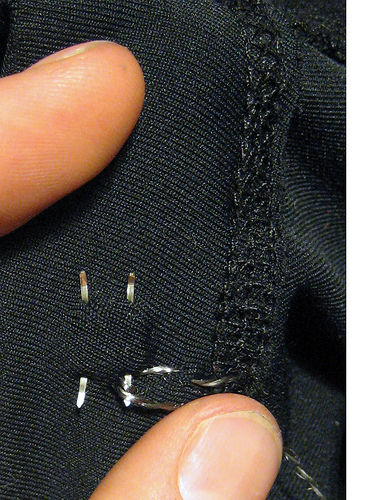
Once you've found a good position, push the legs of the switch through the fabric and bend them over on the inside of the fabric.
Étape 12 - Cousez les boutons
Sew your switches into the garment. Sew 1 leg to the switch input petal on the LilyPad and another leg, one that is diagonally across from the first , to ground or another LilyPad petal. I used petal 6 for the switch input on the left side and petal 12 for switch input on the right side. I used - for the - connection on the left side, but petal 4 for the - connection on the right side. Refer back to my design drawings if any of this is confusing.
When you're done sewing, go back and reinforce the switch connections with glue. You don't want your switches to fall out of their stitching.
Étape 13 - Cousez un simple LED sur la manche de chaque bras
These will give you essential feedback about which turn signal is on. They'll flash to tell you what the back of your jacket is doing, so make sure they're in a visible spot. Sew the + petals of each LED to a LilyPad petal and the - petals of each LED to the - side of the switch (the - trace you sewed in the last step). I used petal 5 for the LED + on the left side and petal 3 for the LED + on the right side. Again, refer back to my design drawings if any of this is confusing.
As always, remember to glue and trim knots and be careful not to create any shorts.
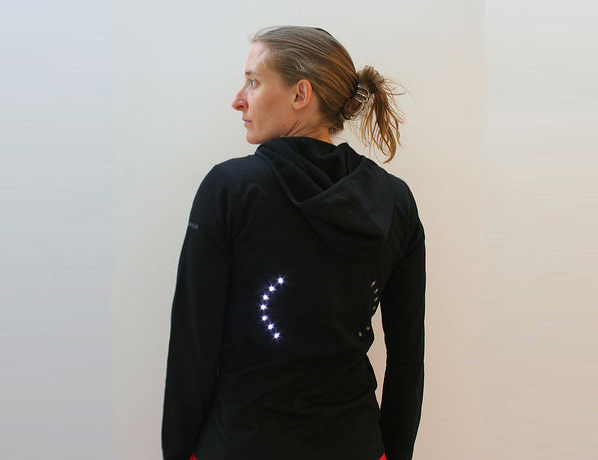
Once you sew both wrist LEDs, you're done with the sewing phase of the project! Now, on to programming...
Étape 14 - Programmez votre veste
Decide on the behavior you want I wanted the left switch to turn on the left turn signal for 15 seconds or so, and the right switch to do the same thing for the right signal. Pressing a switch when the corresponding turn signal is on should turn the signal off. Pressing both switches at the same time should put the jacket into nighttime flashing mode. The wrist mounted LEDs should provide feedback about the current state of the jacket.
Here's the code I wrote to get that behavior: Fichier:Turn signal biking jacket.pdf
Program your jacket To program your garment, copy and paste my code into an Arduino window and load it onto the LilyPad. You may have to make some small adjustments first depending on where you attached lights and switches. Play with delays to customize your blinking patterns.
Étape 15 - Allez Pédaler
Plug your battery back in and see if it works and...go biking!
Insulate the rest of your traces
Cover the rest of your traces with puffy fabric paint. Again, don't coat anything until you're sure it works.
About washing
Your creation is washable. Remove the battery and wash the garment by hand with a gentle detergent.
Note: silver coated threads will corrode over time and their resistance will gradually increase with washing and wear. To limit the effects of corrosion, insulate and protect your traces with puffy fabric paint or some other insulator. You can also revive exposed corroded traces with silver polish. Try this on a non-visible area first to see what it does to your fabric!
Yes
 Français
 English
 Deutsch
 Español
 Italiano
 Português