(update property name) |
(Cette version a été marquée pour être traduite) |
||
| Ligne 5 : | Ligne 5 : | ||
|Type=Creation | |Type=Creation | ||
|Area=Energy | |Area=Energy | ||
| − | |Description=<translate>This is the third tutorial for building the Pop-up Solar Generator: SunZilla 3.0. Here we are going to build the solar box.</translate> | + | |Description=<translate><!--T:17--> This is the third tutorial for building the Pop-up Solar Generator: SunZilla 3.0. Here we are going to build the solar box.</translate> |
|Difficulty=Medium | |Difficulty=Medium | ||
|Cost=200 | |Cost=200 | ||
| Ligne 15 : | Ligne 15 : | ||
}} | }} | ||
{{Introduction | {{Introduction | ||
| − | |Introduction=<translate>In the case of the solar box, the inner structure is constructed using square aluminium profiles. | + | |Introduction=<translate><!--T:18--> |
| + | In the case of the solar box, the inner structure is constructed using square aluminium profiles. | ||
| + | <!--T:19--> | ||
Having already drilled holes in the prepared square aluminum profiles as specified in the "mounting system" technical drawing PDFs (see step 3), this step is about assembling them to form the inner structure of the solar box.</translate> | Having already drilled holes in the prepared square aluminum profiles as specified in the "mounting system" technical drawing PDFs (see step 3), this step is about assembling them to form the inner structure of the solar box.</translate> | ||
}} | }} | ||
{{Separator}} | {{Separator}} | ||
{{Materials | {{Materials | ||
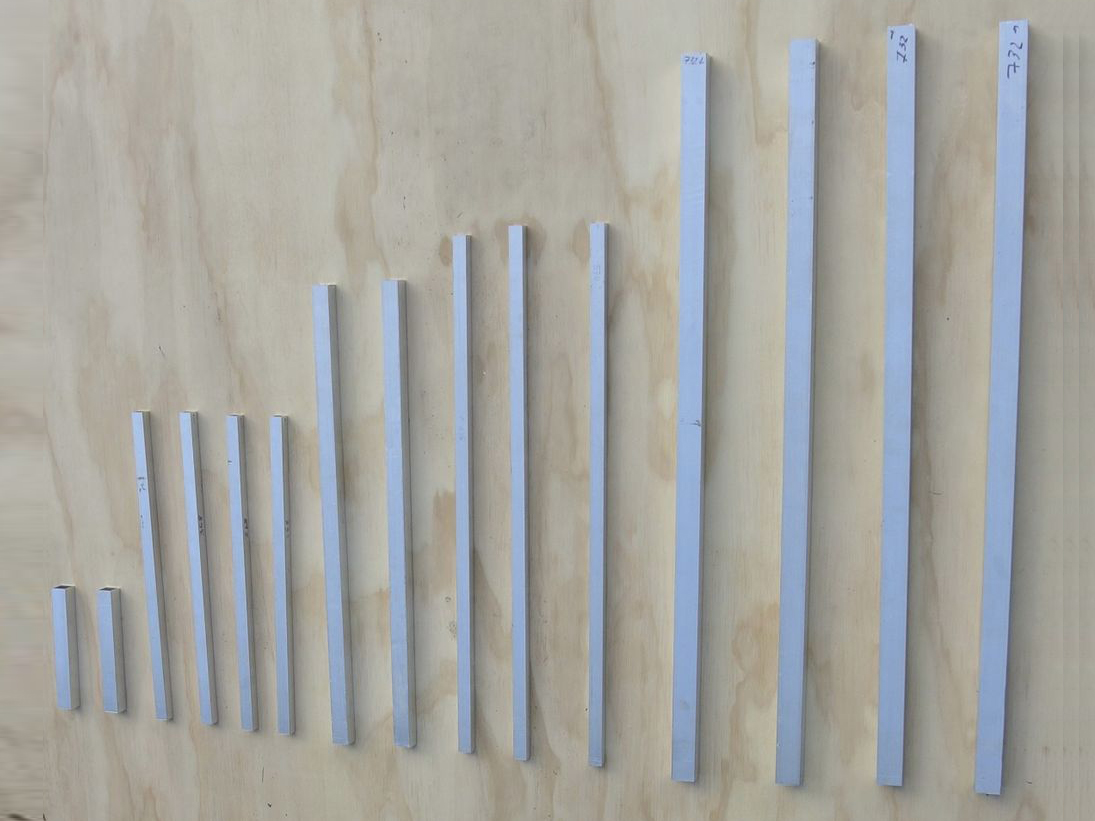
| − | |Material=<translate>* 4 x Squared aluminium profiles, 732 (l) x 25 (w) x 2 (th) | + | |Material=<translate><!--T:20--> |
| + | * 4 x Squared aluminium profiles, 732 (l) x 25 (w) x 2 (th) | ||
* 2 x Squared aluminium profiles, 200 (l) x 20 (w) x 2 (th) | * 2 x Squared aluminium profiles, 200 (l) x 20 (w) x 2 (th) | ||
* 2 x Squared aluminium profiles, 515 (l) x 20 (w) x 2 (th) | * 2 x Squared aluminium profiles, 515 (l) x 20 (w) x 2 (th) | ||
| Ligne 42 : | Ligne 45 : | ||
{{Separator}} | {{Separator}} | ||
{{Tuto Step | {{Tuto Step | ||
| − | |Step_Content=<translate>First, connect the 25 mm wide vertical profiles with the 2 long 15 mm wide horizontal profiles, like you can see in the following photos.</translate> | + | |Step_Content=<translate><!--T:21--> First, connect the 25 mm wide vertical profiles with the 2 long 15 mm wide horizontal profiles, like you can see in the following photos.</translate> |
|Step_Picture_00=SunZilla_Step_10_07.jpg | |Step_Picture_00=SunZilla_Step_10_07.jpg | ||
|Step_Picture_01=SunZilla_Step_10_09.jpg | |Step_Picture_01=SunZilla_Step_10_09.jpg | ||
| Ligne 59 : | Ligne 62 : | ||
}} | }} | ||
{{Tuto Step | {{Tuto Step | ||
| − | |Step_Content=<translate>Then attach the short horizontal profiles to one of the already connected sides. Finally, connect the two parts.</translate> | + | |Step_Content=<translate><!--T:22--> Then attach the short horizontal profiles to one of the already connected sides. Finally, connect the two parts.</translate> |
|Step_Picture_00=SunZilla_Step_10_18.jpg | |Step_Picture_00=SunZilla_Step_10_18.jpg | ||
|Step_Picture_01=SunZilla_Step_10_19.jpg | |Step_Picture_01=SunZilla_Step_10_19.jpg | ||
| Ligne 68 : | Ligne 71 : | ||
}} | }} | ||
{{Tuto Step | {{Tuto Step | ||
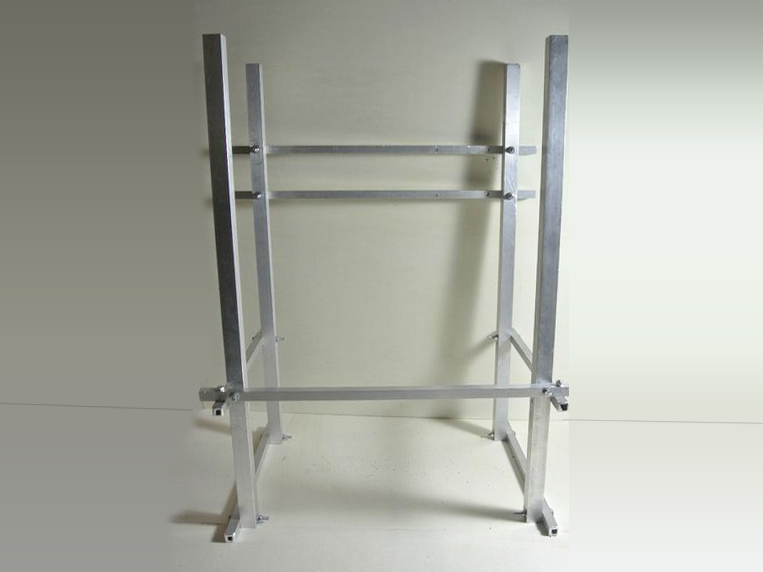
| − | |Step_Content=<translate>So that you get the following structure in the end.</translate> | + | |Step_Content=<translate><!--T:23--> So that you get the following structure in the end.</translate> |
|Step_Picture_00=SunZilla_Step_10_20.jpg | |Step_Picture_00=SunZilla_Step_10_20.jpg | ||
|Step_Picture_01=SunZilla_Step_10_01.jpg | |Step_Picture_01=SunZilla_Step_10_01.jpg | ||
Version actuelle datée du 9 décembre 2019 à 14:10
This is the third tutorial for building the Pop-up Solar Generator: SunZilla 3.0. Here we are going to build the solar box.
Difficulté
Moyen
Durée
2 heure(s)
Catégories
Énergie
Coût
200 EUR (€)
Introduction
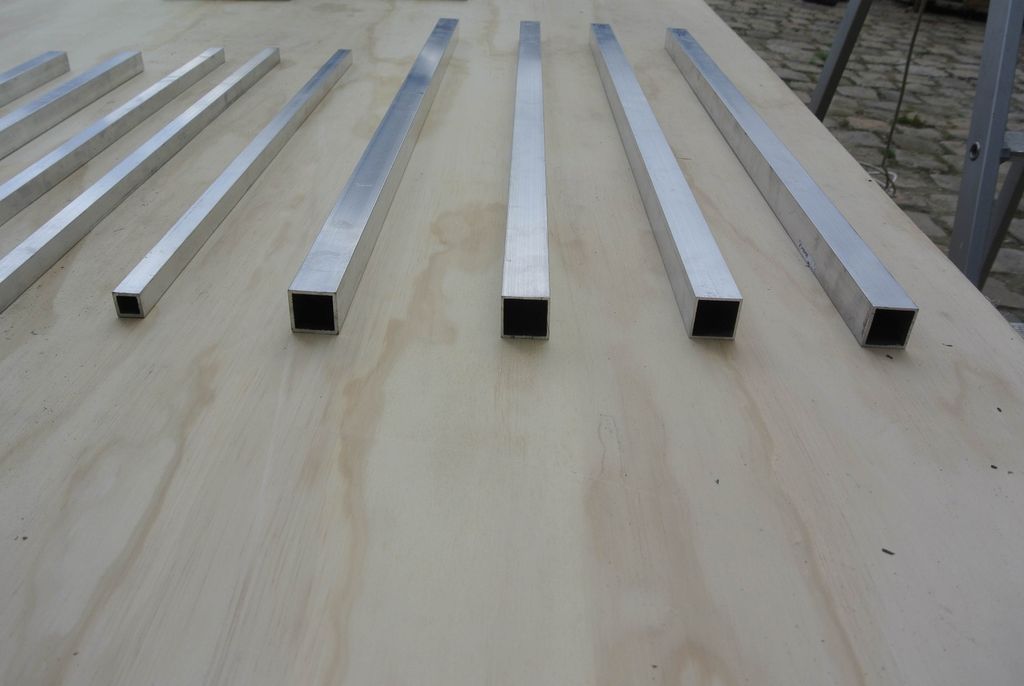
In the case of the solar box, the inner structure is constructed using square aluminium profiles.
Having already drilled holes in the prepared square aluminum profiles as specified in the "mounting system" technical drawing PDFs (see step 3), this step is about assembling them to form the inner structure of the solar box.
Matériaux
- 4 x Squared aluminium profiles, 732 (l) x 25 (w) x 2 (th)
- 2 x Squared aluminium profiles, 200 (l) x 20 (w) x 2 (th)
- 2 x Squared aluminium profiles, 515 (l) x 20 (w) x 2 (th)
- 3 x Squared aluminium profiles, 560 (l) x 15 (w) x 2 (th)
- 4 x Squared aluminium profiles, 370 (l) x 15 (w) x 2 (th)
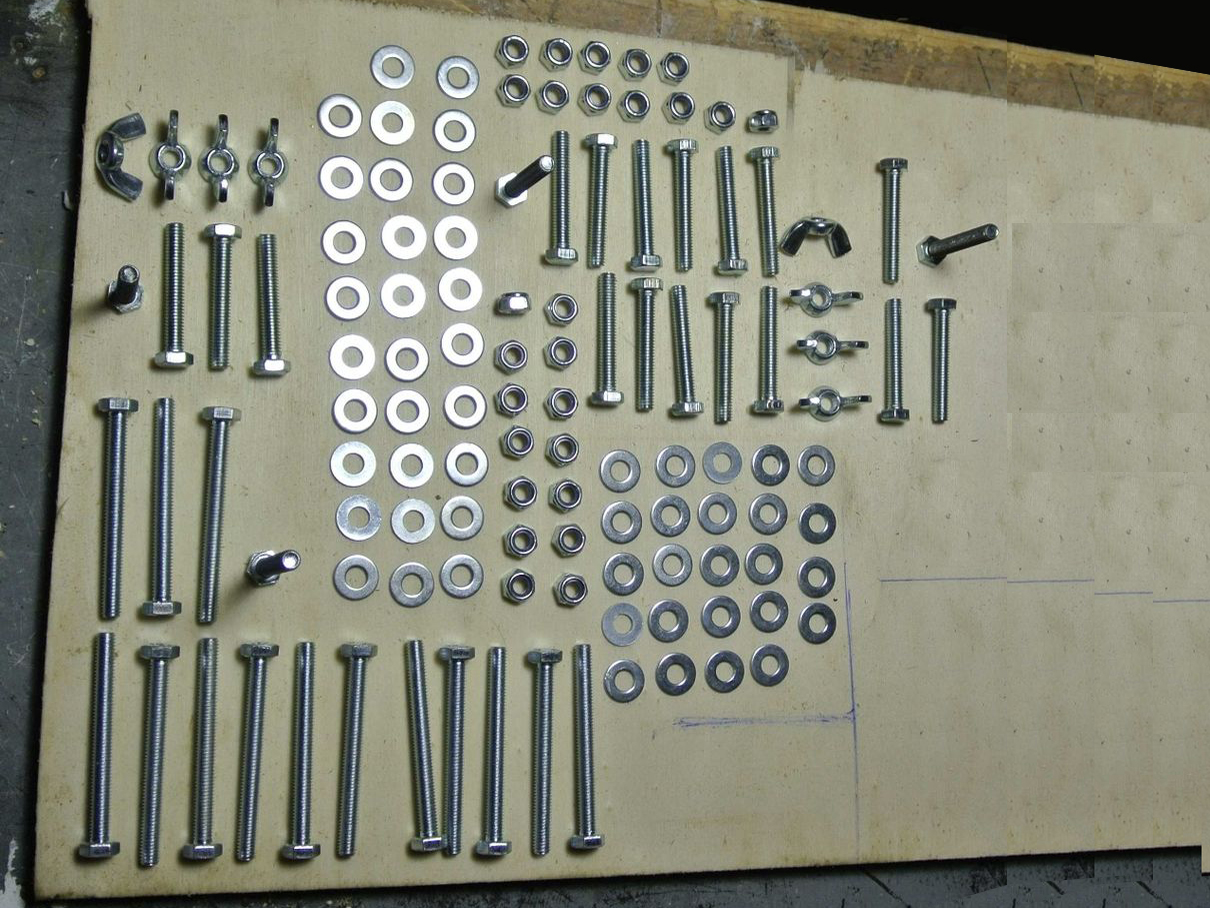
- 14 x Hexagonal bolts, M6 x 50 (l)
- 14 x Self-locking nuts, M6
- 28 x Washers, M6
- 4 x (Wing) bolts, M6 x 40 (l)
- 8 x Wing nuts, M6
- 4 x (Wing) bolts, M6 x 30 (l)
Outils
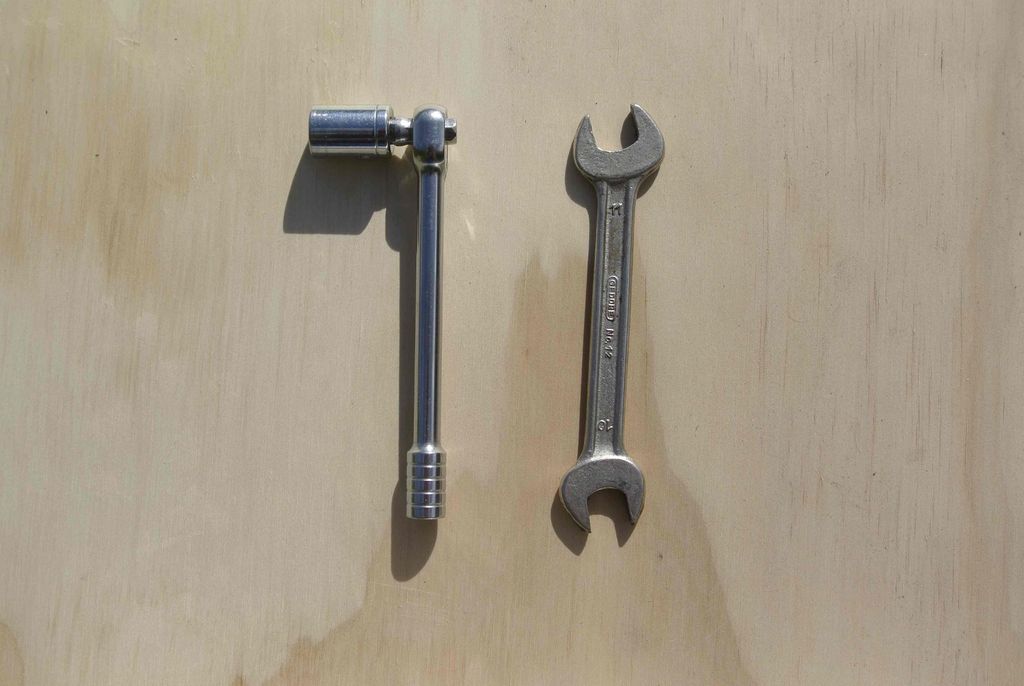
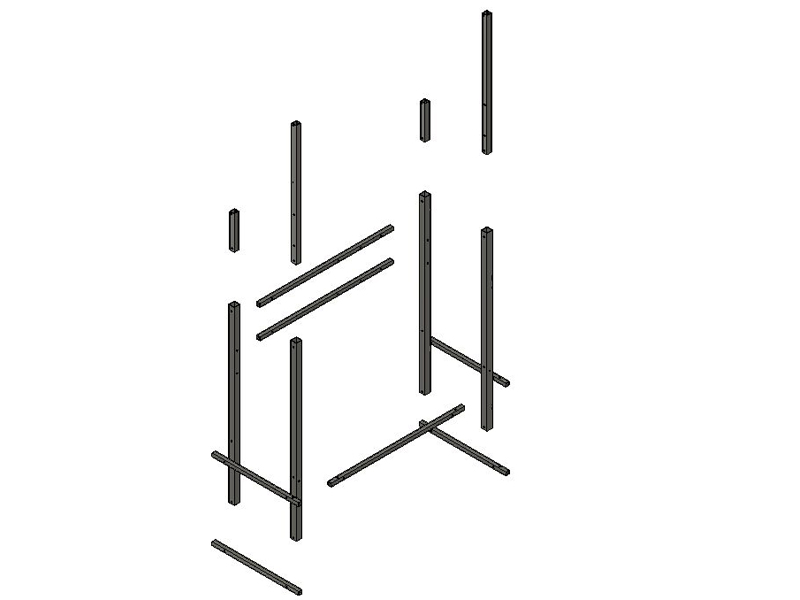
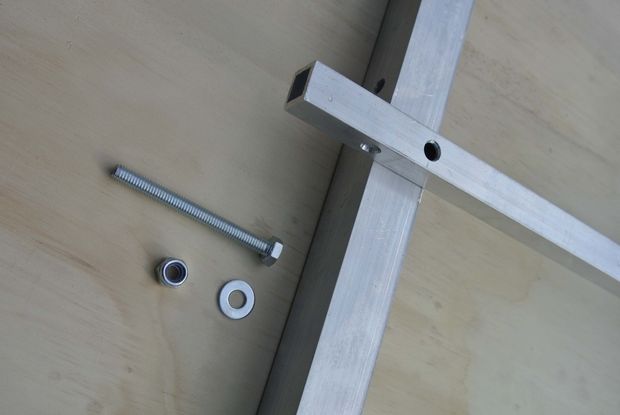
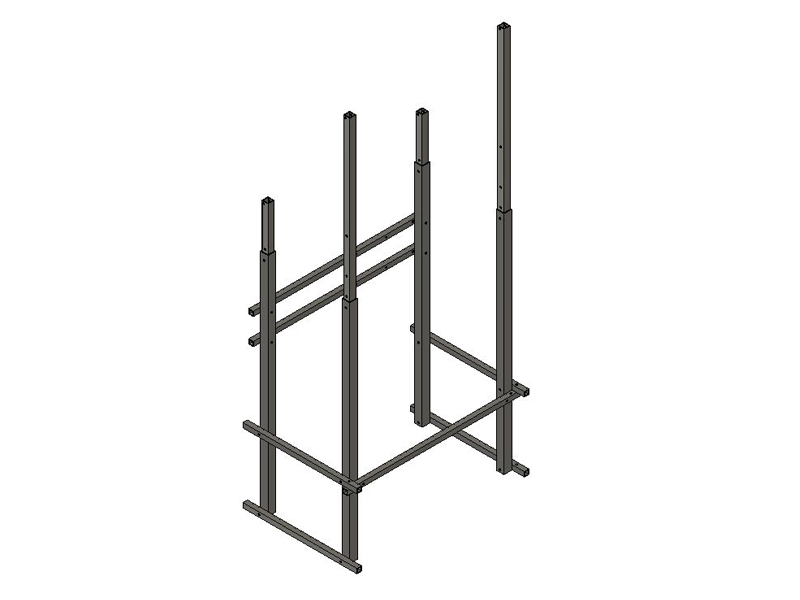
The positions can be seen in the following technical drawings. The profiles can be screwed together with bolts, washers and nuts.
Étape 1 -
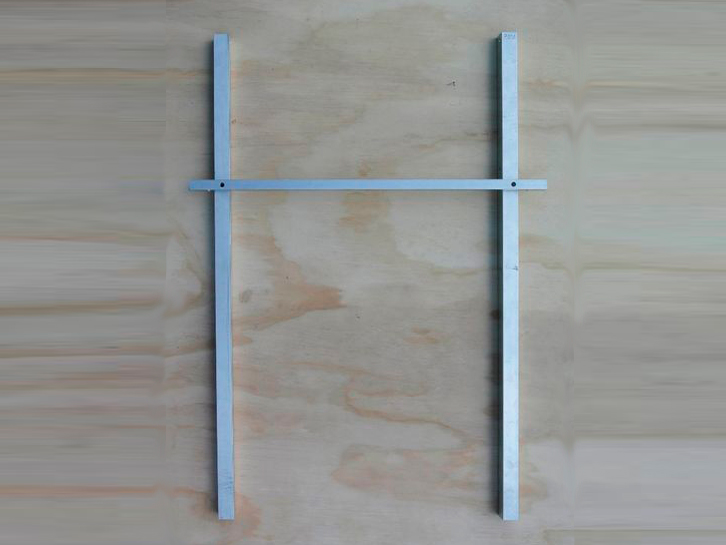
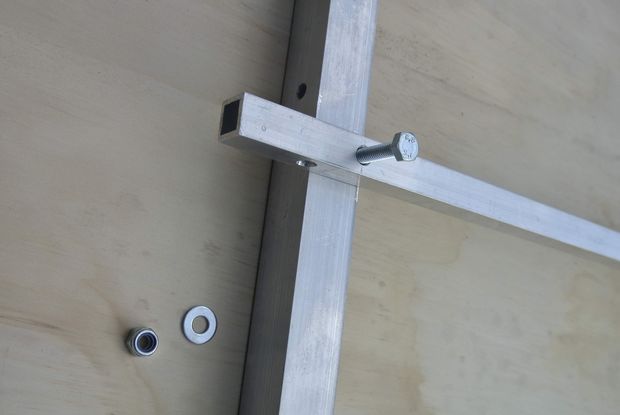
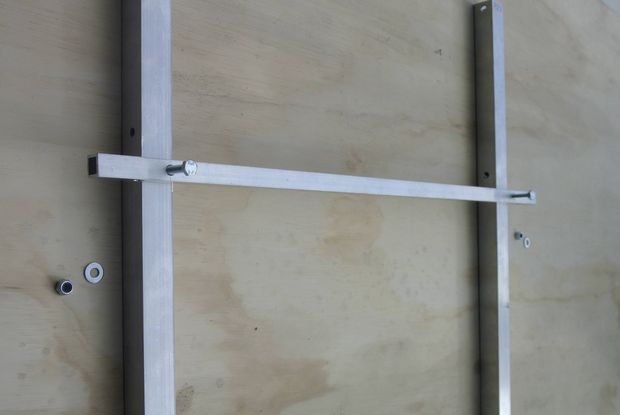
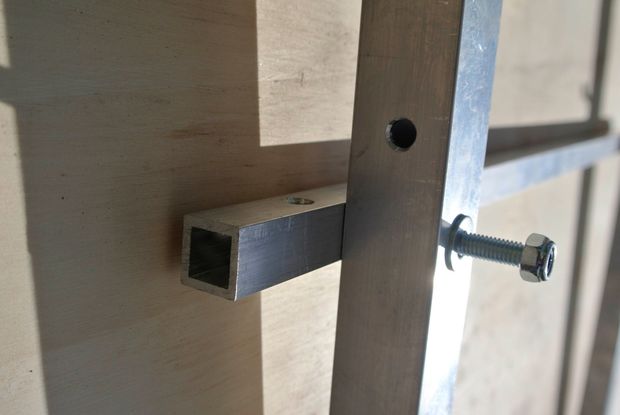
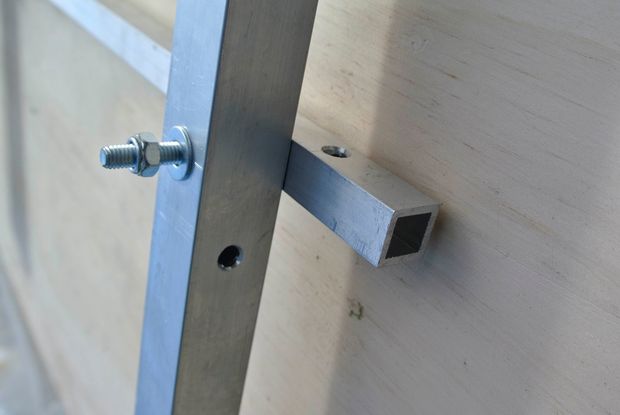
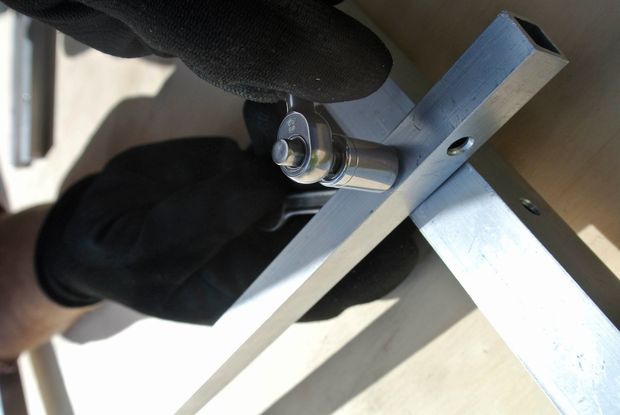
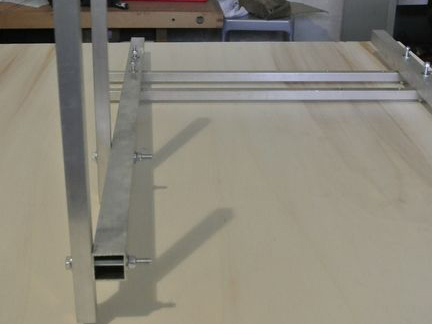
First, connect the 25 mm wide vertical profiles with the 2 long 15 mm wide horizontal profiles, like you can see in the following photos.
Étape 3 -
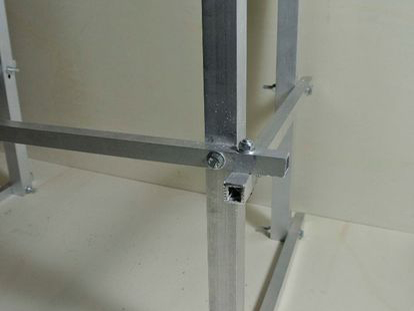
Then attach the short horizontal profiles to one of the already connected sides. Finally, connect the two parts.

 Français
 English
 Deutsch
 Español
 Italiano
 Português