(Imported page from en.wikifab.org) |
(convert properties for internationnalized Wikifab) |
||
| Ligne 1 : | Ligne 1 : | ||
| − | {{Tuto Details | + | {{ {{tntn|Tuto Details}} |
|SourceLanguage=en | |SourceLanguage=en | ||
|Language=en | |Language=en | ||
| Ligne 5 : | Ligne 5 : | ||
|Type=Creation | |Type=Creation | ||
|Area=Energy, Play & Outside | |Area=Energy, Play & Outside | ||
| − | |Description=This is the second tutorial for building the Pop-up Solar Generator: SunZilla 3.0. Here we are going to build the inverter and battery box | + | |Description=<translate>This is the second tutorial for building the Pop-up Solar Generator: SunZilla 3.0. Here we are going to build the inverter and battery box</translate> |
|Difficulty=Medium | |Difficulty=Medium | ||
|Cost=128 | |Cost=128 | ||
| Ligne 14 : | Ligne 14 : | ||
|Main_Picture=SunZilla_Step_07_04.jpg | |Main_Picture=SunZilla_Step_07_04.jpg | ||
}} | }} | ||
| − | {{Introduction | + | {{ {{tntn|Introduction}} |
| − | |Introduction=Preparing the aluminium profiles | + | |Introduction=<translate>Preparing the aluminium profiles</translate> |
}} | }} | ||
| − | {{Materials | + | {{ {{tntn|Materials}} |
| − | |Material=* Black Euro-Boxes: 80€ | + | |Material=<translate>* Black Euro-Boxes: 80€ |
* 4 Solar modules (à 35 Watt): 200€ | * 4 Solar modules (à 35 Watt): 200€ | ||
* Inverter victron phoenix 24/350: 153€ | * Inverter victron phoenix 24/350: 153€ | ||
| Ligne 24 : | Ligne 24 : | ||
* 2 Batteries Agm 38 yuasa: 180€ | * 2 Batteries Agm 38 yuasa: 180€ | ||
* Connectors, cables: 100€ | * Connectors, cables: 100€ | ||
| − | * Screws, Aluminium profiles, etc.: 200€ | + | * Screws, Aluminium profiles, etc.: 200€</translate> |
|Tools=* Drills | |Tools=* Drills | ||
* Drilling machine (drill press) | * Drilling machine (drill press) | ||
| Ligne 48 : | Ligne 48 : | ||
}} | }} | ||
{{Separator}} | {{Separator}} | ||
| − | {{Tuto Step | + | {{ {{tntn|Tuto Step}} |
| − | |Step_Title=Cut the aluminum profiles | + | |Step_Title=<translate>Cut the aluminum profiles</translate> |
| − | |Step_Content=Cut the aluminum profiles according to the technical drawings in the attached PDFs. Once you have them in hand, the first step is to file the ends of the profiles to deburr them, as shown in the picture. | + | |Step_Content=<translate>Cut the aluminum profiles according to the technical drawings in the attached PDFs. Once you have them in hand, the first step is to file the ends of the profiles to deburr them, as shown in the picture.</translate> |
|Step_Picture_00=SunZilla_Step_02_01.jpg | |Step_Picture_00=SunZilla_Step_02_01.jpg | ||
|Step_Picture_01=No-image-yet.jpg | |Step_Picture_01=No-image-yet.jpg | ||
| Ligne 58 : | Ligne 58 : | ||
|Step_Picture_05=No-image-yet.jpg | |Step_Picture_05=No-image-yet.jpg | ||
}} | }} | ||
| − | {{Tuto Step | + | {{ {{tntn|Tuto Step}} |
| − | |Step_Title=Mark hole's positions | + | |Step_Title=<translate>Mark hole's positions</translate> |
| − | |Step_Content=Mark the position of the hole you will drill with the metal marker and the ruler. For the precise location and size of the various holes in the specific profiles, refer to the technical drawings in the below PDFs. | + | |Step_Content=<translate>Mark the position of the hole you will drill with the metal marker and the ruler. For the precise location and size of the various holes in the specific profiles, refer to the technical drawings in the below PDFs.</translate> |
|Step_Picture_00=SunZilla_Step_04_01.jpg | |Step_Picture_00=SunZilla_Step_04_01.jpg | ||
|Step_Picture_01=SunZilla_Step_04_02.jpg | |Step_Picture_01=SunZilla_Step_04_02.jpg | ||
| Ligne 68 : | Ligne 68 : | ||
|Step_Picture_05=No-image-yet.jpg | |Step_Picture_05=No-image-yet.jpg | ||
}} | }} | ||
| − | {{Tuto Step | + | {{ {{tntn|Tuto Step}} |
| − | |Step_Title=Drill holes with the drill press | + | |Step_Title=<translate>Drill holes with the drill press</translate> |
| − | |Step_Content=Afterwards, the marked positions need to be punched with the centre punch and then the holes can be drilled with the drill press. | + | |Step_Content=<translate>Afterwards, the marked positions need to be punched with the centre punch and then the holes can be drilled with the drill press. |
| − | After the holes are drilled they also need to be deburred by a countersinking cutter. | + | After the holes are drilled they also need to be deburred by a countersinking cutter.</translate> |
|Step_Picture_00=SunZilla_Step_05_01.jpg | |Step_Picture_00=SunZilla_Step_05_01.jpg | ||
|Step_Picture_01=SunZilla_Step_05_02.jpg | |Step_Picture_01=SunZilla_Step_05_02.jpg | ||
| Ligne 80 : | Ligne 80 : | ||
|Step_Picture_05=SunZilla_Step_06_02.jpg | |Step_Picture_05=SunZilla_Step_06_02.jpg | ||
}} | }} | ||
| − | {{Tuto Step | + | {{ {{tntn|Tuto Step}} |
| − | |Step_Title=Cut open on one side | + | |Step_Title=<translate>Cut open on one side</translate> |
|Step_Content=For the 4 x 150mm long square profiles, you should use the .PDF technical drawing "Folding Mech.- slides.pdf". | |Step_Content=For the 4 x 150mm long square profiles, you should use the .PDF technical drawing "Folding Mech.- slides.pdf". | ||
| Ligne 94 : | Ligne 94 : | ||
|Step_Picture_05=No-image-yet.jpg | |Step_Picture_05=No-image-yet.jpg | ||
}} | }} | ||
| − | {{Notes}} | + | {{ {{tntn|Notes}}|}} |
Version du 11 août 2017 à 11:14
Introduction
Matériaux
- Black Euro-Boxes: 80€
- 4 Solar modules (à 35 Watt): 200€
- Inverter victron phoenix 24/350: 153€
- Charge Controller: blue solar 100/15: 115€
- 2 Batteries Agm 38 yuasa: 180€
- Connectors, cables: 100€
- Screws, Aluminium profiles, etc.: 200€
Outils
- Drills
- Drilling machine (drill press)
- Wrenches
- Soldering station
- Pliers
- Aluminium file
- Centre punch
- Rubber and metal hammers
- Ruler
- Set square
- Marker pen
- Mitre saw (for aluminium)
- Milling cutter
- Silicon pistol
- Countersinking cutter
Étape 1 - Cut the aluminum profiles
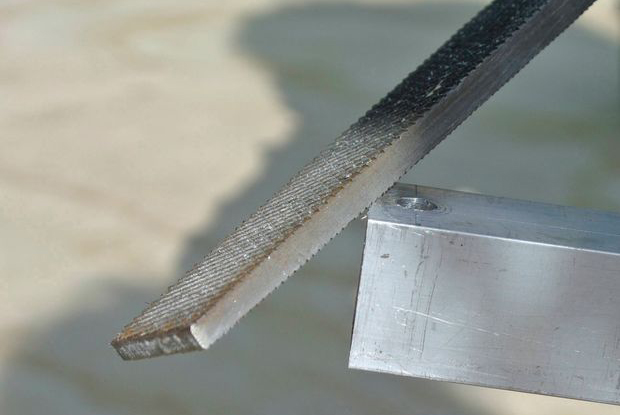
Cut the aluminum profiles according to the technical drawings in the attached PDFs. Once you have them in hand, the first step is to file the ends of the profiles to deburr them, as shown in the picture.
Étape 2 - Mark hole's positions
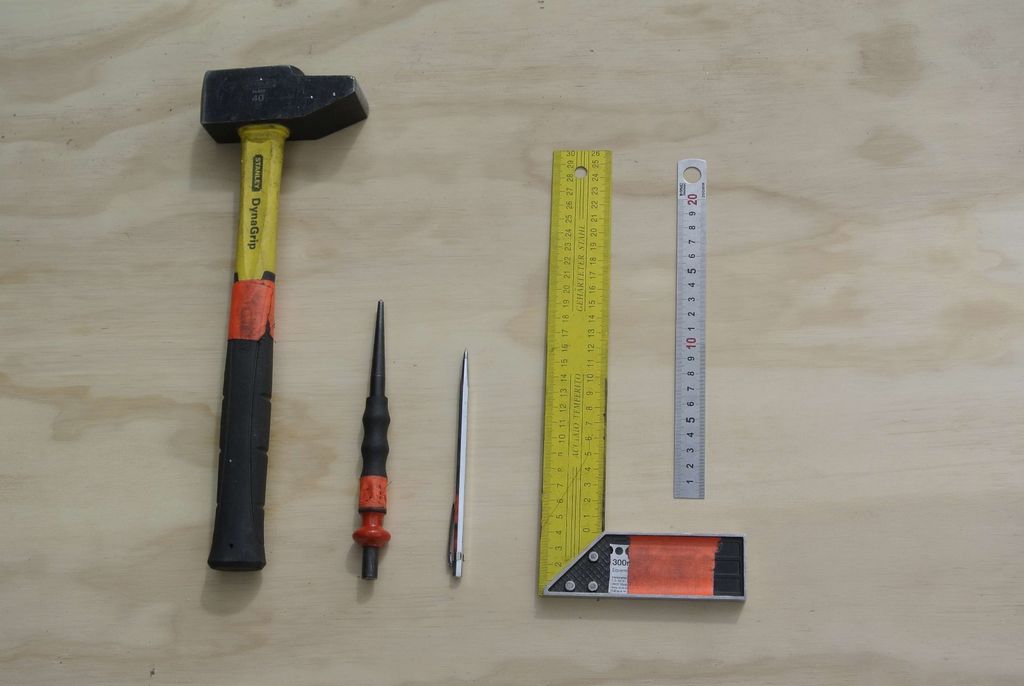
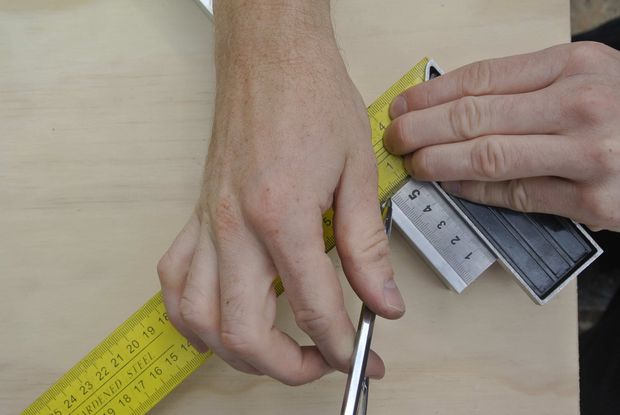
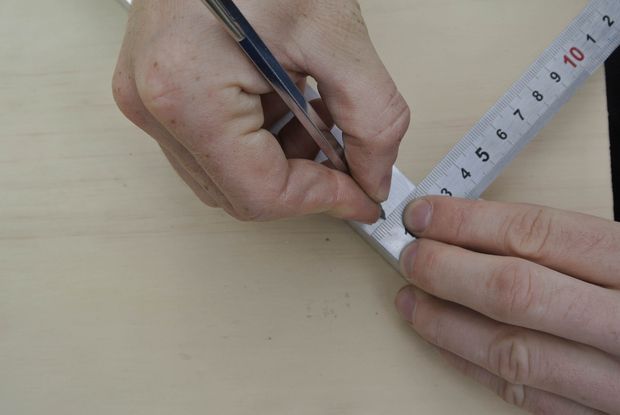
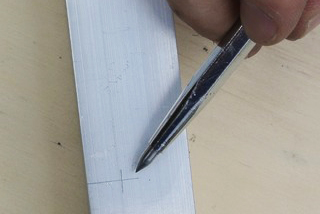
Mark the position of the hole you will drill with the metal marker and the ruler. For the precise location and size of the various holes in the specific profiles, refer to the technical drawings in the below PDFs.
Étape 3 - Drill holes with the drill press
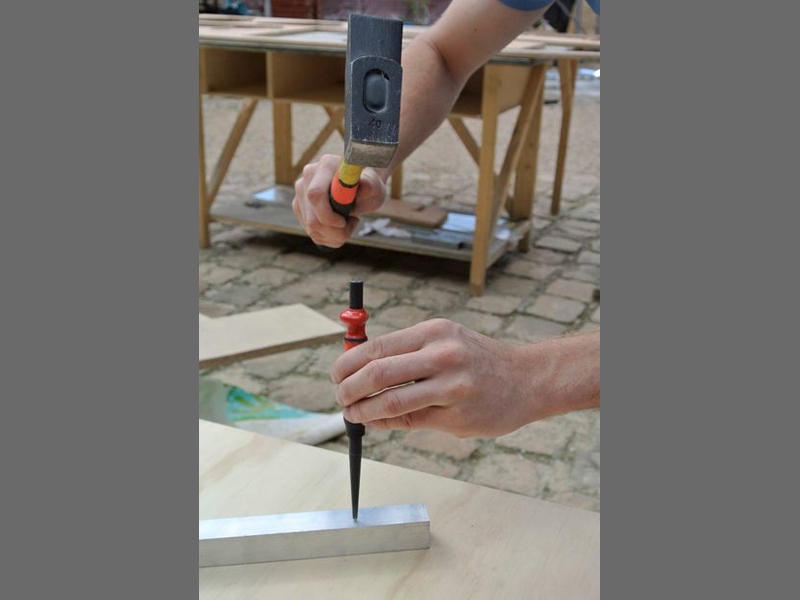
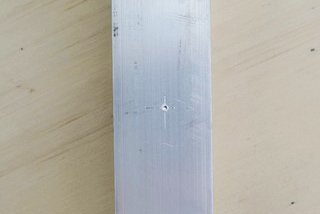
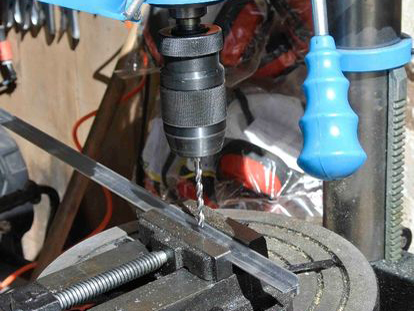
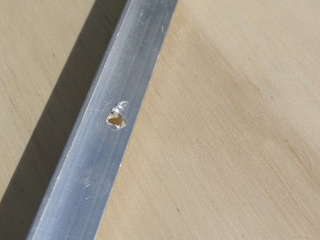
Afterwards, the marked positions need to be punched with the centre punch and then the holes can be drilled with the drill press.
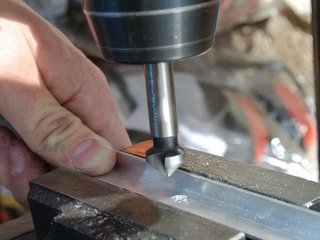
After the holes are drilled they also need to be deburred by a countersinking cutter.
Étape 4 - Cut open on one side
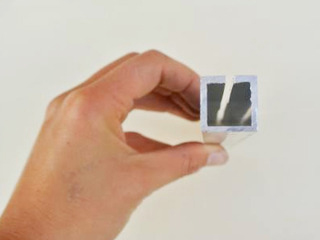
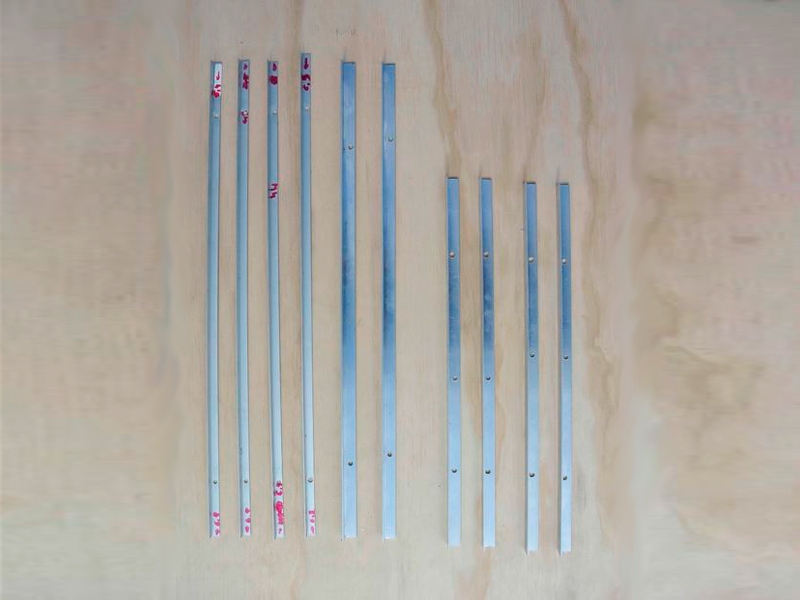
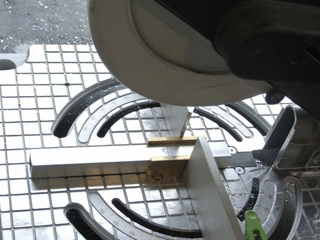
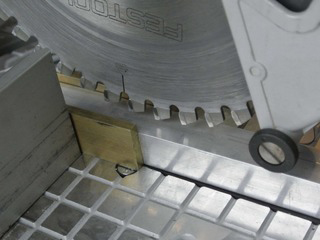
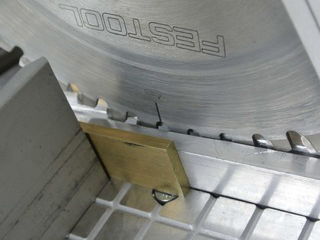
For the 4 x 150mm long square profiles, you should use the .PDF technical drawing "Folding Mech.- slides.pdf".
These will be cut open on one side like on the first picture beside.

 Français
 English
 Deutsch
 Español
 Italiano
 Português