(Imported page from en.wikifab.org) |
(update property name) |
||
| (2 révisions intermédiaires par 2 utilisateurs non affichées) | |||
| Ligne 1 : | Ligne 1 : | ||
{{Tuto Details | {{Tuto Details | ||
| − | |SourceLanguage= | + | |SourceLanguage=none |
|Language=en | |Language=en | ||
|IsTranslation=0 | |IsTranslation=0 | ||
|Type=Creation | |Type=Creation | ||
|Area=Energy | |Area=Energy | ||
| − | |Description=This is the second tutorial for building the solar concentrator of Open Source Ecologie (French branch of Open Source Ecology). Here we are going to build the mirror facets. | + | |Description=<translate>This is the second tutorial for building the solar concentrator of Open Source Ecologie (French branch of Open Source Ecology). Here we are going to build the mirror facets.</translate> |
|Difficulty=Medium | |Difficulty=Medium | ||
|Cost=100 | |Cost=100 | ||
| Ligne 14 : | Ligne 14 : | ||
|Main_Picture=SolarOSE_G4_4_1.jpg | |Main_Picture=SolarOSE_G4_4_1.jpg | ||
}} | }} | ||
| − | {{Introduction}} | + | {{Introduction|}} |
{{Separator}} | {{Separator}} | ||
{{Materials | {{Materials | ||
| Ligne 25 : | Ligne 25 : | ||
{{Separator}} | {{Separator}} | ||
{{Tuto Step | {{Tuto Step | ||
| − | |Step_Title=Main beam | + | |Step_Title=<translate>Main beam</translate> |
| − | |Step_Content=Cut the 30x30x2300 mm square tube. | + | |Step_Content=<translate>Cut the 30x30x2300 mm square tube. |
| − | Drill the fixation holes of the tepee. Drill and tap at 5 mm diameter the fixation holes of the junction. | + | Drill the fixation holes of the tepee. Drill and tap at 5 mm diameter the fixation holes of the junction.</translate> |
|Step_Picture_00=SolarOSE_G4_1_1.jpg | |Step_Picture_00=SolarOSE_G4_1_1.jpg | ||
|Step_Picture_01=No-image-yet.jpg | |Step_Picture_01=No-image-yet.jpg | ||
| Ligne 36 : | Ligne 36 : | ||
}} | }} | ||
{{Tuto Step | {{Tuto Step | ||
| − | |Step_Title=Lateral 'L' profiles | + | |Step_Title=<translate>Lateral 'L' profiles</translate> |
| − | |Step_Content=Cut two L profiles 30x60 mm, thick of 3 mm and long of 2100 mm. | + | |Step_Content=<translate>Cut two L profiles 30x60 mm, thick of 3 mm and long of 2100 mm. |
Drill and tap the fixation holes of the exterior cover, screw with a diameter 4 mm. | Drill and tap the fixation holes of the exterior cover, screw with a diameter 4 mm. | ||
| Ligne 43 : | Ligne 43 : | ||
Drill the fixation holes at the junction, as depicted in the 3D model. Improvement: drill 2 holes on the side and none on the bottom of the L. | Drill the fixation holes at the junction, as depicted in the 3D model. Improvement: drill 2 holes on the side and none on the bottom of the L. | ||
| − | Weld a flat at each edge of the L (for the fixation on the “tepee”…). | + | Weld a flat at each edge of the L (for the fixation on the “tepee”…).</translate> |
|Step_Picture_00=SolarOSE_G4_2_1.jpg | |Step_Picture_00=SolarOSE_G4_2_1.jpg | ||
|Step_Picture_01=No-image-yet.jpg | |Step_Picture_01=No-image-yet.jpg | ||
| Ligne 52 : | Ligne 52 : | ||
}} | }} | ||
{{Tuto Step | {{Tuto Step | ||
| − | |Step_Title=Junction of the main beam and the lateral L profiles | + | |Step_Title=<translate>Junction of the main beam and the lateral L profiles</translate> |
| − | |Step_Content=Cut, drill, weld according to the 3D model. | + | |Step_Content=<translate>Cut, drill, weld according to the 3D model.</translate> |
|Step_Picture_00=SolarOSE_G4_3_1.jpg | |Step_Picture_00=SolarOSE_G4_3_1.jpg | ||
|Step_Picture_01=SolarOSE_G4_3_2.jpg | |Step_Picture_01=SolarOSE_G4_3_2.jpg | ||
| Ligne 62 : | Ligne 62 : | ||
}} | }} | ||
{{Tuto Step | {{Tuto Step | ||
| − | |Step_Title=Hanger | + | |Step_Title=<translate>Hanger</translate> |
| − | |Step_Content=Print the 10 hangers at the cutting laser. The material used is a wood board (for example laminated structural wood) with a thickness of 10 mm. | + | |Step_Content=<translate>Print the 10 hangers at the cutting laser. The material used is a wood board (for example laminated structural wood) with a thickness of 10 mm. |
Cut shapes of 2 hangers (with a cutting laser or manually), without emptying them. They are needed for the secondary reflector in order to close the receiver on its edges. | Cut shapes of 2 hangers (with a cutting laser or manually), without emptying them. They are needed for the secondary reflector in order to close the receiver on its edges. | ||
| − | Link to the file for printing! | + | Link to the file for printing!</translate> |
|Step_Picture_00=SolarOSE_G4_4_1.jpg | |Step_Picture_00=SolarOSE_G4_4_1.jpg | ||
|Step_Picture_01=SolarOSE G4 4 2.jpg | |Step_Picture_01=SolarOSE G4 4 2.jpg | ||
| Ligne 75 : | Ligne 75 : | ||
|Step_Picture_05=No-image-yet.jpg | |Step_Picture_05=No-image-yet.jpg | ||
}} | }} | ||
| − | {{Notes}} | + | {{Notes|}} |
Version actuelle datée du 9 décembre 2019 à 12:57
Matériaux
Outils
Étape 1 - Main beam
Cut the 30x30x2300 mm square tube. Drill the fixation holes of the tepee. Drill and tap at 5 mm diameter the fixation holes of the junction.
Étape 2 - Lateral 'L' profiles
Cut two L profiles 30x60 mm, thick of 3 mm and long of 2100 mm.
Drill and tap the fixation holes of the exterior cover, screw with a diameter 4 mm.
Drill the fixation holes at the junction, as depicted in the 3D model. Improvement: drill 2 holes on the side and none on the bottom of the L.
Weld a flat at each edge of the L (for the fixation on the “tepee”…).
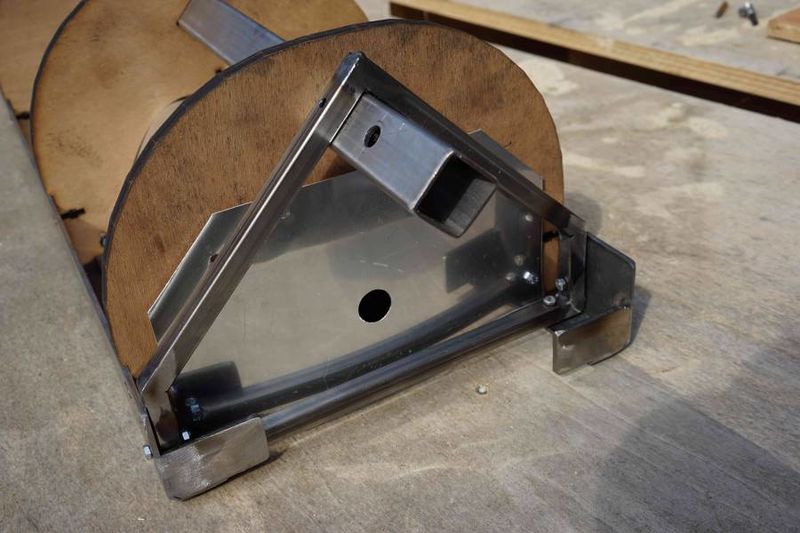
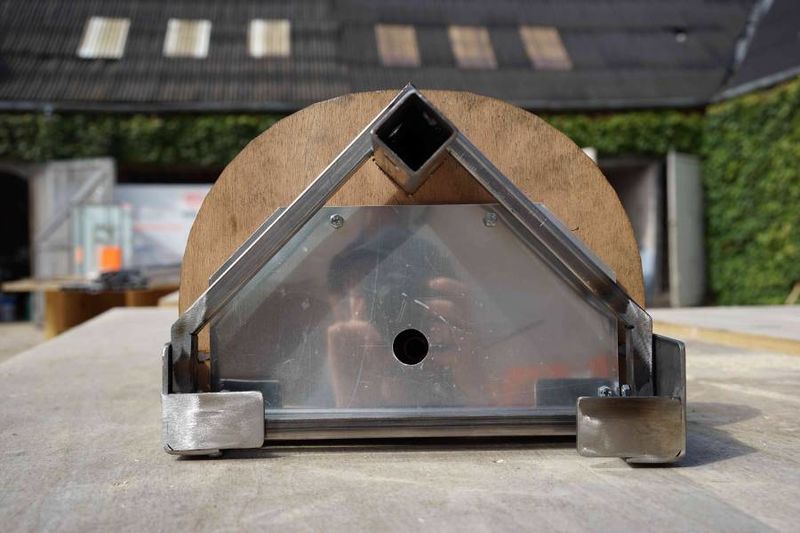
Étape 3 - Junction of the main beam and the lateral L profiles
Cut, drill, weld according to the 3D model.
Étape 4 - Hanger
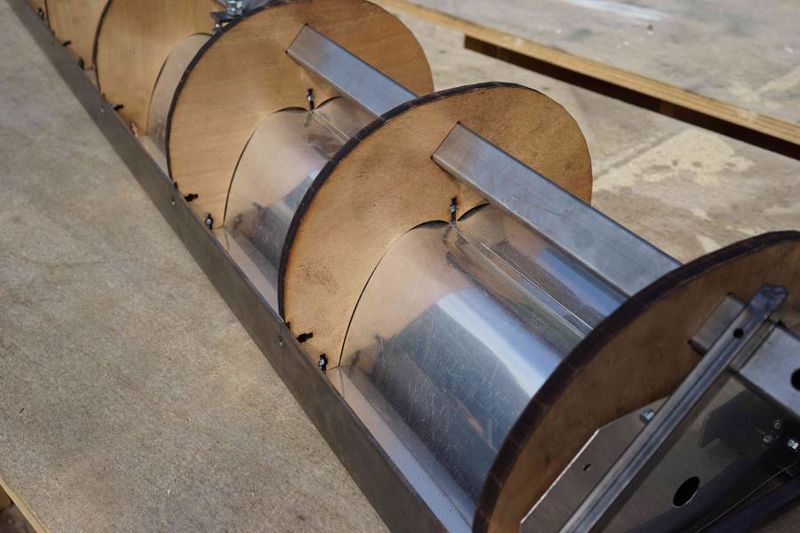
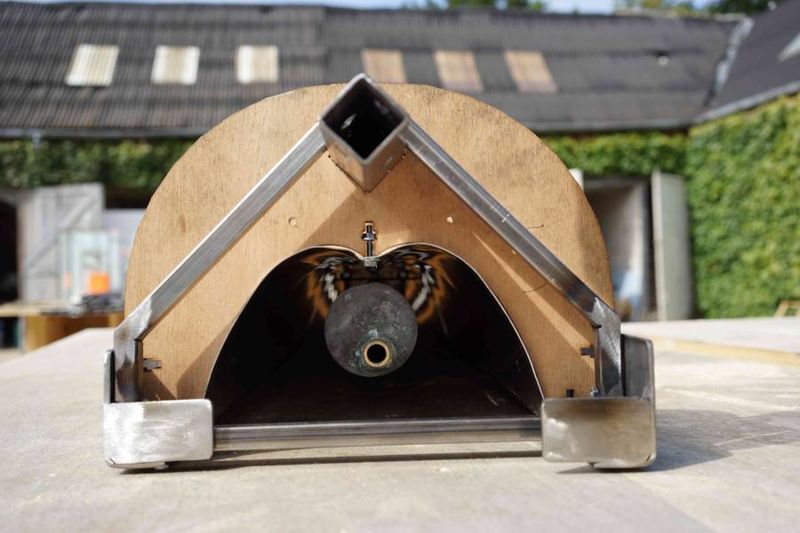
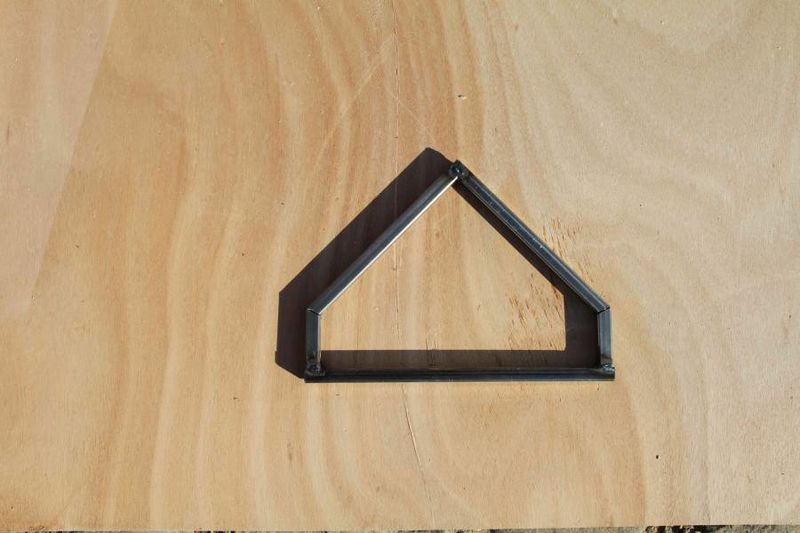
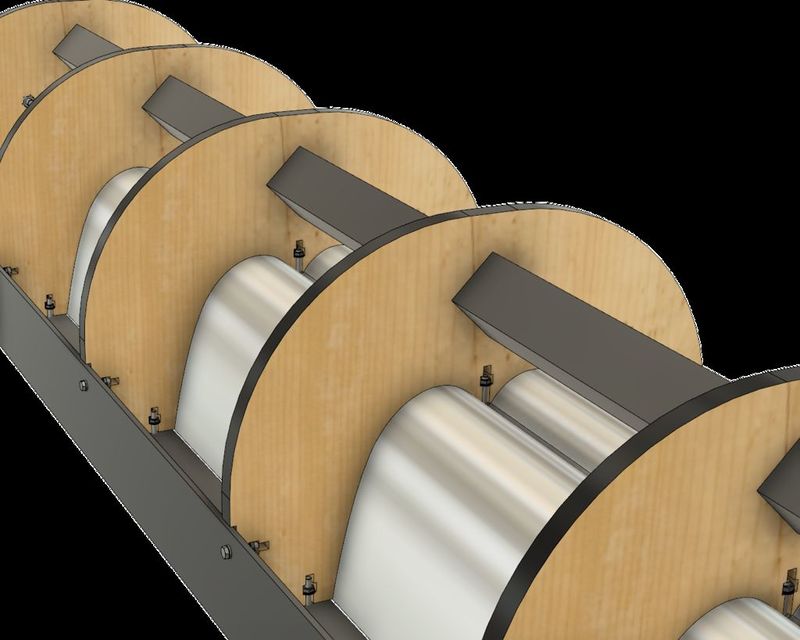
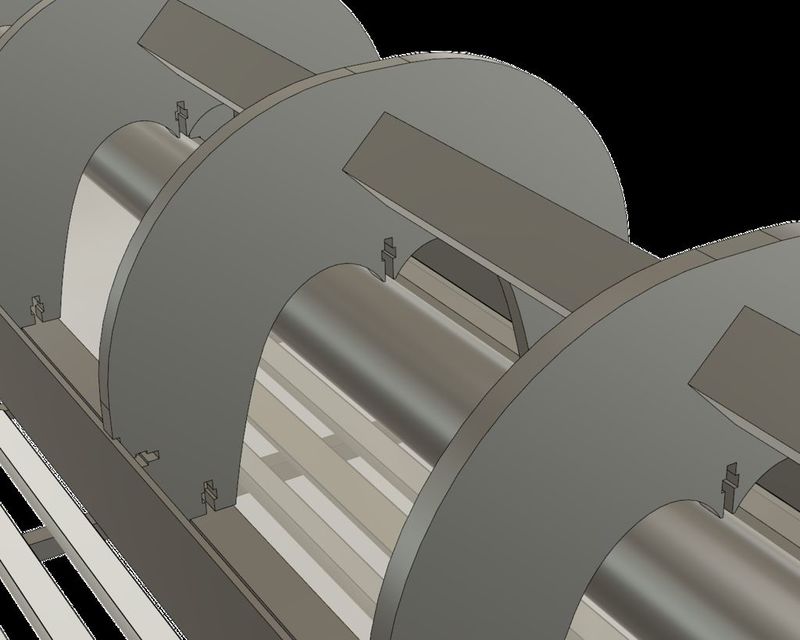
Print the 10 hangers at the cutting laser. The material used is a wood board (for example laminated structural wood) with a thickness of 10 mm.
Cut shapes of 2 hangers (with a cutting laser or manually), without emptying them. They are needed for the secondary reflector in order to close the receiver on its edges.
Link to the file for printing!

 Français
 English
 Deutsch
 Español
 Italiano
 Português