Introduction
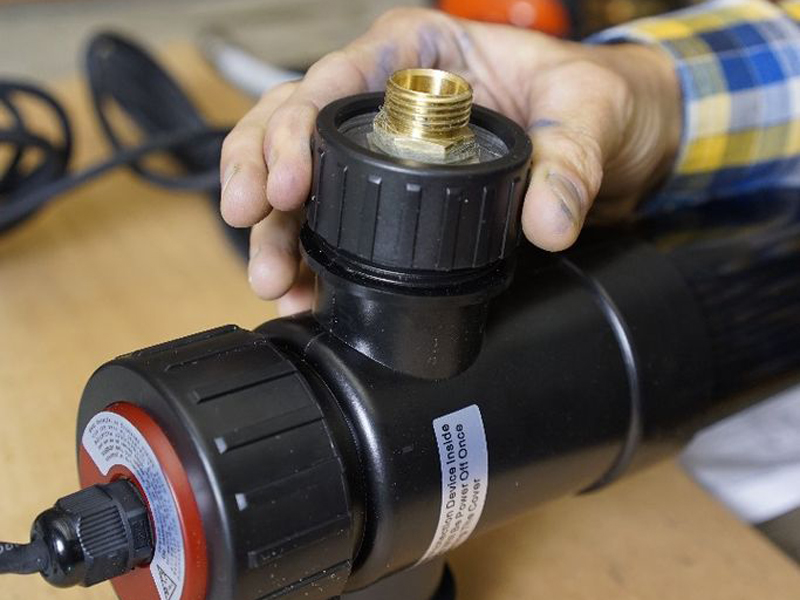
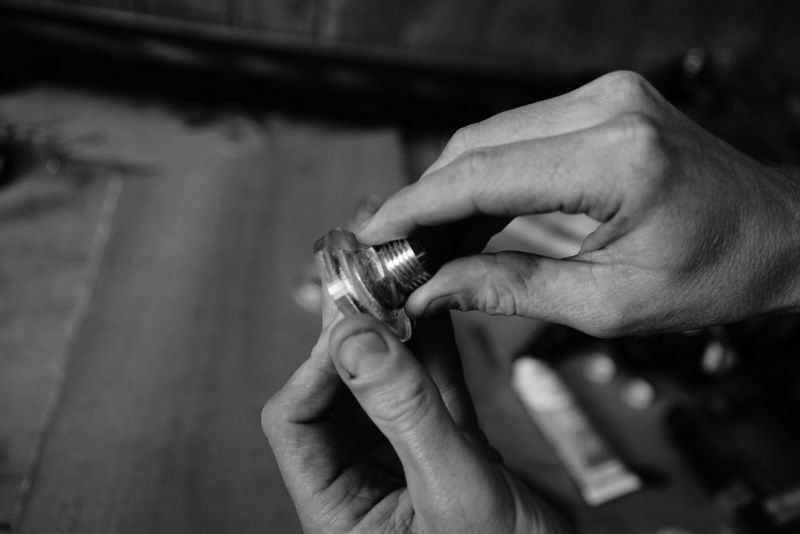
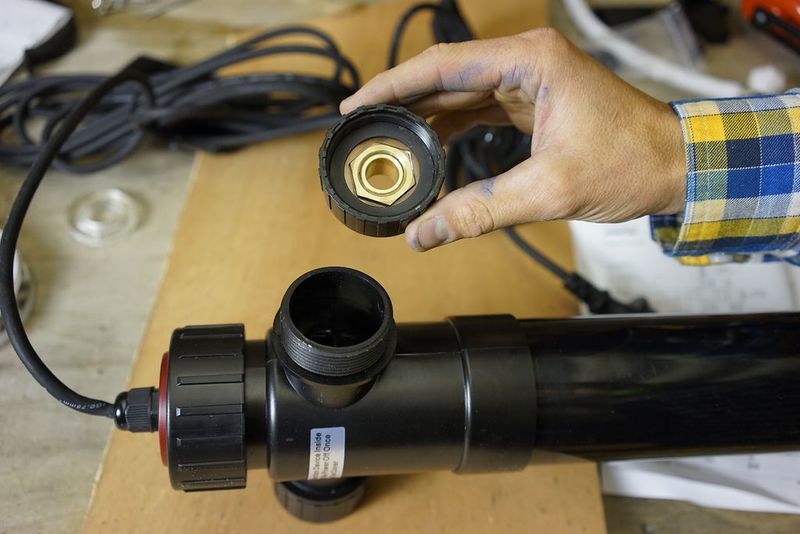
The UV lamp comes with it's own 'ice-cream' cone shaped hose connectors, but generally they are for 1" or larger hoses and it extends out too far to look cool so it's nicer to make a custom cap which reduces the form factor.
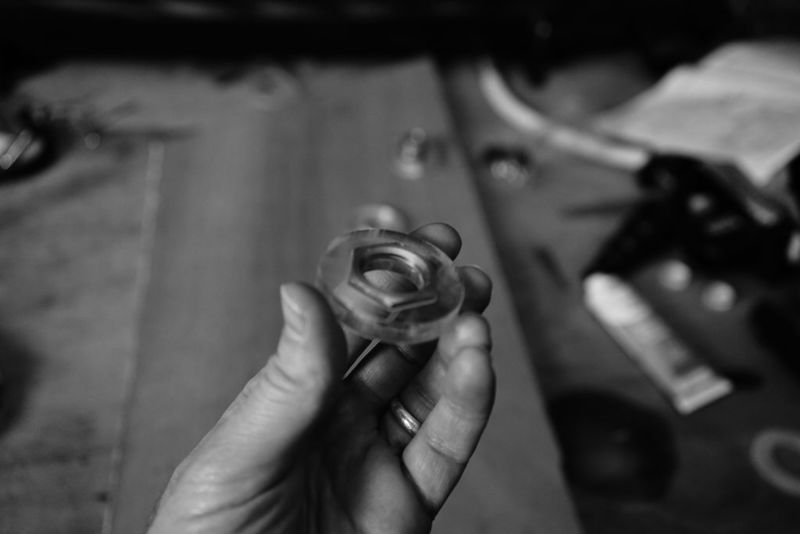
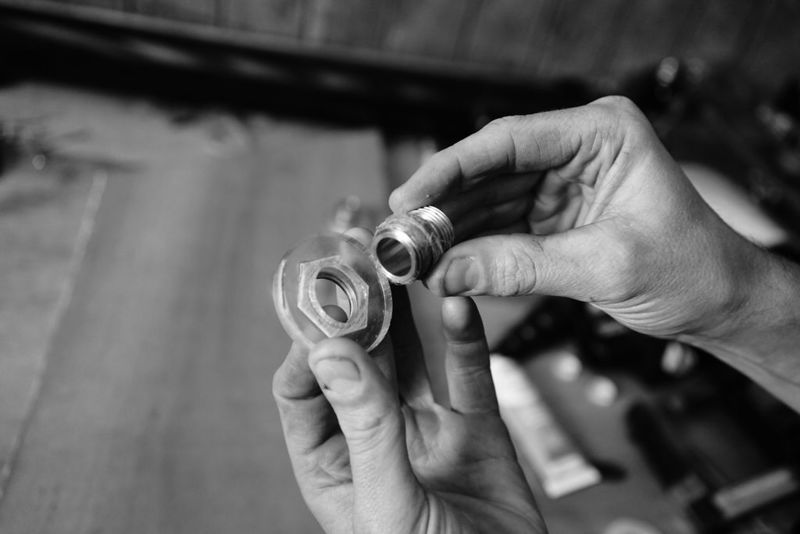
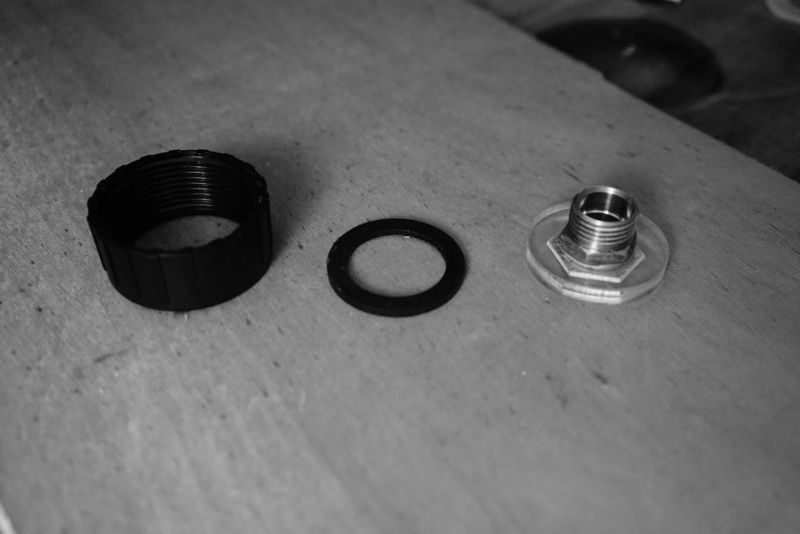
You should have laser cut the cap from the previous step. It can be seen in the picture on the right, next to the lock nut and brass union.
Étape 2 -
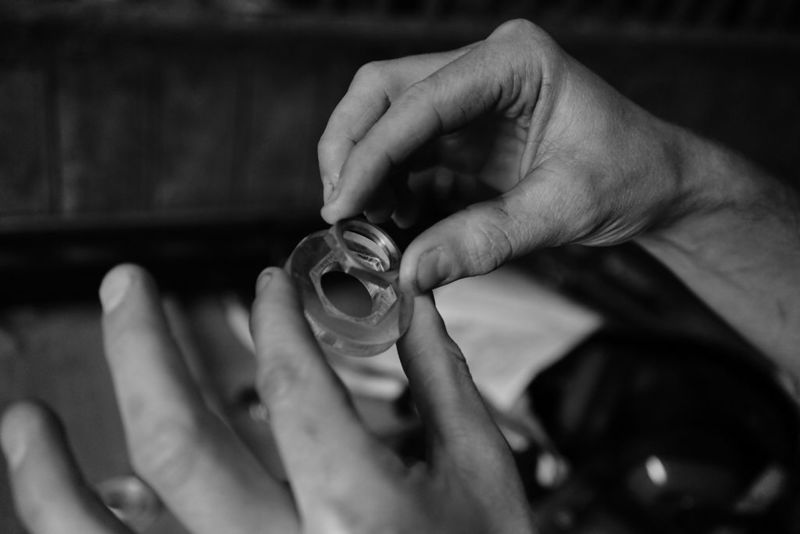
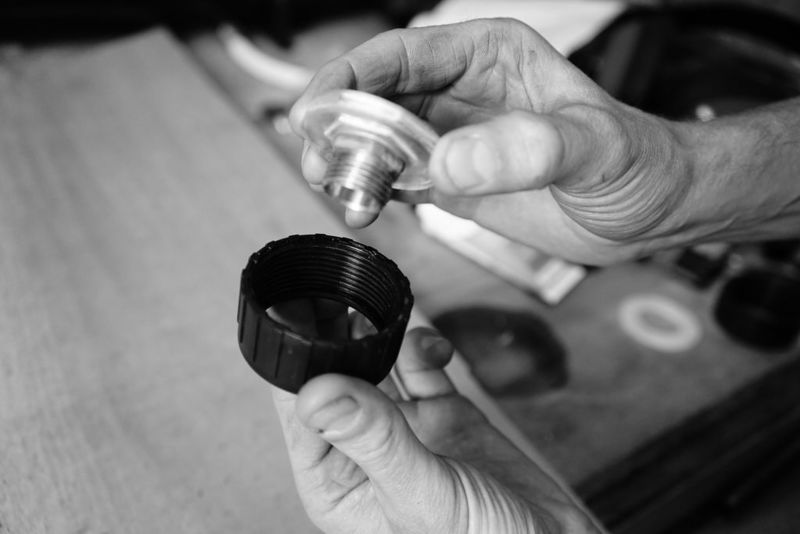
Place the lock nut inside the UV cap. Use teflon tape or hemp fibre with some mineral oil and place it inside the UV cap.
Étape 3 -
Place the brass union inside while holding in the lock nut. Use a spanner and possibly clamp to fasten the union to the locknut.
Étape 4 -
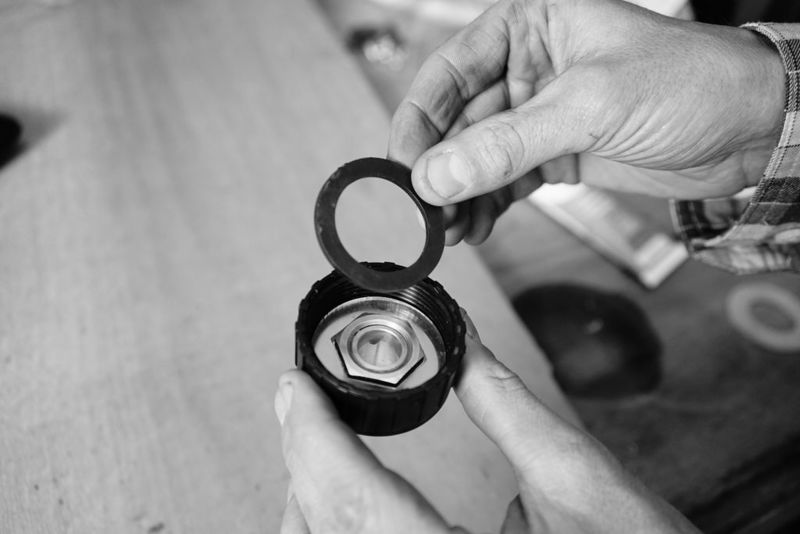
Place the UV cap inside the threaded hose connector lid and add the gasket to the inner side that comes into contact with the UV lamp.
Étape 5 -
Tighten and you're good to go. Add a desired hose connector to the threaded union to connect the UV to the shower head.
Étape 6 - Start using it
So this is the part where I run out of photos. You still need to attach the drain and the pump together. This part will vary depending on the drain. There are three ways to do this: 1) take over the drain pipe with some connectors and attach something similar to the UV cap to connect a large PVC pipe to a thinner hose.
Attach the drain hose to the pump with female hose connectors. Some pumps come with different types of connectors - with threads or without and sometimes you don't always get what you ordered so you have to spend some time in the plumbing section of the hardware store for this. Ring clamps are your friends.
Now this part is super essential and obvious component if you want to build Showerloop. It needs to have a 3-way valve by the drain which allows you to either pump the water through the filters or let the water go down the drain - or water storage tank/toilet/etc. So if you can fit it in you can add the three - way valve. Alternatively I made a special basin with two drain plugs whereby one goes into the Showerloop filter and the other one goes into the drain drain. I'm also working on a 2-in-1 solution, which I hope to release in the next tutorial.
Reheating the water: Just use tap water for now, we will add a tutorial on how to use an electrical resistor to heat up the water.
Wire the electricals safely out of the way: This is super important and for sure something that you've already thought about. Basically the pump and UV that I use are all rated to be water proof / water resistant. It's a good idea to house everything in a water proof container. I'm still working on this part and the ones mentioned above and will release a new tutorial showing how I combined it with an existing shower in the coming weeks/months.
Test the shower:
This part is simple. Just turn it on and see if it leaks. This is common for me in the beginning, usually something is just a bit too loose and some monkey wrench action will fix it all up.
Try out the shower:
The first time using it I would maybe have someone on standby to make sure everything is ok. Have it running on it's own for an 10 minutes without 'recycling' to clear the activated carbon and sand of dust (which will happen when you compress it the first time). Then have the system to run on it's own for up to an hour in recycling mode just to watch it do it's thing. After this it should be good enough to try on it's own.
Coming next:
solenoid valves, some drain hacks, using a different kind of pump, and adding buttons and and more control.
I'm hoping to make a living out of developing, building and helping others build Showerloop to fit to their own needs. If you want to support me you can join the R&D group we are setting up, donate to my cause or even buy our Showerloop KIT, more info at Showerloop.org. Also more relevant info is posted on our facebook page facebook.com/showerloop .
We are solving some of the bits and pieces mentioned above, but many of them have already been solved. This tutorial is a bit behind on the developments that I've made since POC21 which is why I'll be making a new update very soon. The filters, pump, UV and connections are all the same in our KIT, it simply incorporates some of the solutions mentioned above so I wouldn't discourage anyone from following this tutorial if they feel able to solve the last steps on their own. I'd be really happy to see what you come up with and so far I'm able to answer any questions that people have.
Notes et références
For more information about UV Properties of Plastics: Transmission & Resistance, visit this page.

 Français
 English
 Deutsch
 Español
 Italiano
 Português