- Move and work in the garden during the rainy season,
- Remove trash from the nature,
- Reduce the burning of plastics and,
- Raise awareness about the waste issue and hope to influence the local communities toward a wasteless future.
Sommaire
- 1 Introduction
- 2 Acknowledgements
- 3 Our solution and its expectable benefits
- 3.1 Étape 1 - How?
- 3.2 Required Conditions
- 3.3 Étape 2 - Collect waste:
- 3.4 Étape 3 - Collect empty bags,
- 3.5 Étape 4 - Define the location where you want to install the Plastic-Waste Pavement,
- 3.6 Étape 5 - Carry the collected waste and empty bags to the location (or close to location),
- 3.7 Étape 6 - If dirt is available at location, proceed with next step. Else:
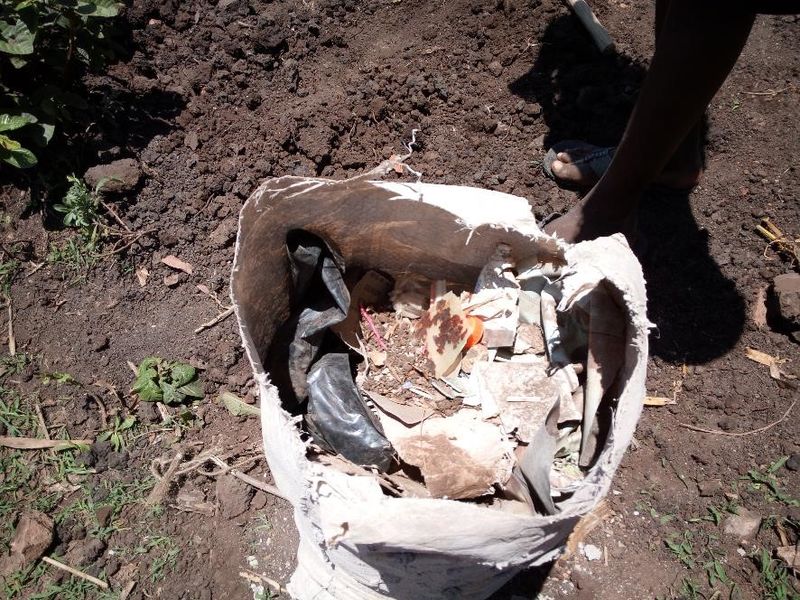
- 3.8 Étape 7 - Fill the bags with trash:
- 3.9 Étape 8 - If needed, use a knife to draw holes in the upper part of the filled bag,
- 3.10 Étape 9 - Use a rope and go through the holes on the upper part of the filled bag to close the filled bag,
- 3.11 Étape 10 - Tie the rope to secure the Plastic-Waste Pavement,
- 3.12 Étape 11 - If needed, use a knife to cut the loose part of the rope from the Plastic-Waste Pavement,
- 3.13 Étape 12 - Walk and/or jump on the Plastic-Waste Pavement to give it the shape you want,
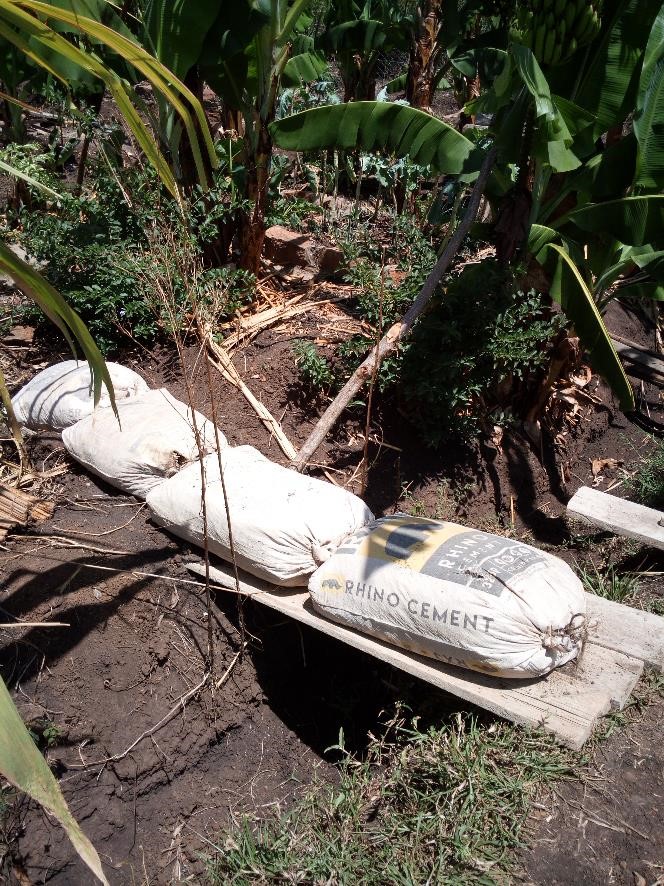
- 3.14 Étape 13 - Install the pavement,
- 3.15 Étape 14 - Use soap to wash your hands.
- 3.16 Notes et références
- 4 FAQ & Troubleshooting?
- 5 Go further…
Introduction
Acknowledgements
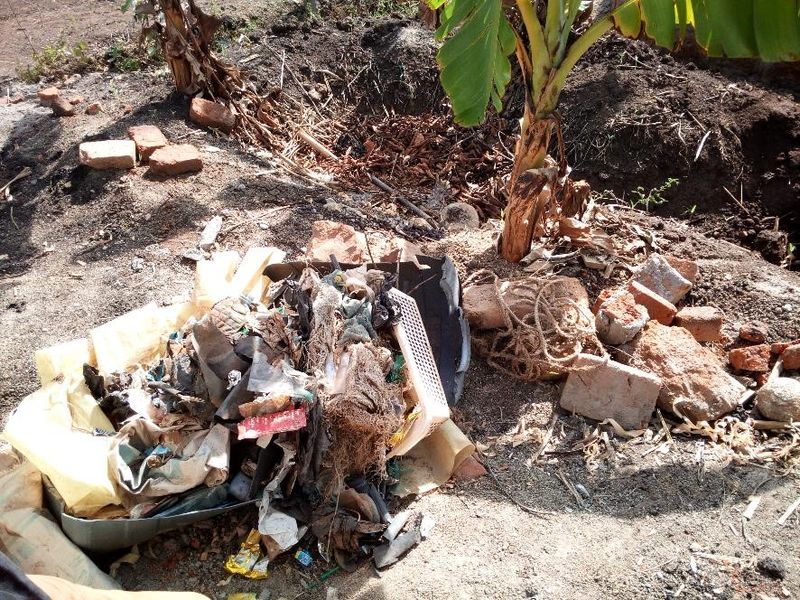
In Homa Bay, Kenya, as in most place we have been in Africa, there is no proper waste management solution accessible to local communities. As a result, we see litter -especially plastic waste- everywhere. The most commonly-adopted alternative is to burn the plastic waste. But burning releases toxic chemicals in the atmosphere and are, thus, a danger for the people doing it (not talking about the harm for soil, water, air, fauna, flora…). Thus, around the garden, we find a lot of plastic waste (plastic bags, pieces of recipients, worn out shoes, milk packs…). We also find a lot of empty cement bags and dirt due to recent construction work on the permaculture school and site latrines. Moreover, during the rainy season, the garden here gets muddy and it becomes difficult to move and work in the garden.
Our solution and its expectable benefits
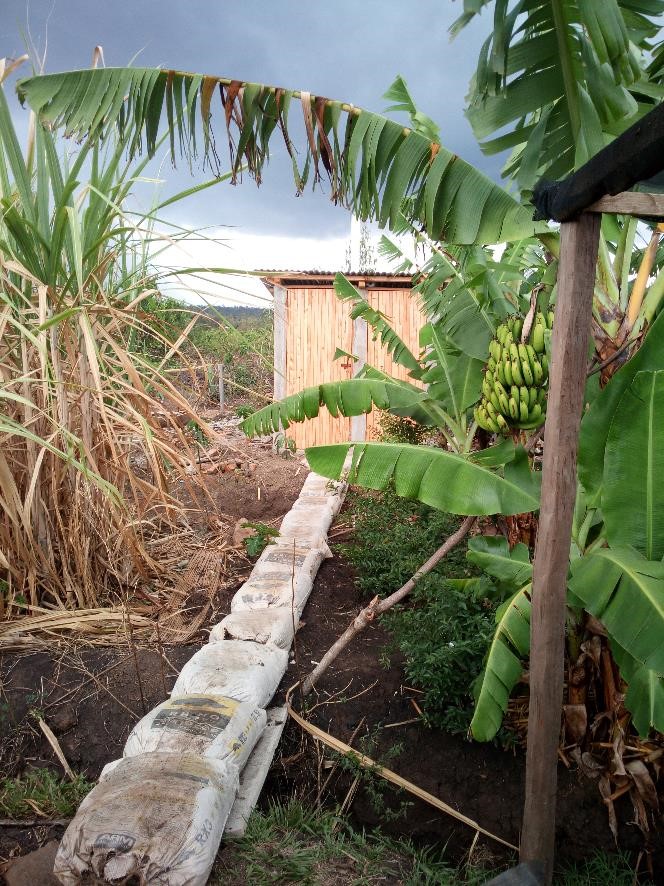
Recycle the plastic waste into pavement blocks to:
- Move and work in the garden during the rainy season,
- Remove trash from the nature,
- Reduce the burning of plastics and,
- Raise awareness about the waste issue and hope to influence the local communities toward a wasteless future.
Matériaux
- Parts:
- NA (we collect them)
- Consumables:
- Soap (for the rest, we collect them)
Outils
- Tools:
- (1) Wheelbarrow,
- (1) Shovel and,
- (1) Knife;
Étape 1 - How?
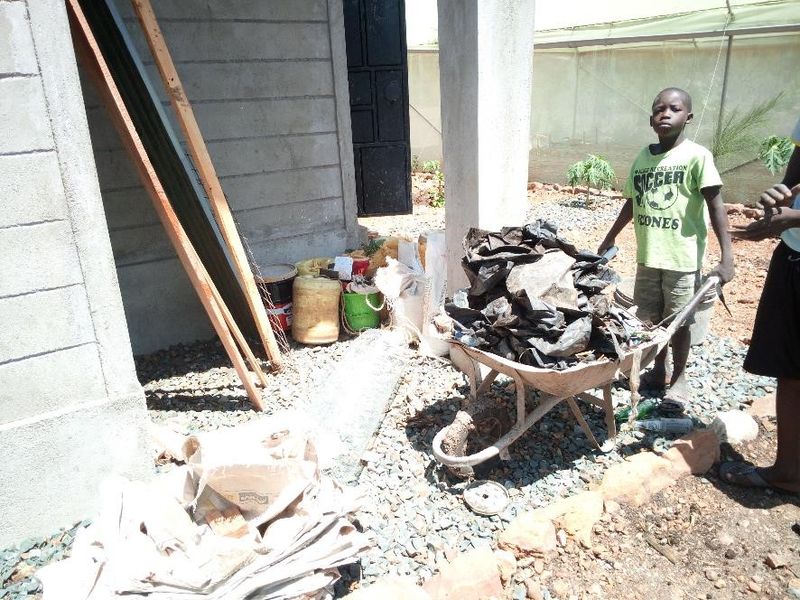
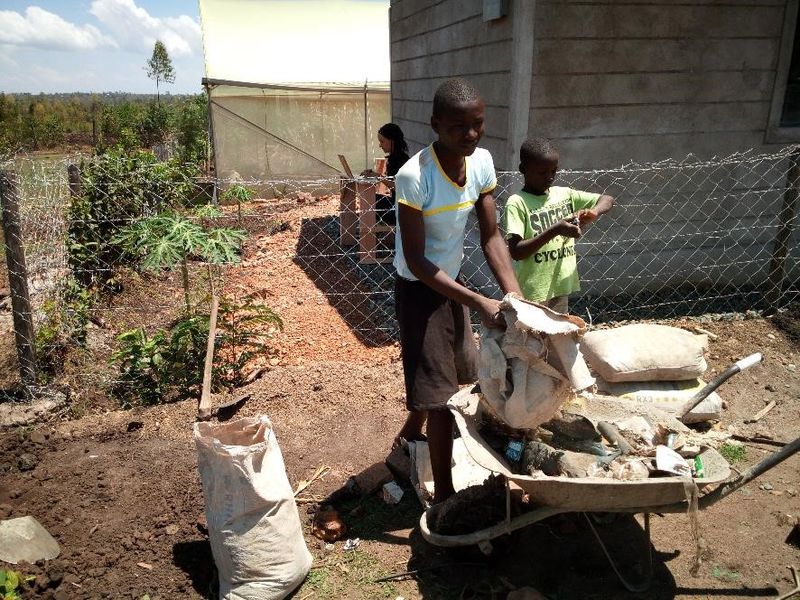
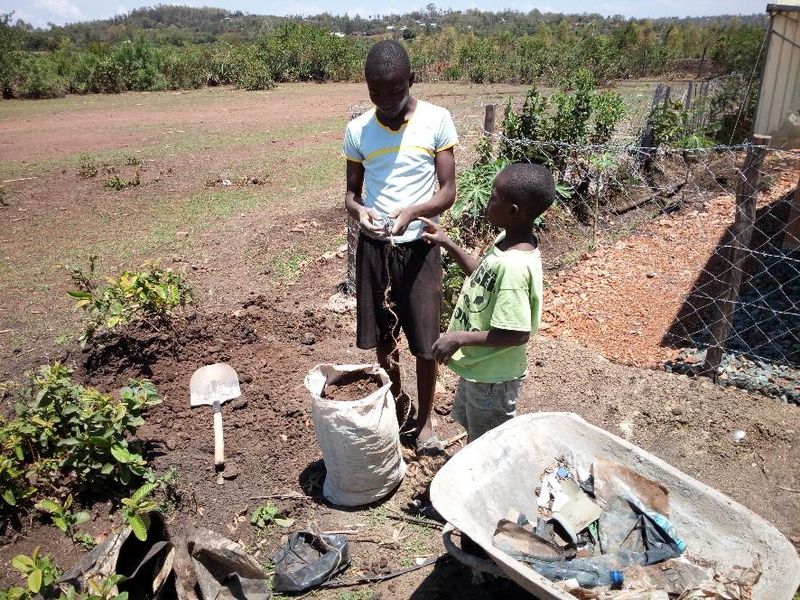
Refer to the pictures available in the gallery. Proceed as follows to build you own Plastic-Waste Pavement.
Required Conditions
- Team:
- One is enough (more is very much appreciated)
- Required skills:
- None
- Duration:
- 30 minutes (per unit)
- Preliminary requirements:
- NA
Étape 2 - Collect waste:
- Move around with bags and wheelbarrow to collect waste,
- If necessary, brake down the biggest pieces of waste into smaller pieces to make it easier to transport;
Étape 3 - Collect empty bags,
Étape 4 - Define the location where you want to install the Plastic-Waste Pavement,
Étape 5 - Carry the collected waste and empty bags to the location (or close to location),
Étape 6 - If dirt is available at location, proceed with next step. Else:
- Empty the waste from the wheelbarrow at location,
- Use the wheel barrow to collect dirt,
- Carry the collected dirt to location (or close to location);
Étape 8 - If needed, use a knife to draw holes in the upper part of the filled bag,
Étape 9 - Use a rope and go through the holes on the upper part of the filled bag to close the filled bag,
Étape 10 - Tie the rope to secure the Plastic-Waste Pavement,
Étape 11 - If needed, use a knife to cut the loose part of the rope from the Plastic-Waste Pavement,
Étape 12 - Walk and/or jump on the Plastic-Waste Pavement to give it the shape you want,
Étape 14 - Use soap to wash your hands.
Notes et références
FAQ & Troubleshooting?
I do not like collecting trash, what can I do?
We suggest an individual and collective approach to that one: install dust bins and influence the community to use those dust bins! Collection should be much easier 😊 Other suggestion: team-up! The greater the number, the greater the fun.
The bag I used is not sturdy enough: it breaks OR content comes out of the bag; what can I do?
The easiest is to install the defect bag upside down in a “new” bag (without trash in it) and close the bag. Why upside down? If the end of one bag opens, content will remain inside the assembly; if both ends are on the same side, content might leak.
Go further…
Please share with us with your remarks, comments, improvements, achievements, etc. and let’s clean this place up; let’s not forget: Reduce – Reuse – Recycle – Repair, 4R that makes us (and the planet) happy (or not too unhappy).
Learn more about our projects: https://sustainable-autonomy.weebly.com/
Follow us: Twitter logo => https://twitter.com/Sustainomy/
Yes
 Français
 English
 Deutsch
 Español
 Italiano
 Português