| Ligne 14 : | Ligne 14 : | ||
}} | }} | ||
{{Materials | {{Materials | ||
| + | |Prerequisites={{Prerequisites}} | ||
|Tuto_Attachments={{Tuto Attachments | |Tuto_Attachments={{Tuto Attachments | ||
|Attachment=Montaje_3DSteel_V2_-_Tutorial_4_-_Puesta_a_Punto_capa-fan-off.jpg | |Attachment=Montaje_3DSteel_V2_-_Tutorial_4_-_Puesta_a_Punto_capa-fan-off.jpg | ||
| Ligne 20 : | Ligne 21 : | ||
|ExternalAttachmentsLinks=https://help.prusa3d.com/en/guide/1-introduction_24976#24984 | |ExternalAttachmentsLinks=https://help.prusa3d.com/en/guide/1-introduction_24976#24984 | ||
}} | }} | ||
| − | |||
| − | |||
| − | |||
| − | |||
}} | }} | ||
{{Tuto Step | {{Tuto Step | ||
| Ligne 38 : | Ligne 35 : | ||
|Step_Picture_00=Original_Prusa_i3_MK3S_kit_assembly_Step1-1.jpg | |Step_Picture_00=Original_Prusa_i3_MK3S_kit_assembly_Step1-1.jpg | ||
|Step_Picture_01=Original_Prusa_i3_MK3S_kit_assembly_Step1-2.jpg | |Step_Picture_01=Original_Prusa_i3_MK3S_kit_assembly_Step1-2.jpg | ||
| + | }} | ||
| + | {{Tuto Step | ||
| + | |Step_Title=<translate></translate> | ||
| + | |Step_Content=<translate></translate> | ||
}} | }} | ||
{{Tuto Step | {{Tuto Step | ||
Version du 24 juillet 2020 à 15:02
MK3S
Difficulté
Très facile
Durée
10 minute(s)
Catégories
Électronique
Coût
0 USD ($)
Étape 1 - All the required tools are included
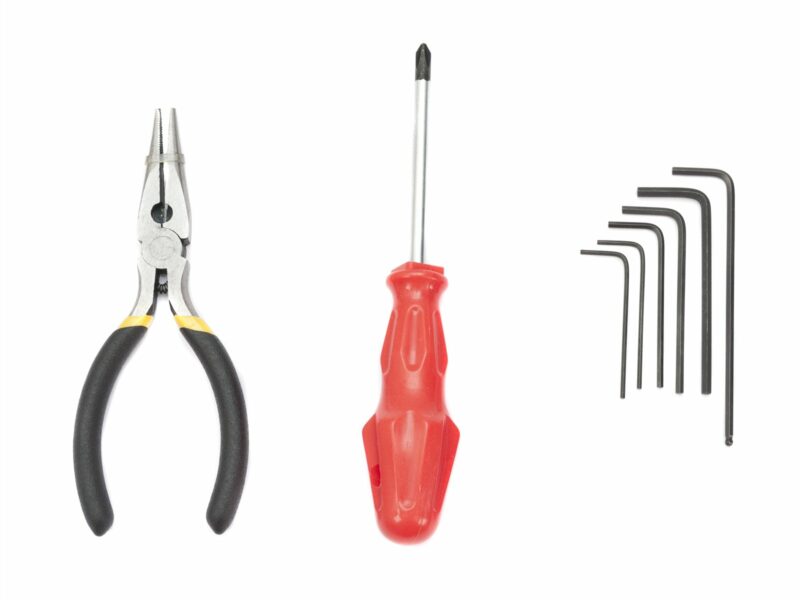
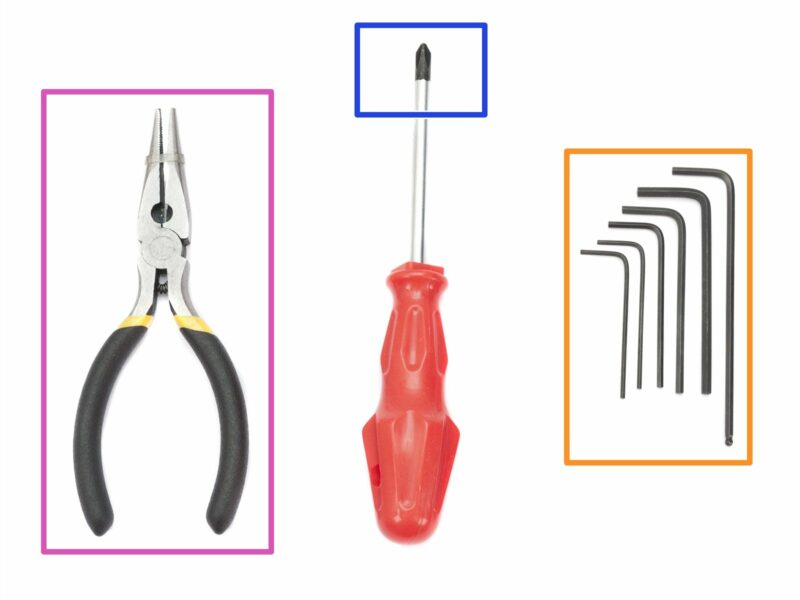
- The kit includes
- Needle-nose pliers (1x)
- Philips screwdriver (1x)
- Allen key (6x)
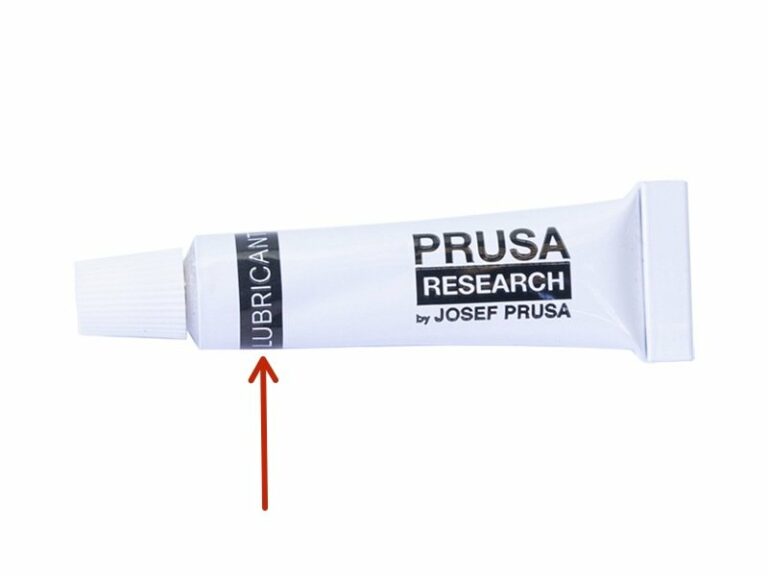
- The printer's package contains a lubricant, which is intended for maintenance. No need to use it now the bearings are lubricated. There is a dedicated online manual on how to clean the printer and apply the lubricant. See help.prusa3d.com/maintenance-tips
No soldering is required.
No wire crimping is required.
Étape 2 -
Étape 3 -
Draft


 Français
 English
 Deutsch
 Español
 Italiano
 Português