| Ligne 1 : | Ligne 1 : | ||
{{ {{tntn|Tuto Details}} | {{ {{tntn|Tuto Details}} | ||
| + | |SourceLanguage=none | ||
| + | |Language=en | ||
| + | |IsTranslation=0 | ||
|Main_Picture=Open_Workshop_Setup_OpenWorkshopSetup-new-15.jpg | |Main_Picture=Open_Workshop_Setup_OpenWorkshopSetup-new-15.jpg | ||
|Licences=Attribution-ShareAlike (CC BY-SA) | |Licences=Attribution-ShareAlike (CC BY-SA) | ||
| Ligne 11 : | Ligne 14 : | ||
|Currency=USD ($) | |Currency=USD ($) | ||
|Tags=Workshop, Tools, Materials, Open Source Hardware, Management | |Tags=Workshop, Tools, Materials, Open Source Hardware, Management | ||
| − | |||
| − | |||
| − | |||
}} | }} | ||
{{ {{tntn|Introduction}} | {{ {{tntn|Introduction}} | ||
| Ligne 62 : | Ligne 62 : | ||
* cut the parts for the box and the skrewdriver board and add it to the wall setup | * cut the parts for the box and the skrewdriver board and add it to the wall setup | ||
* nail everything to the board and remove the tools | * nail everything to the board and remove the tools | ||
| − | |Step_Picture_00=Open_Workshop_Setup_OpenWorkshopSetup-new- | + | |Step_Picture_00=Open_Workshop_Setup_OpenWorkshopSetup-new-6.jpg |
| − | |Step_Picture_01=Open_Workshop_Setup_OpenWorkshopSetup-new- | + | |Step_Picture_01=Open_Workshop_Setup_OpenWorkshopSetup-new-9.jpg |
| − | |Step_Picture_02=Open_Workshop_Setup_OpenWorkshopSetup-new- | + | |Step_Picture_02=Open_Workshop_Setup_OpenWorkshopSetup-new-10.jpg |
|Step_Picture_03=Open_Workshop_Setup_OpenWorkshopSetup-new-8.jpg | |Step_Picture_03=Open_Workshop_Setup_OpenWorkshopSetup-new-8.jpg | ||
}} | }} | ||
| Ligne 78 : | Ligne 78 : | ||
|Step_Title=Fix tools and materials to the boards and finish up | |Step_Title=Fix tools and materials to the boards and finish up | ||
|Step_Content= | |Step_Content= | ||
| + | |Step_Picture_00=Open_Workshop_Setup_OpenWorkshopSetup-new-18.jpg | ||
| + | |Step_Picture_01=Open_Workshop_Setup_OpenWorkshopSetup-new-17.jpg | ||
| + | |Step_Picture_02=Open_Workshop_Setup_OpenWorkshopSetup-new-20.jpg | ||
| + | |Step_Picture_03=Open_Workshop_Setup_OpenWorkshopSetup-new-25.jpg | ||
| + | |Step_Picture_04=Open_Workshop_Setup_OpenWorkshopSetup-new-26.jpg | ||
| + | }} | ||
| + | {{ {{tntn|Tuto Step}} | ||
| + | |Step_Title=Tips & WATCH YOUR TOOLS | ||
| + | |Step_Content= | ||
| + | |Step_Picture_00=Open_Workshop_Setup_OpenWorkshopSetup-new-24.jpg | ||
| + | |Step_Picture_01=Open_Workshop_Setup_OpenWorkshopSetup-new-23.jpg | ||
| + | |Step_Picture_02=Open_Workshop_Setup_OpenWorkshopSetup-new-19.jpg | ||
| + | |Step_Picture_03=Open_Workshop_Setup_OpenWorkshopSetup-new-27.jpg | ||
}} | }} | ||
{{ {{tntn|Notes}} | {{ {{tntn|Notes}} | ||
Version du 5 décembre 2018 à 21:40
Create a simple worspace setup to manage and organise your tools and materials
Difficulté
Facile
Durée
8 heure(s)
Catégories
Électronique, Machines & Outils, Recyclage & Upcycling
Coût
100 USD ($)
Introduction
Creating a organised workshop is key for your active work on projects.
So we came up with a simple and cheap way of doing it, the more material you upcycle to build it, the more you can reduce the costs.
Matériaux
- 2x plywood (90x60cm, 90x120cm)
- nails (100, 60, 40, 25 mm)
- timber (for the box) + leftover plywood sheets
- long timber (120x7cm)
- boxes
- water bottles (1.0 & 0.5 l)
- solid wooden table (120x70x90cm)
Outils
- hammer
- saw
- sissors
- tape measure
- water level
- square
- sandpaper
- documentation camera/smartphone cam
Étape 1 - Space selection & preparation
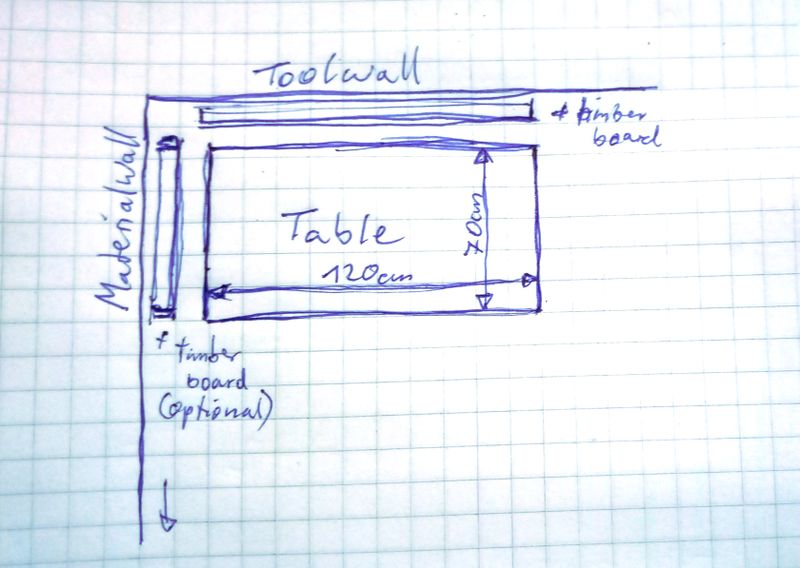
- You need a space where you can work, so at least 8x bigger than your original workshop spot
- use a corner of the room (about 2.0x1.0m Space minimum)
- keep lights and accessebillity in mind
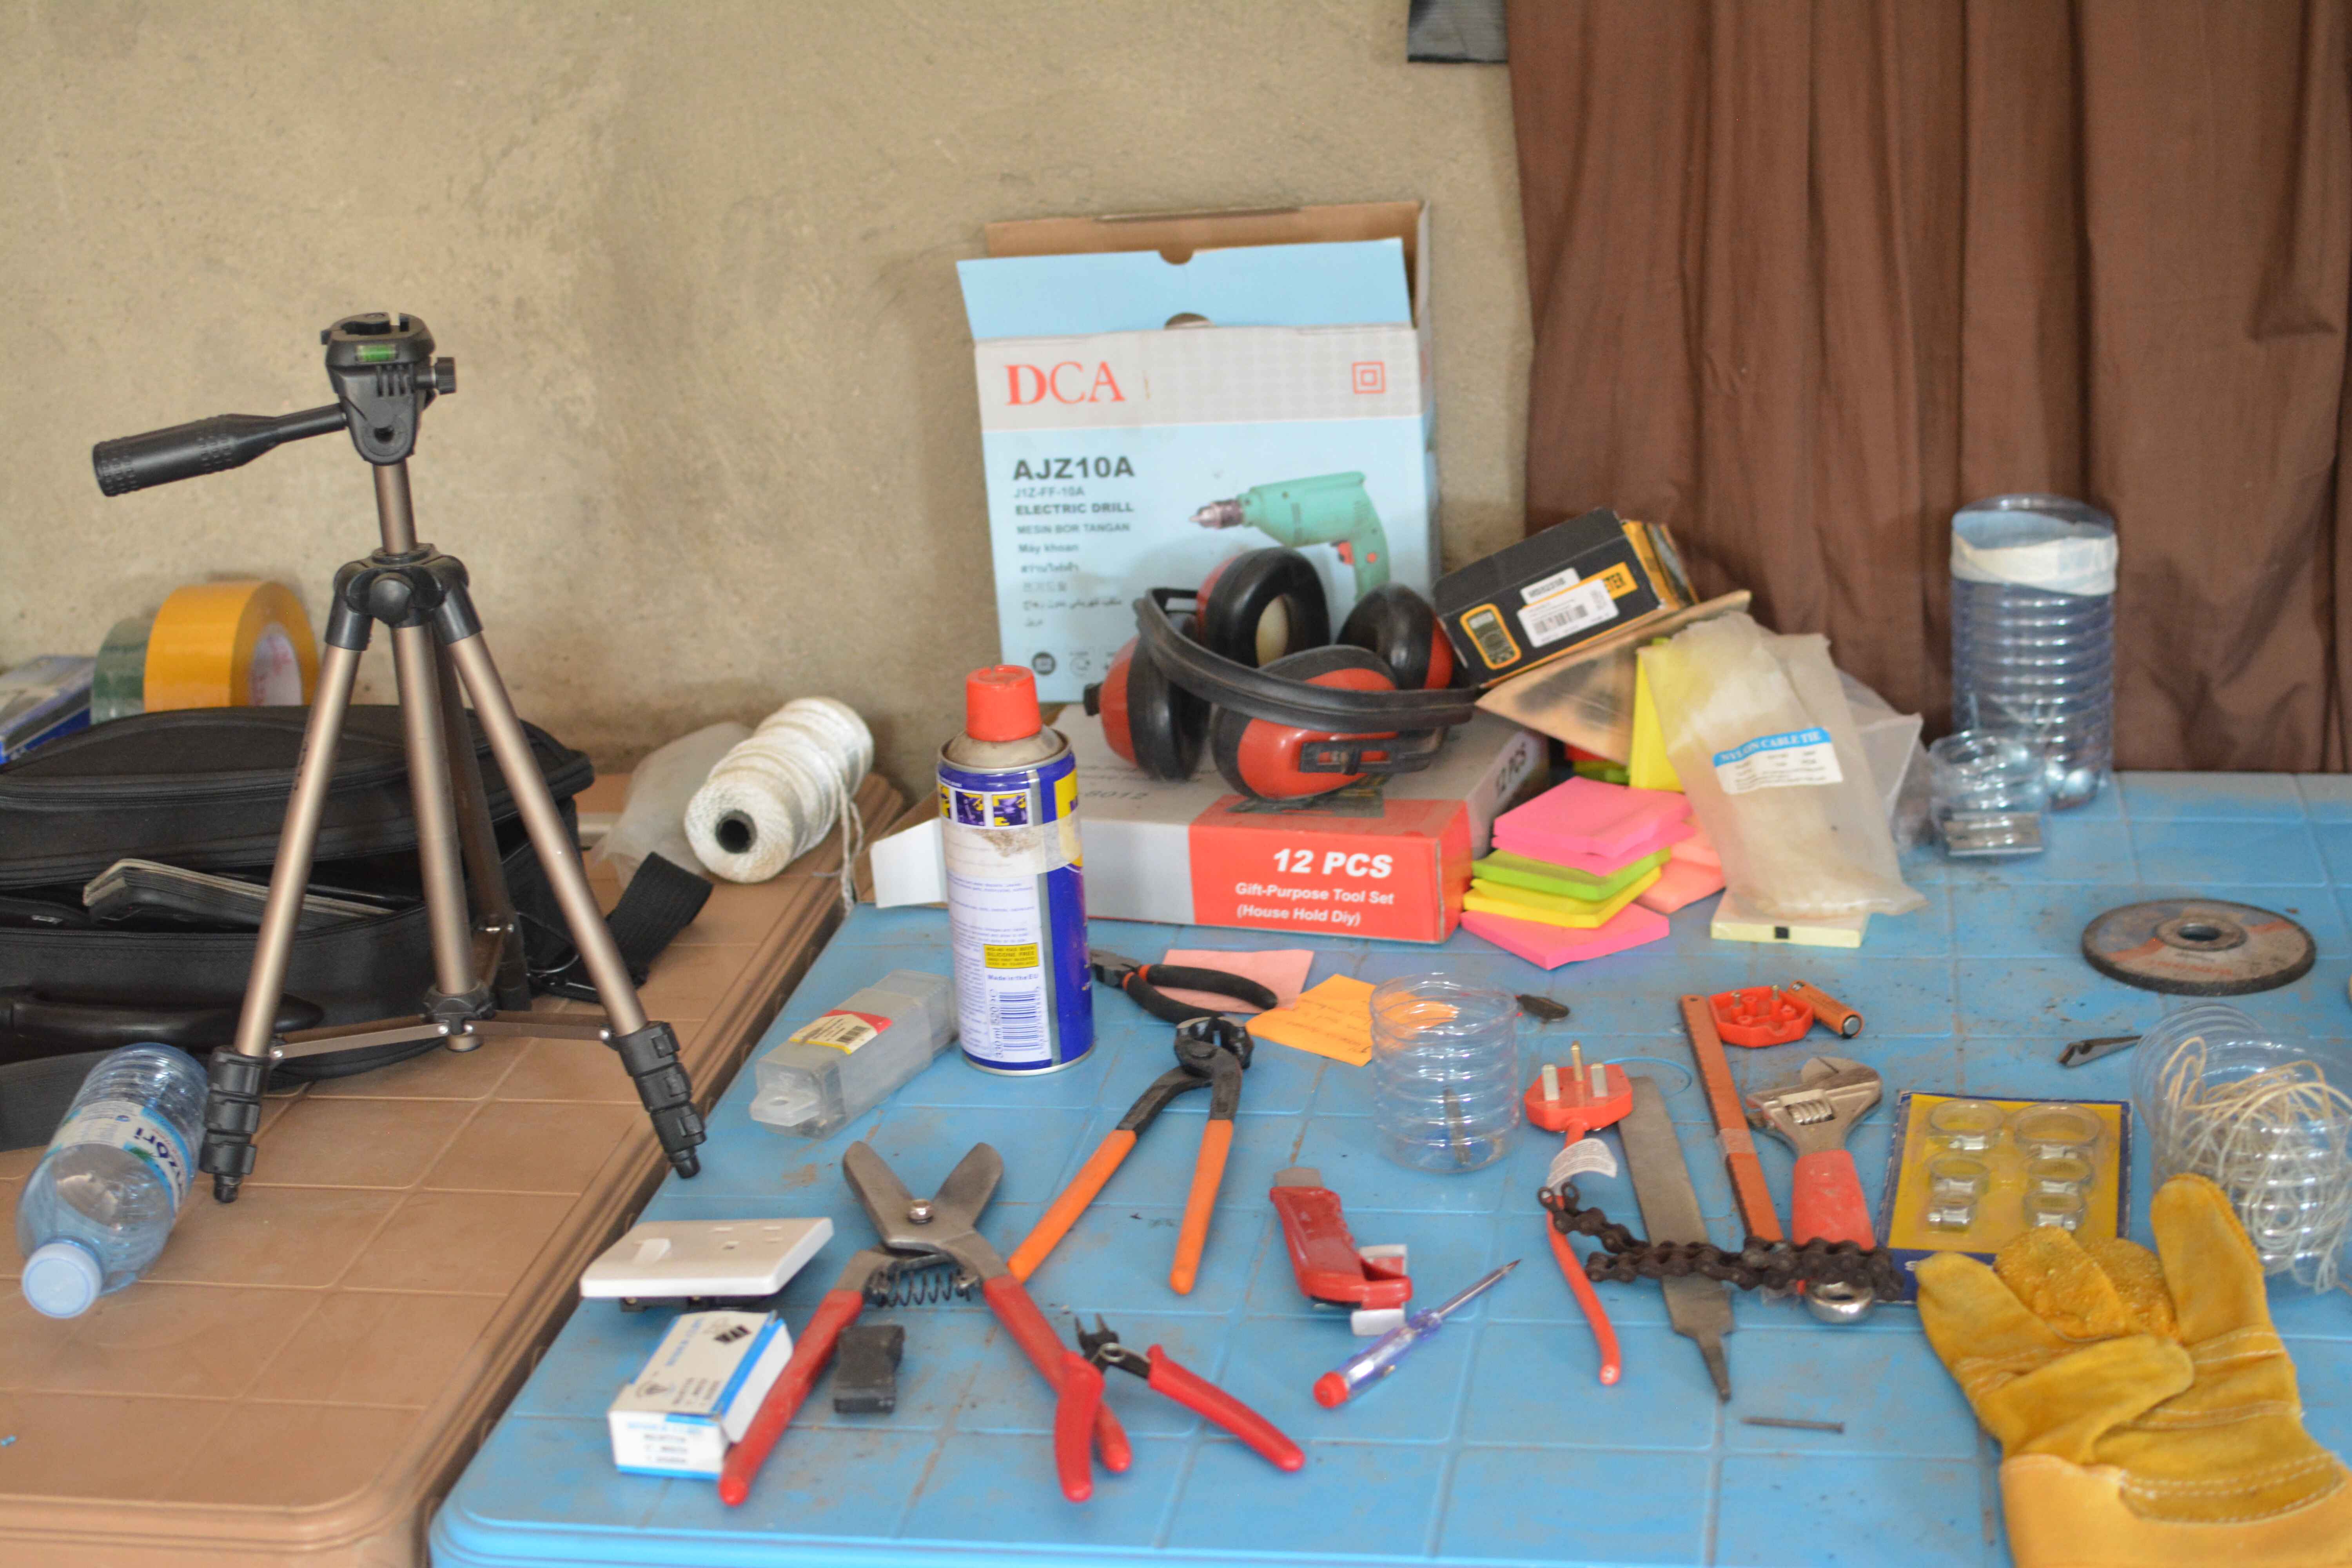
- kreate an overview of tools and materials you have
- start looking for a good sized plywood for your tools (big) and your small materials (small)
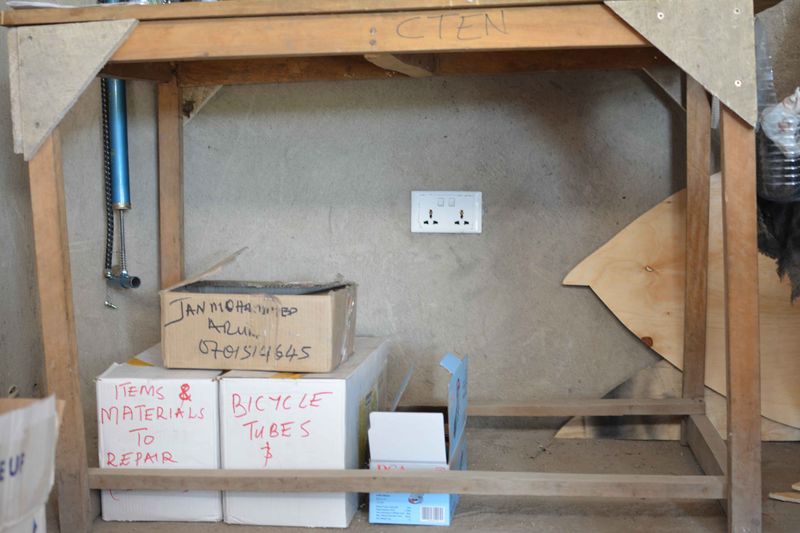
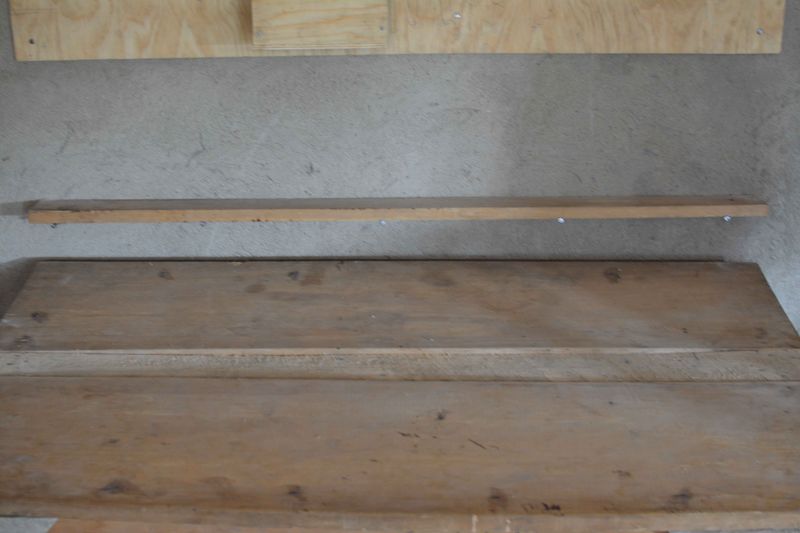
- use a solid table as base for the construction (at least 90cm high and 70cm deep)
- have a powerplug close to it
- cut the wood sheets
Étape 2 - prepare tools & materials
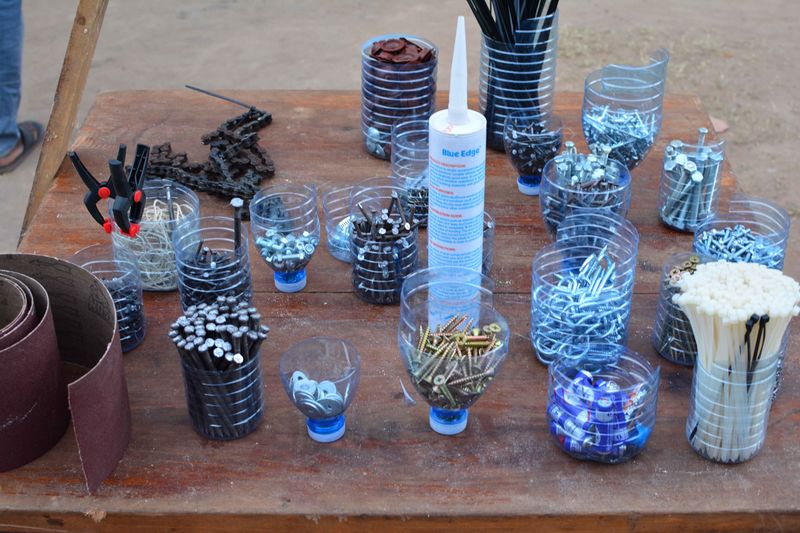
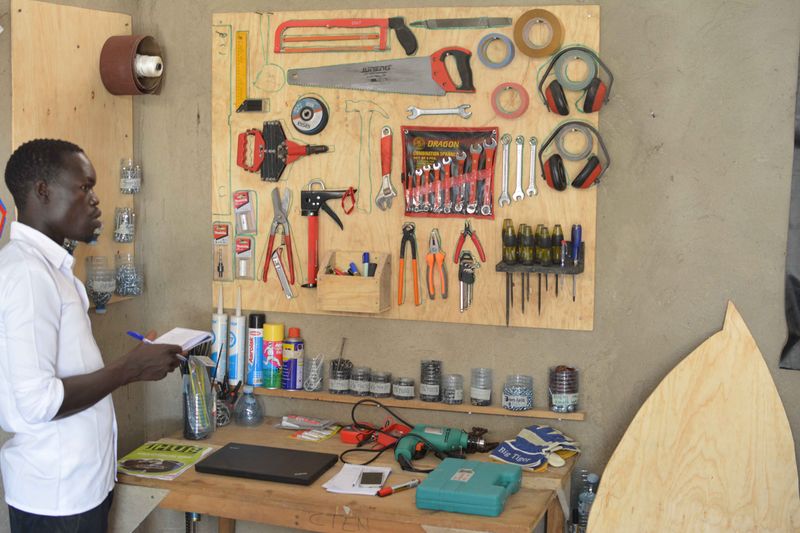
- sort materials and tools by type and usage
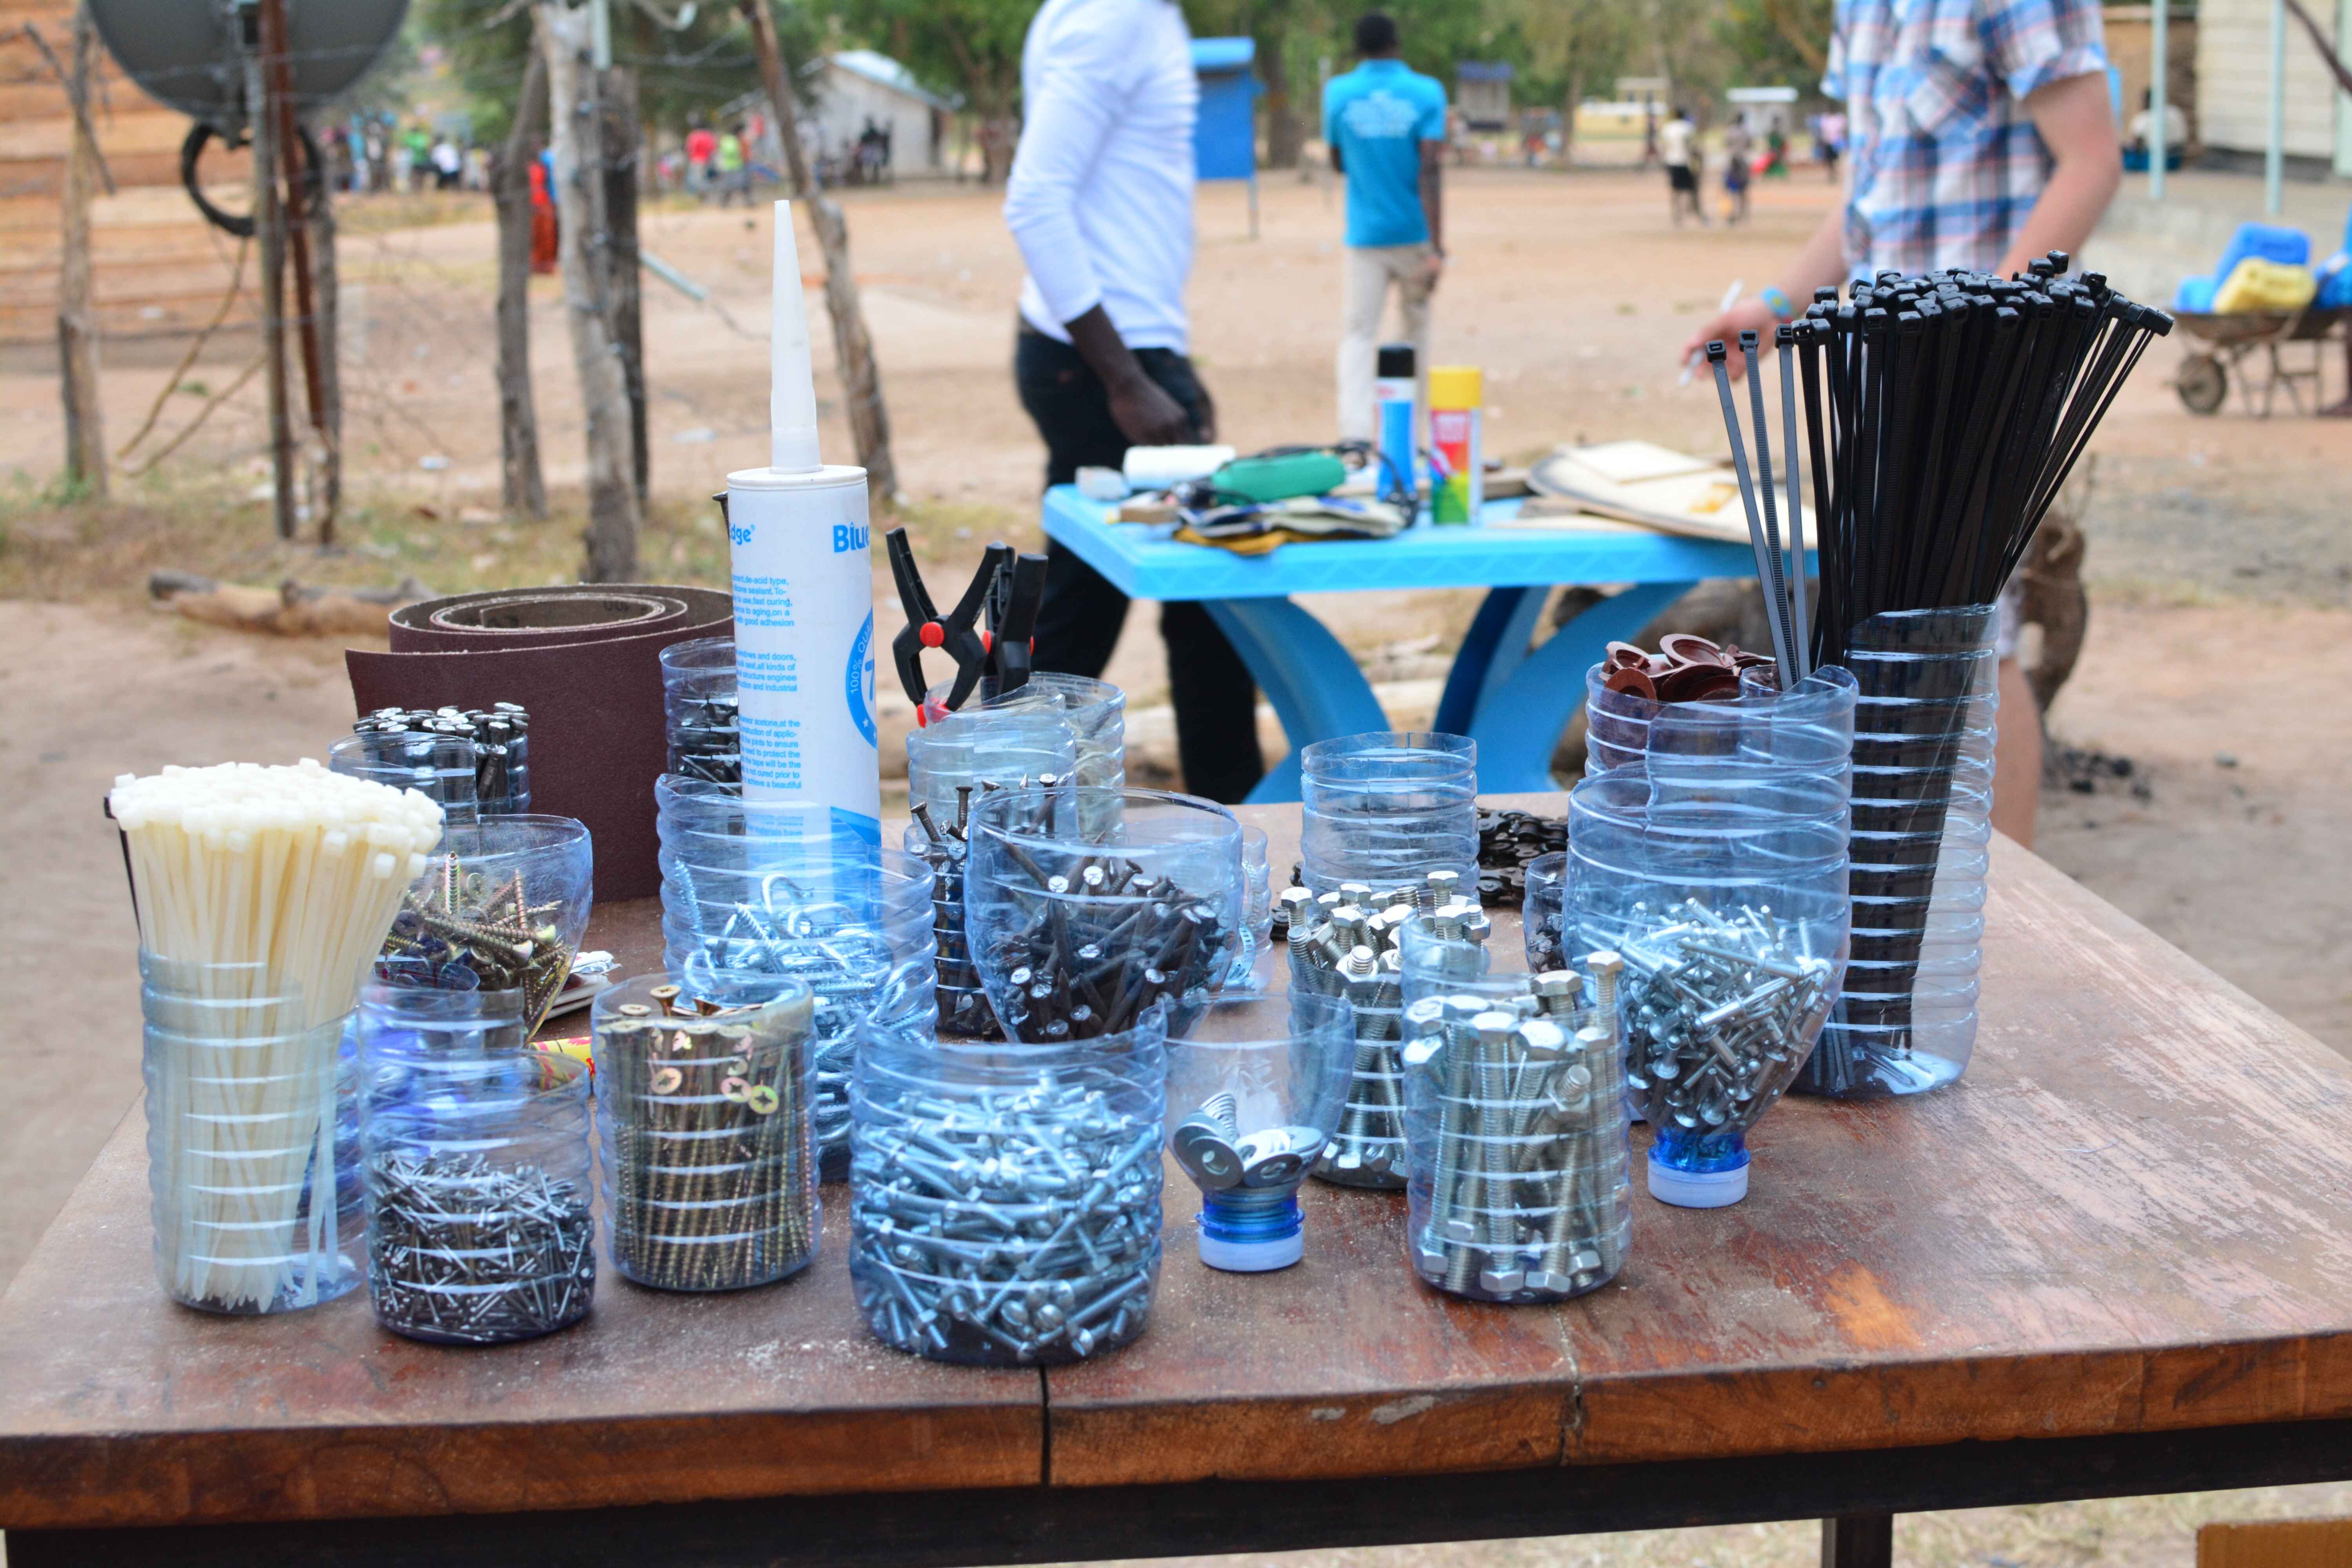
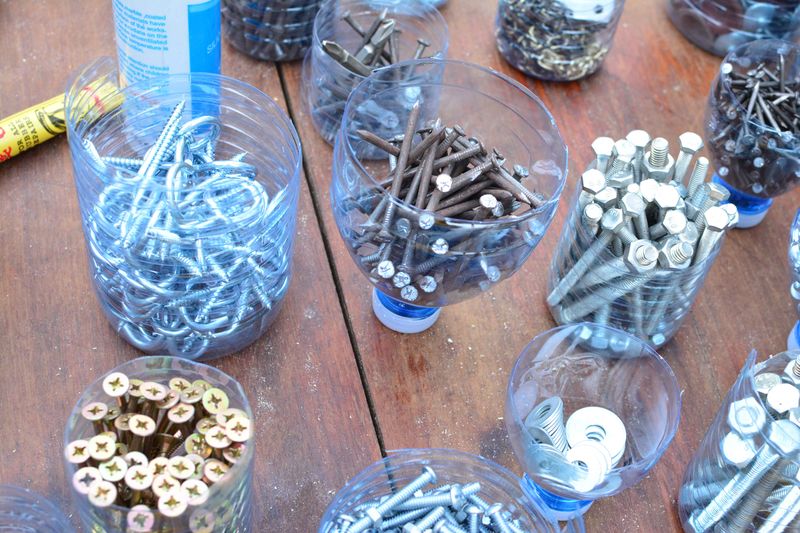
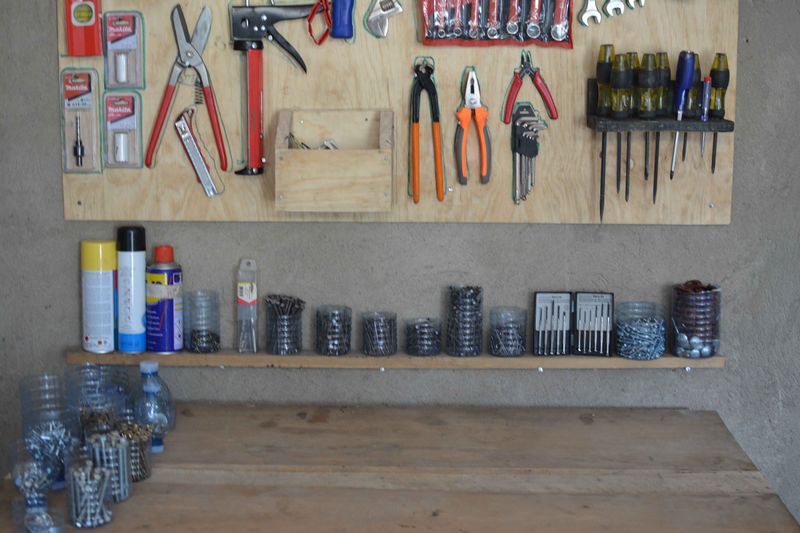
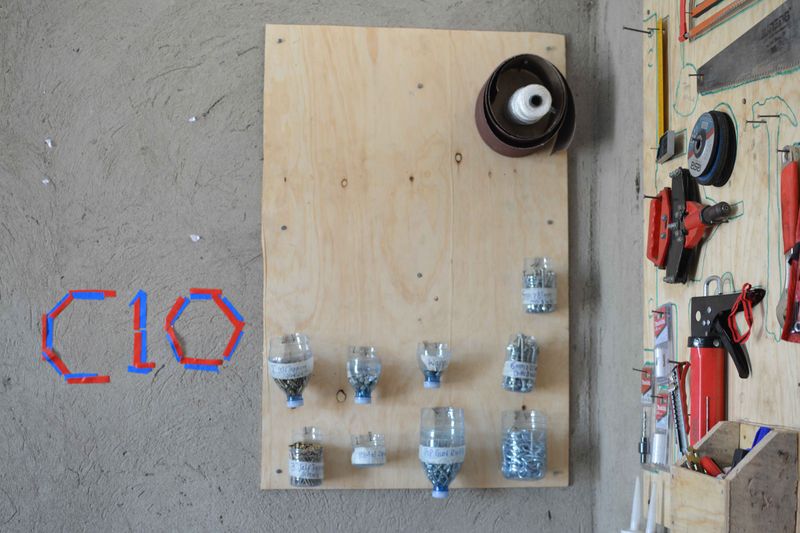
- cut the bottles to fill with materials (screws, bolts, nuts, washers, hooks, rivets etc.)
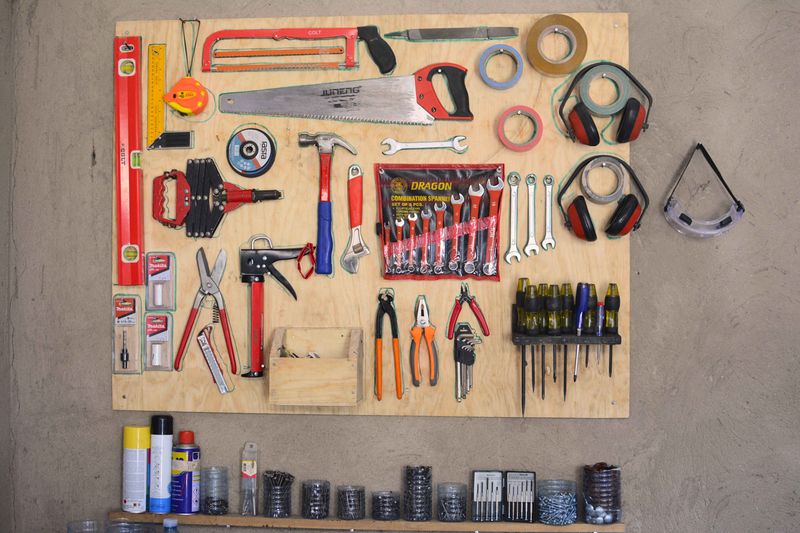
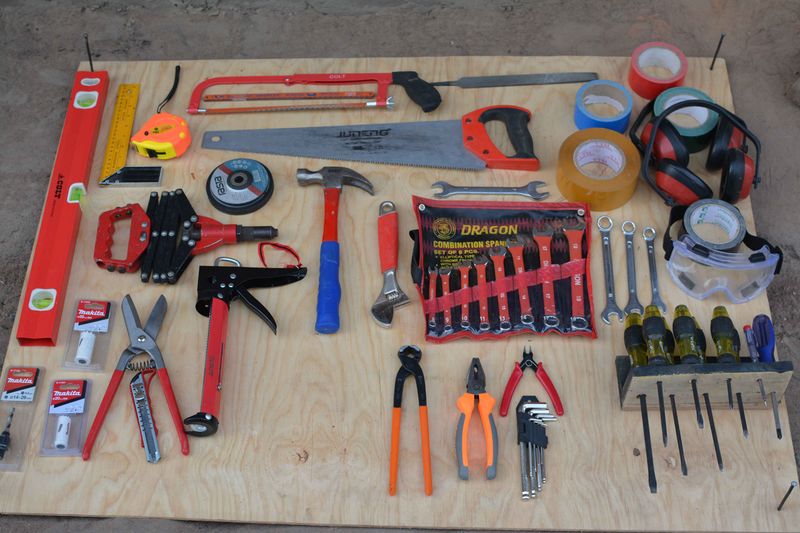
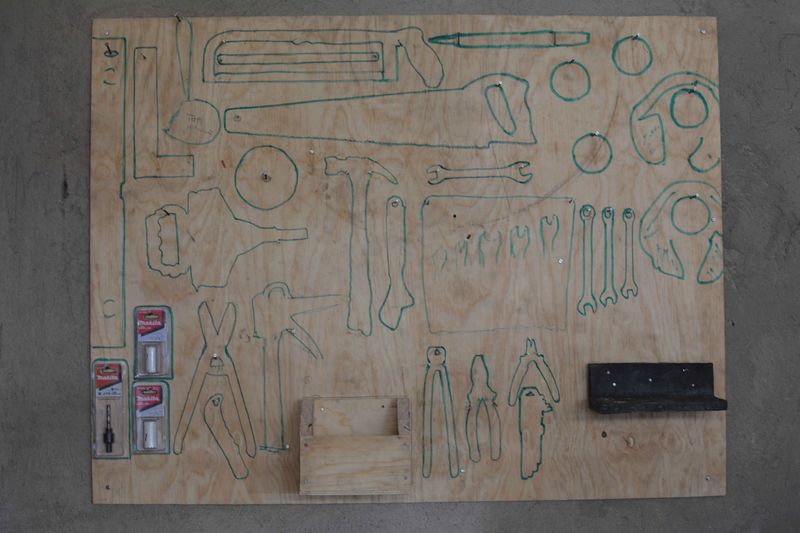
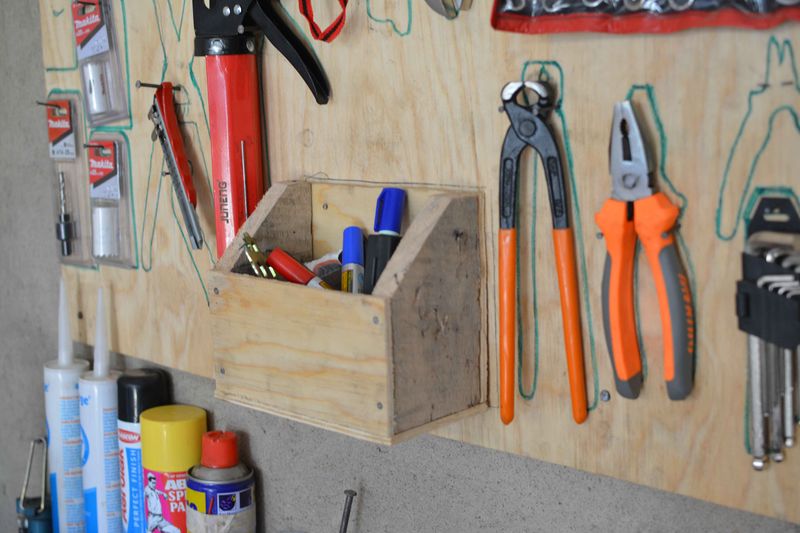
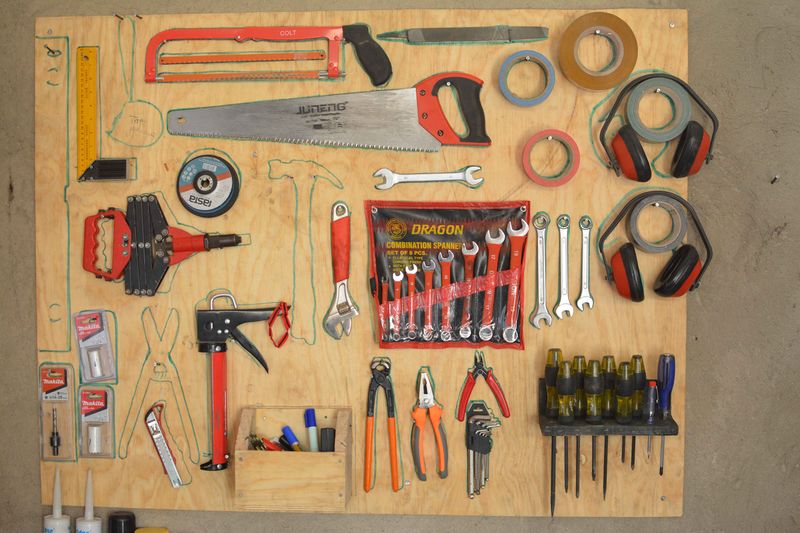
- place the tools in order on the ground to the sheet (try different setups)
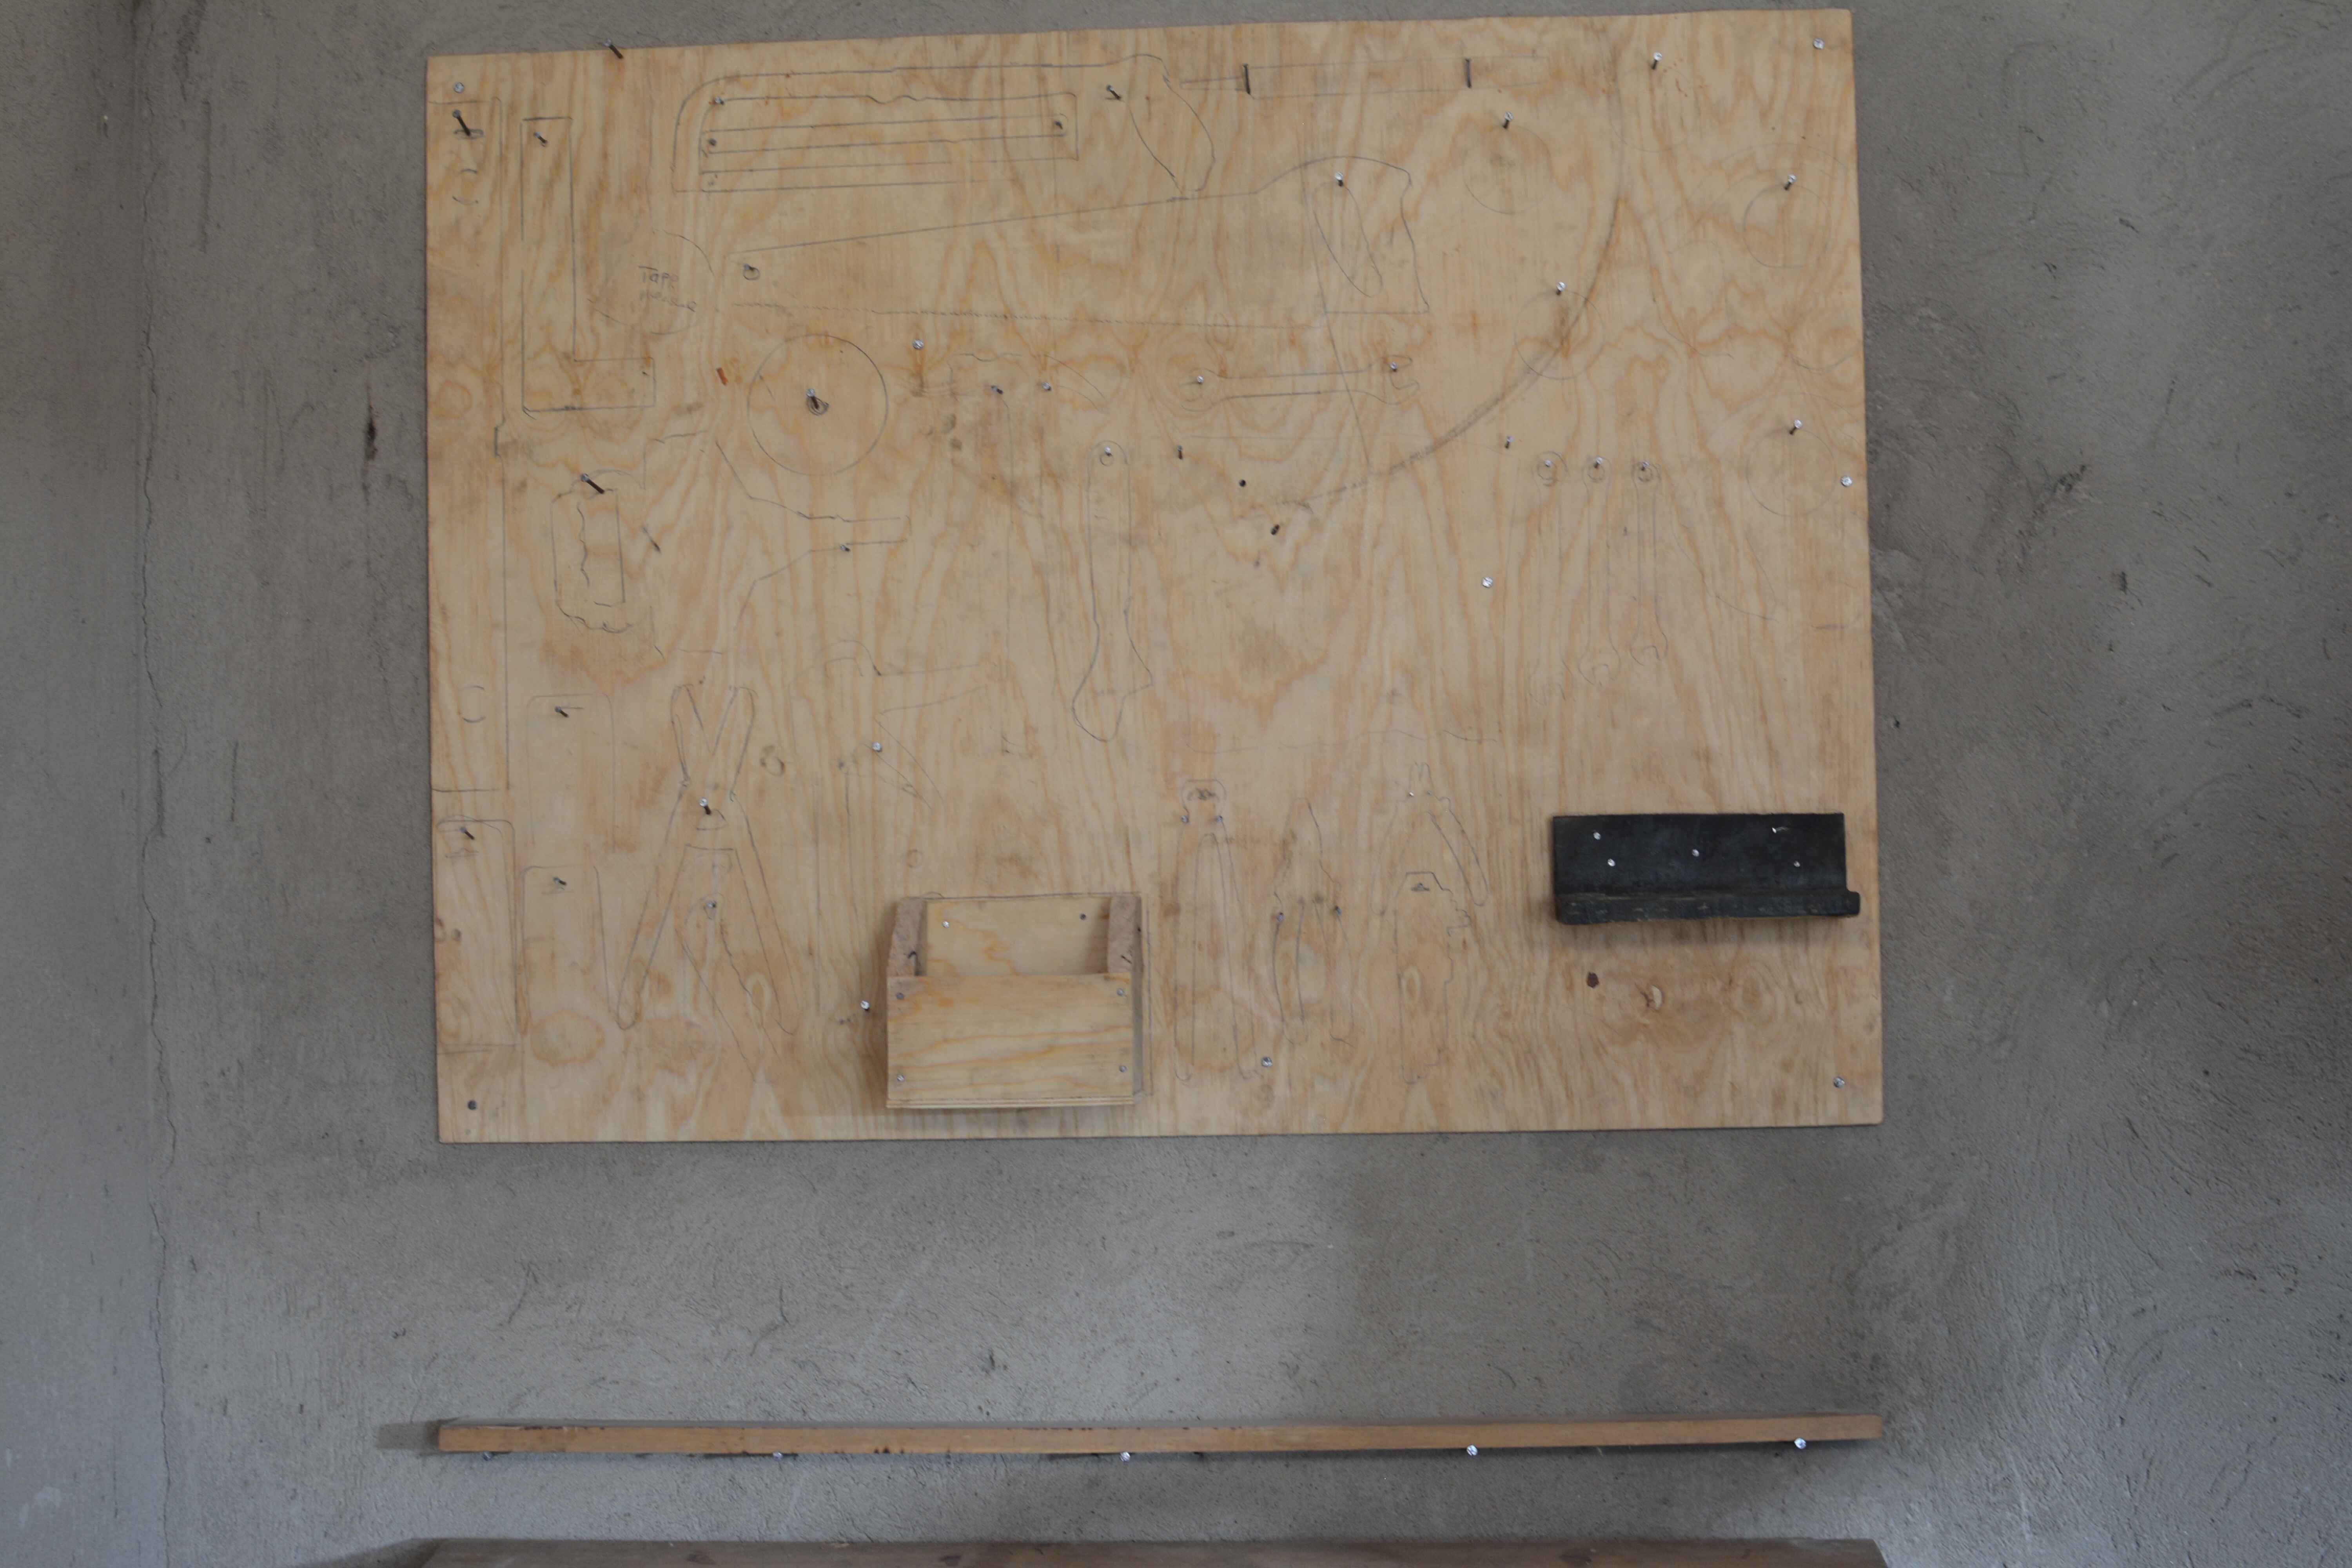
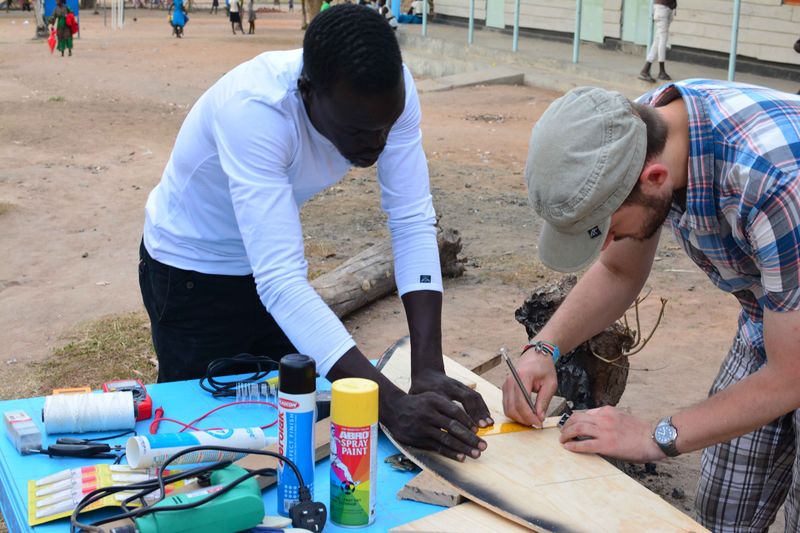
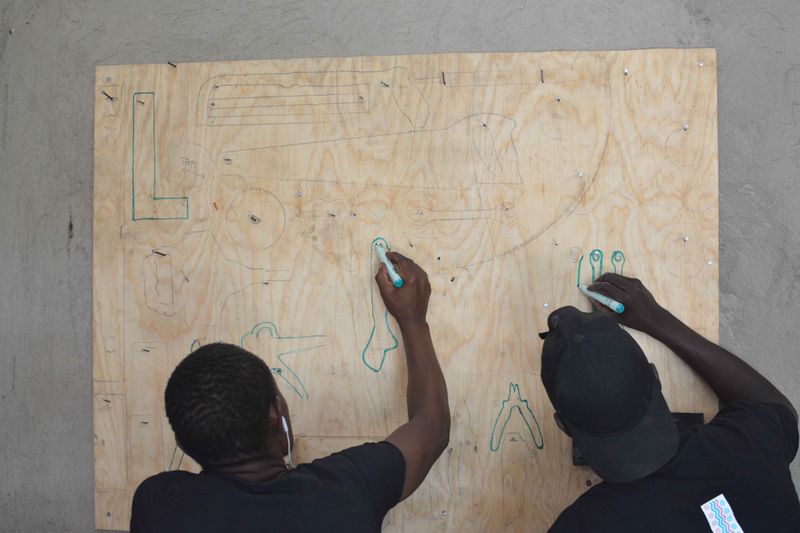
- draw a fine line with a pencil around the tools
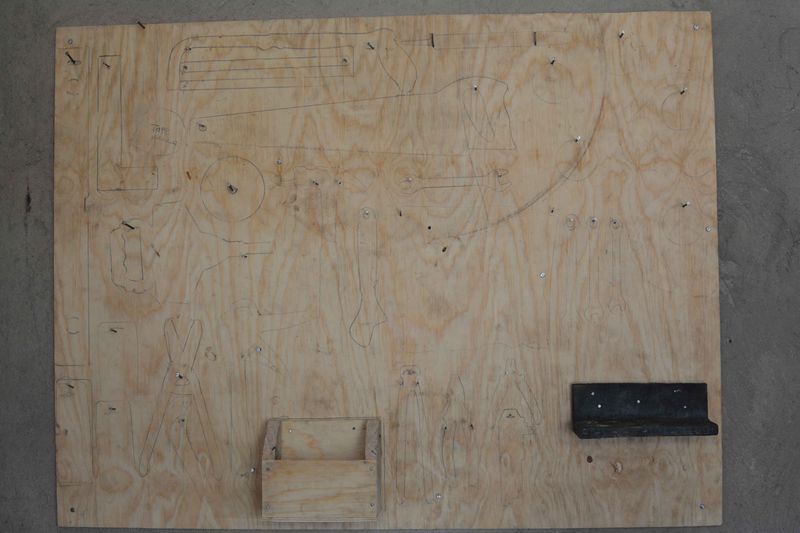
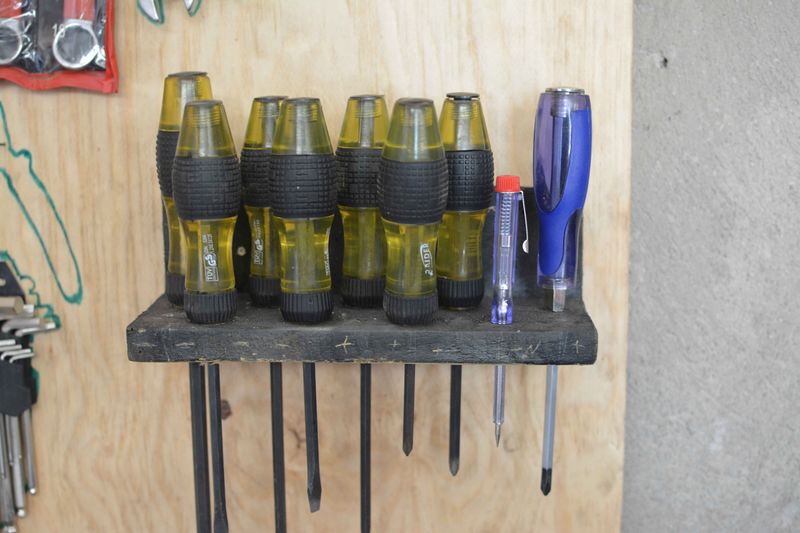
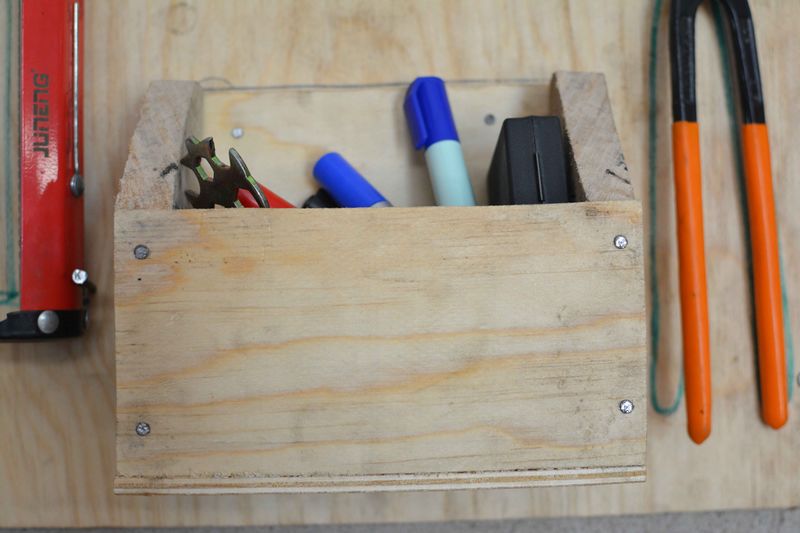
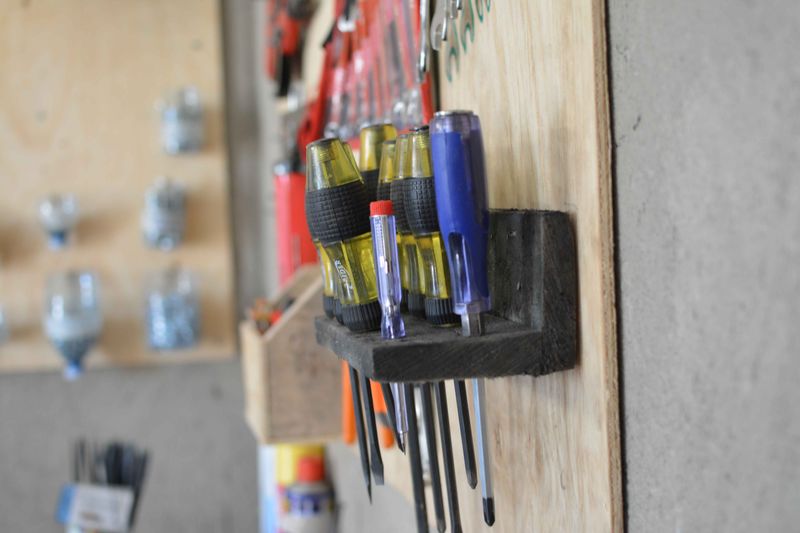
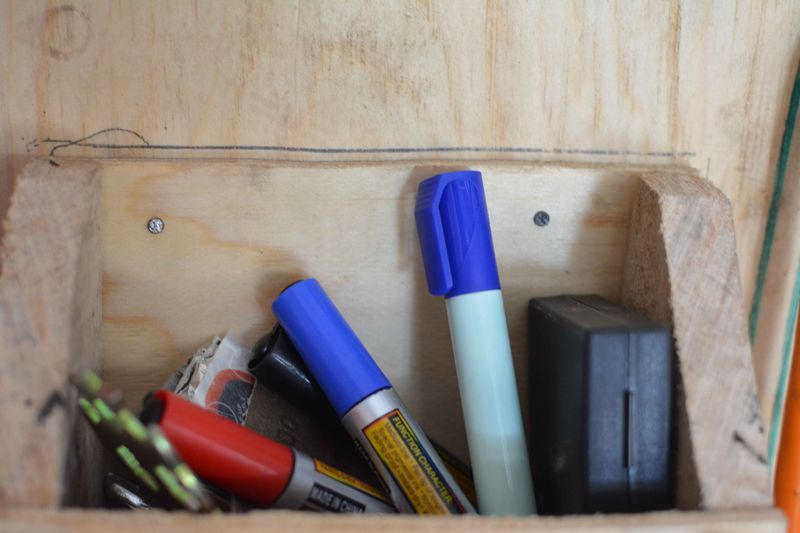
- cut the parts for the box and the skrewdriver board and add it to the wall setup
- nail everything to the board and remove the tools
Draft
 Français
 English
 Deutsch
 Español
 Italiano
 Português