Sommaire
- 1 Introduction
- 2 Étape 1 - Launching the program
- 3 Étape 2 - Importing the file
- 4 Étape 3 - Slicing the file
- 5 Étape 4 - Configurating the build
- 6 Étape 5 - Verifying the build
- 7 Étape 6 - Opening the machine
- 8 Étape 7 - Configuring the machine
- 9 Étape 8 - Sending the file to the machine
- 10 Étape 9 - Starting the print!
- 11 Étape 10 - PRINTING !
- 12 Étape 11 - Final Step
- 13 Étape 12 - The final OBJECT!
- 14 Notes et références
- 15 Commentaires
Introduction
Étape 1 - Launching the program
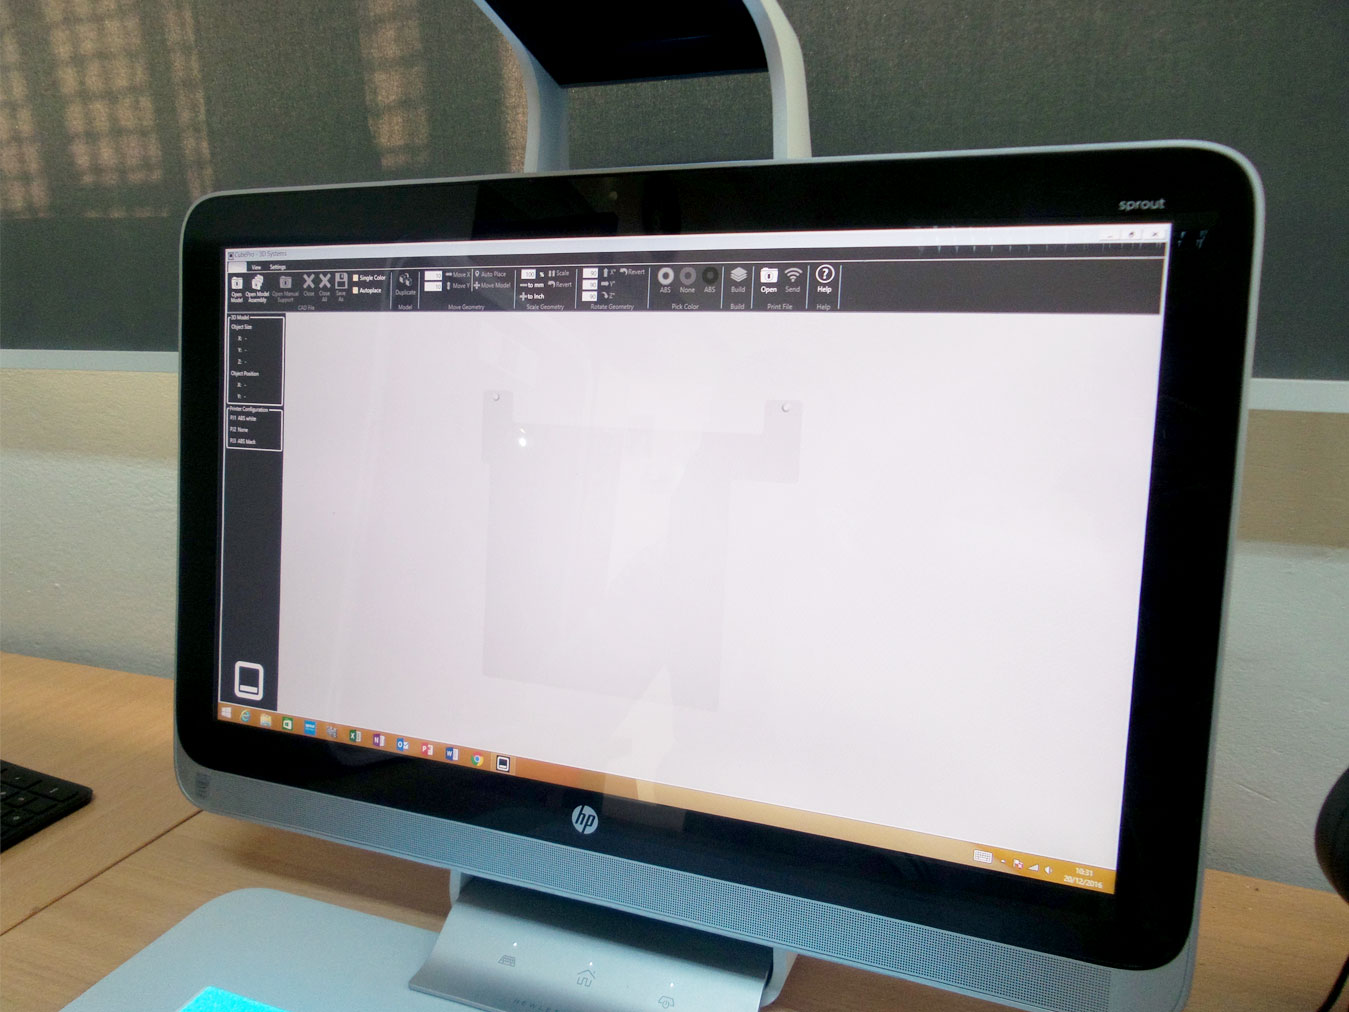
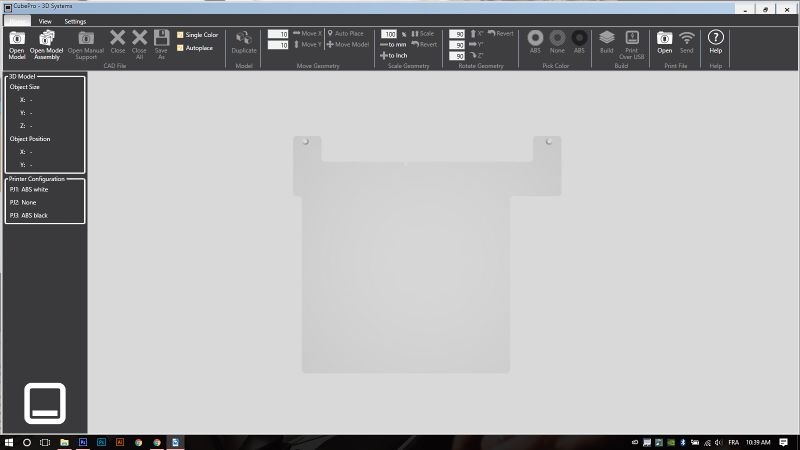
After downloading the program and installing it using it's serial number and activating it, we must launch the program.
Étape 2 - Importing the file
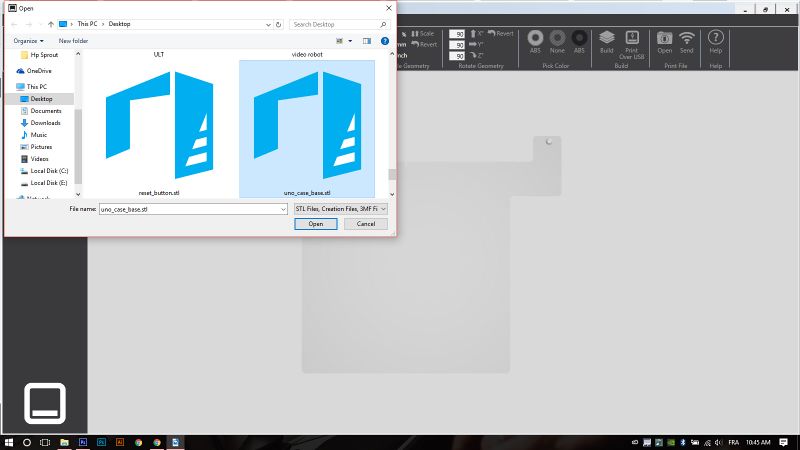
The CubePro program is easy to use, we start by importing the 3D file we want to print (CubePro program can read STL, Creation files & 3MF files).
PS : You can create or design your own 3D file.
Étape 3 - Slicing the file
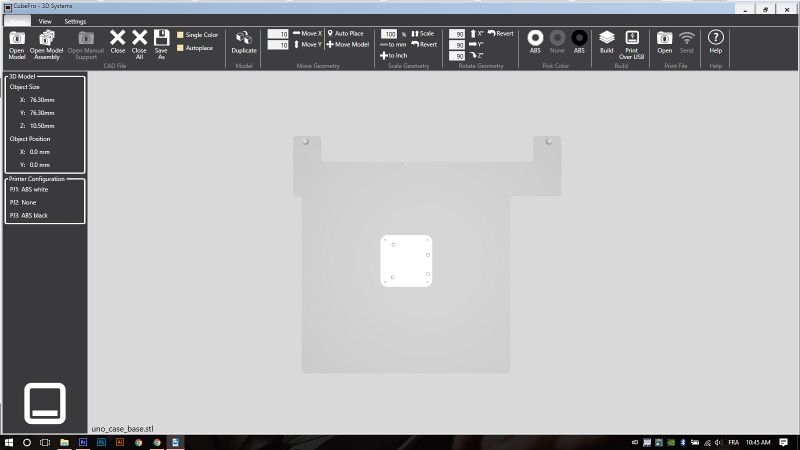
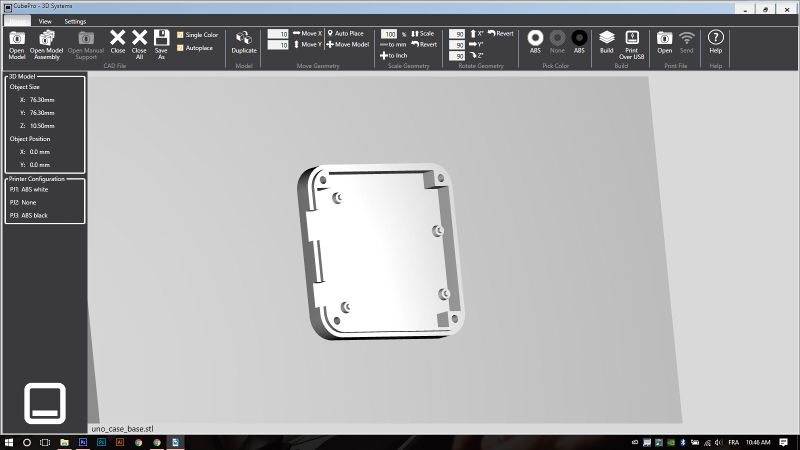
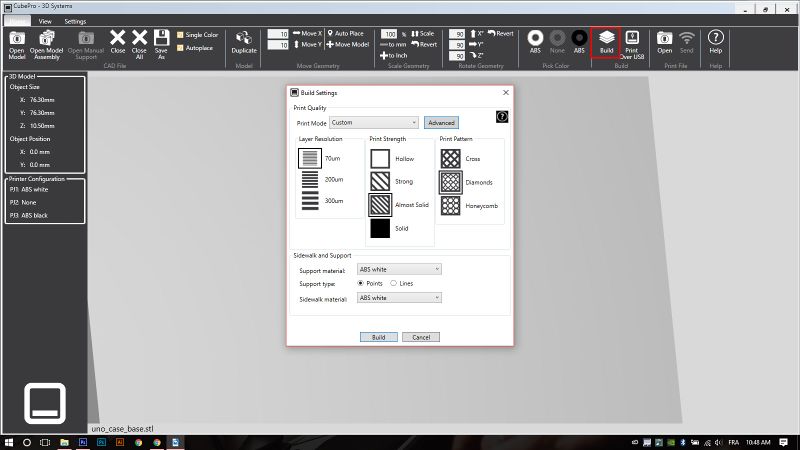
Now we can see our file in the interface, so we slice it for the printer. We click on build.
Étape 4 - Configurating the build
Now we have a tab were we can put our printing settings. Those settings depend on the file you are building.
Print Mode : You can use a pre-installed mode, such as standard, premium or draft, or you can make you own costumised settings.
Layer Resolution : It is normally used to refer to the layer height, also known as print resolution or Z height. So 70 microns is equal to 0.07mm. The lower the micron, the higher the resolution.
Print Strength : It is like it's name, the print Strenght.
Print Pattern : is the inside printing type, we can make it cross, diamonds or honeycomb.
Support Material : Is the material to print supports for parts needing supports to print successfully.
Support Type : You can make the support points or lines.
And then we Build the file.
PS : I personally choose the Premium Mode, with the support, SideWalk, and printed material with the same color, for better timing.
Étape 5 - Verifying the build
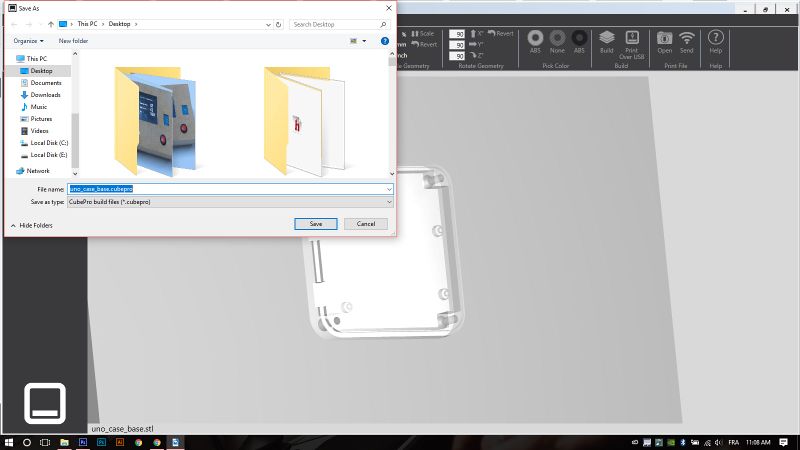
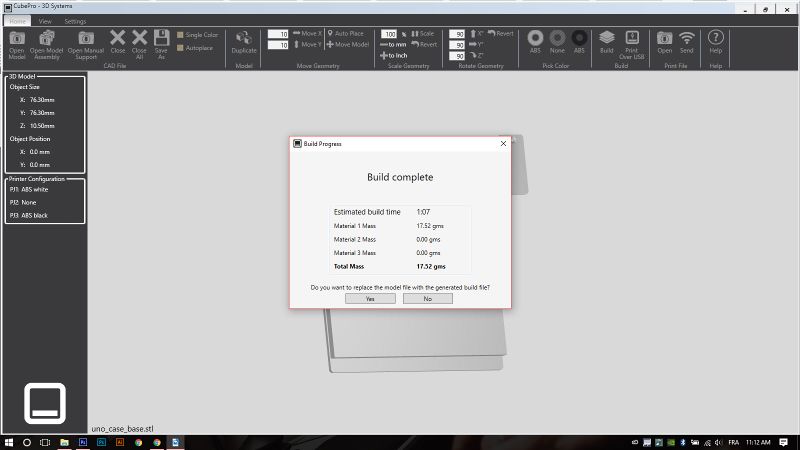
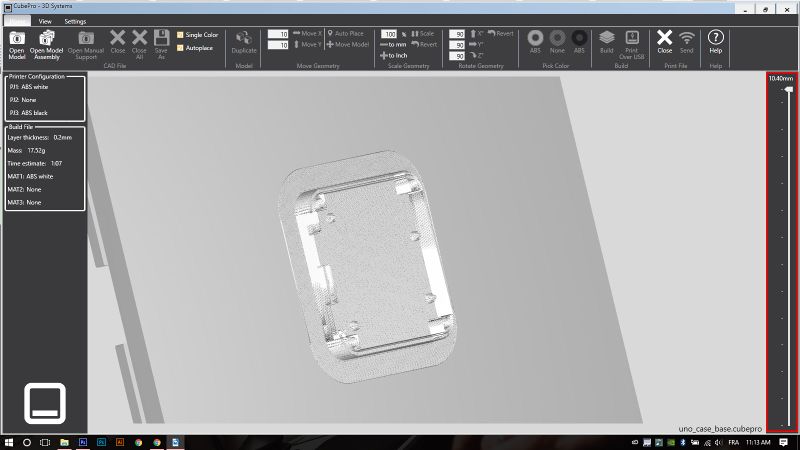
After we save the file with the .cubepro file that the machine can read, we see that we have some statistics on the building process, such as the estimated build time and the total mass. We can simulate the printing process by moving the slide on the right.
Étape 7 - Configuring the machine
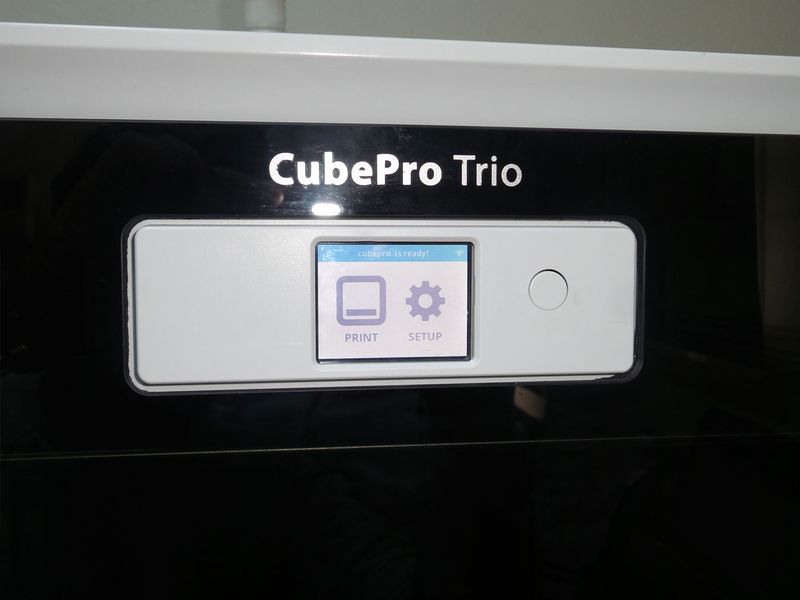
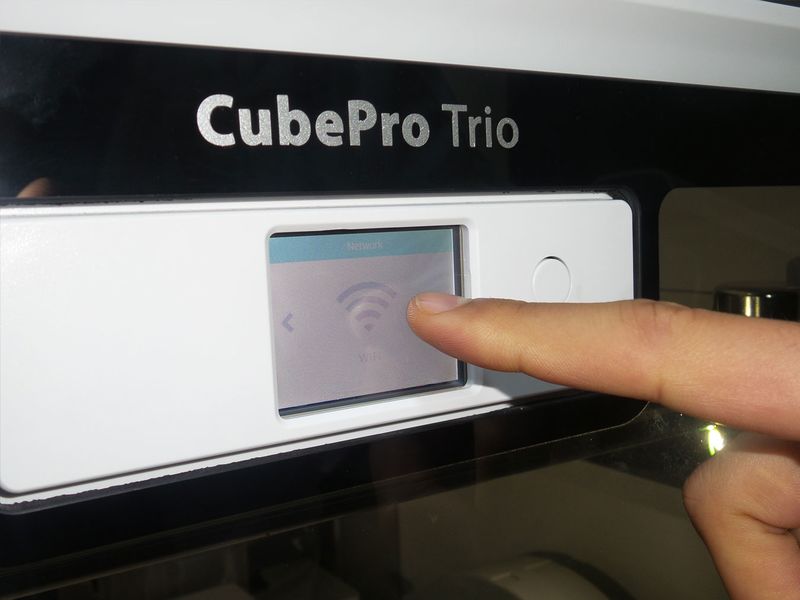
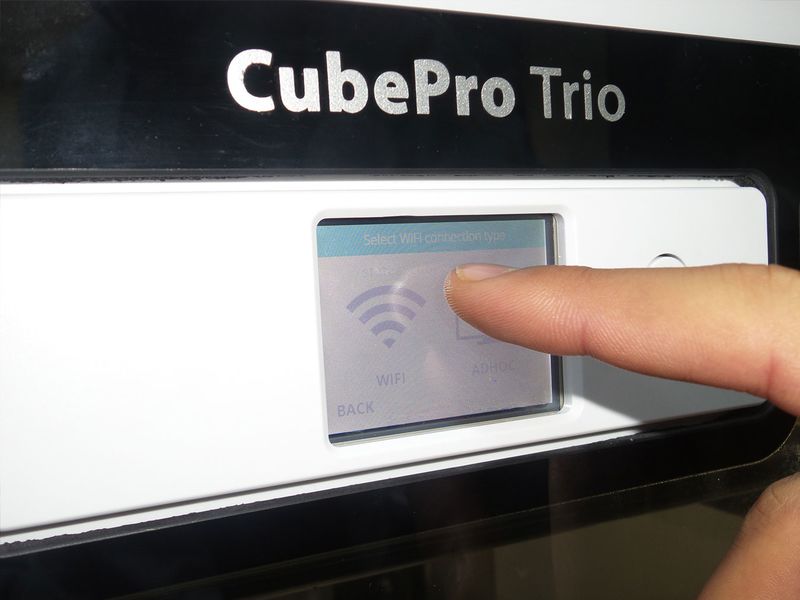
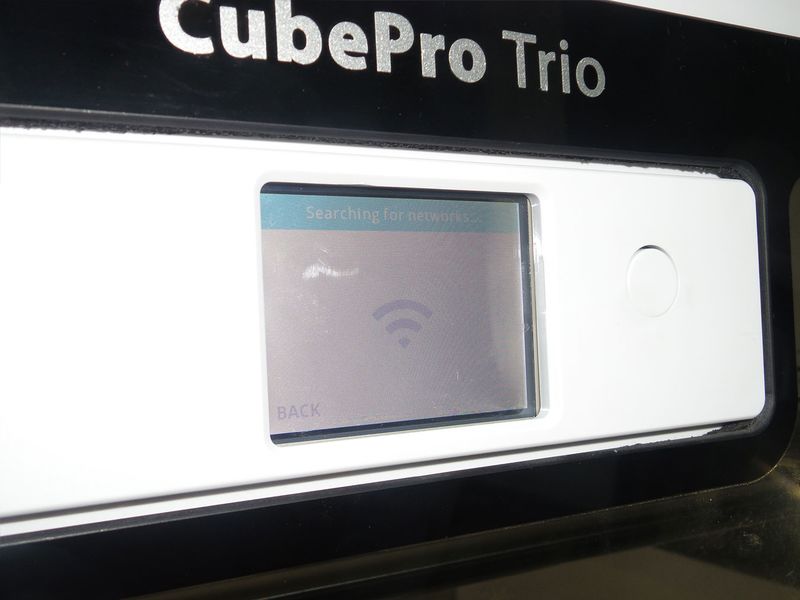
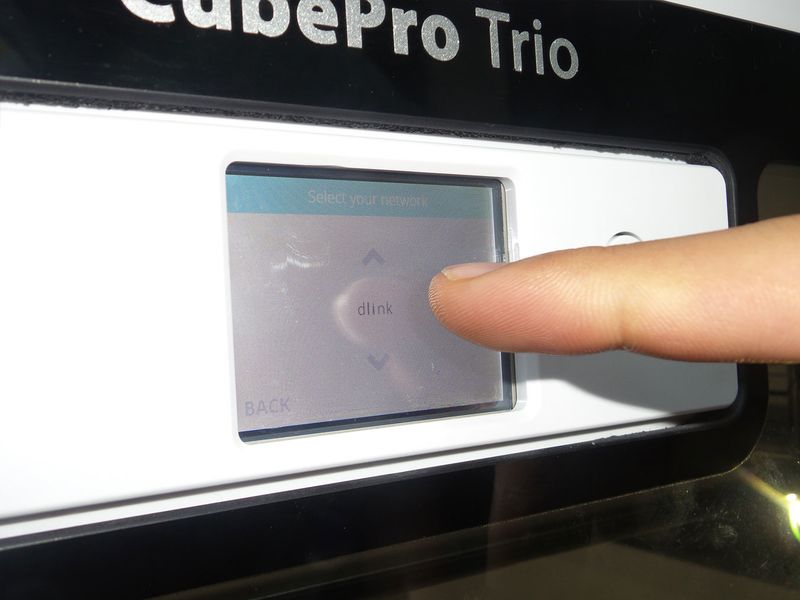
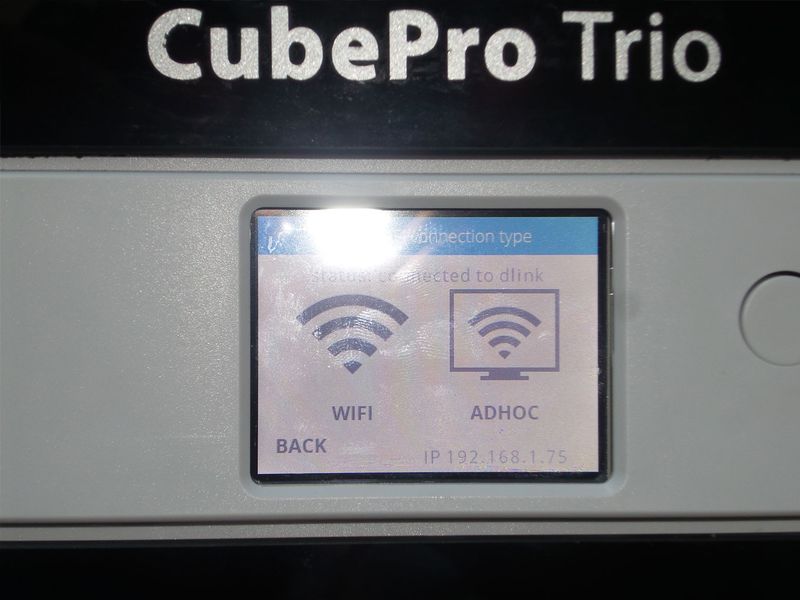
We are now connecting the machine to the same network as the computer. We choose WIFI, and then we choose to connect it to wifi, because the machine have the ability to make a hotspot, and then we choose the network.
If we are successfully connected, we will see the ip adress on the bottom-right of the screen.
Étape 8 - Sending the file to the machine
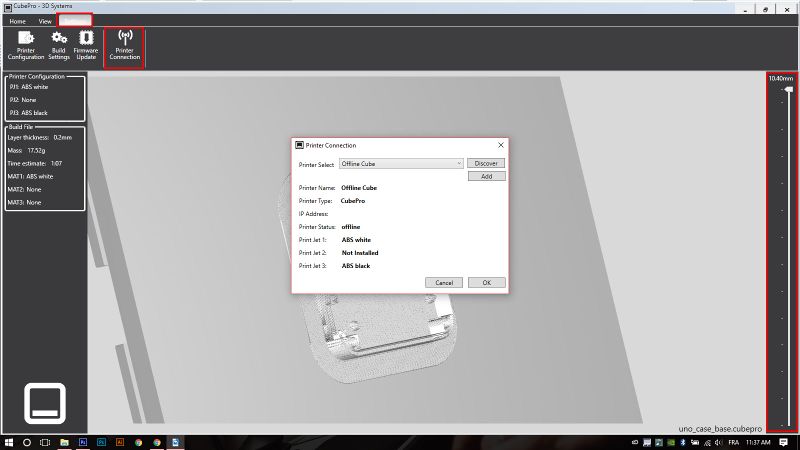
After connecting to wifi, we go back to the program, and we select Setting > Printer Connection.
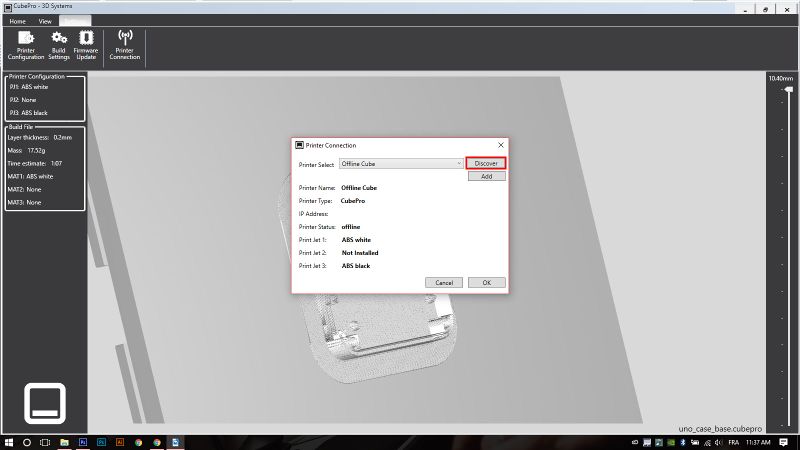
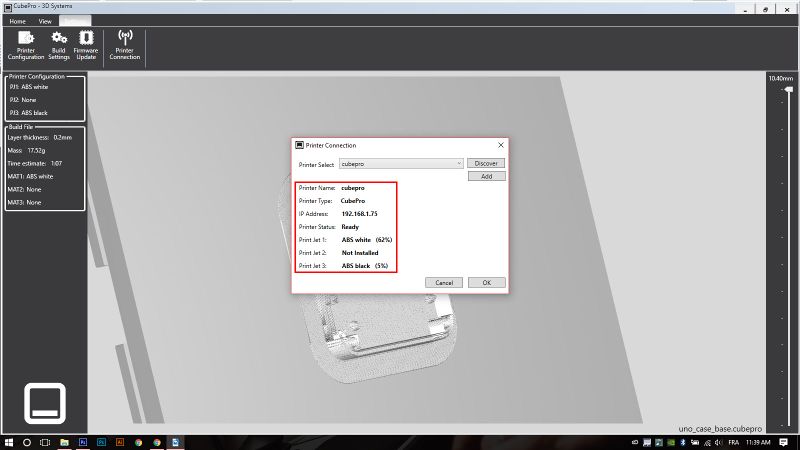
We click then on discover, and the magic happens ! If we are successfully connected, informations on the printer is displayed on the tab.
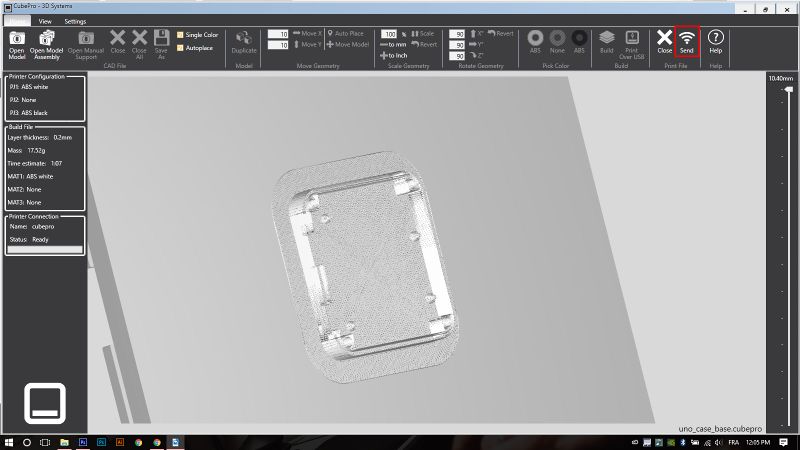
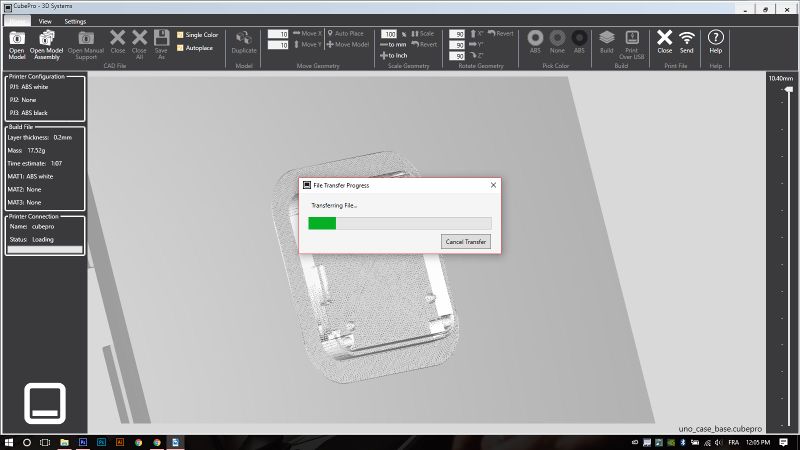
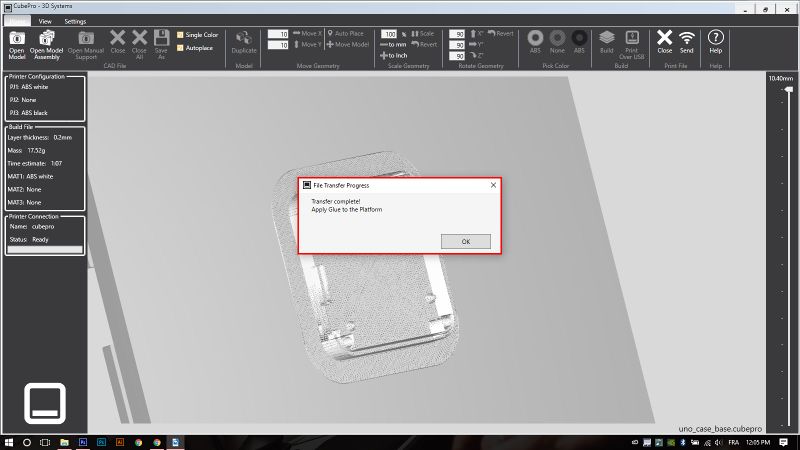
We go back to Home, and we click on SEND.
Étape 9 - Starting the print!
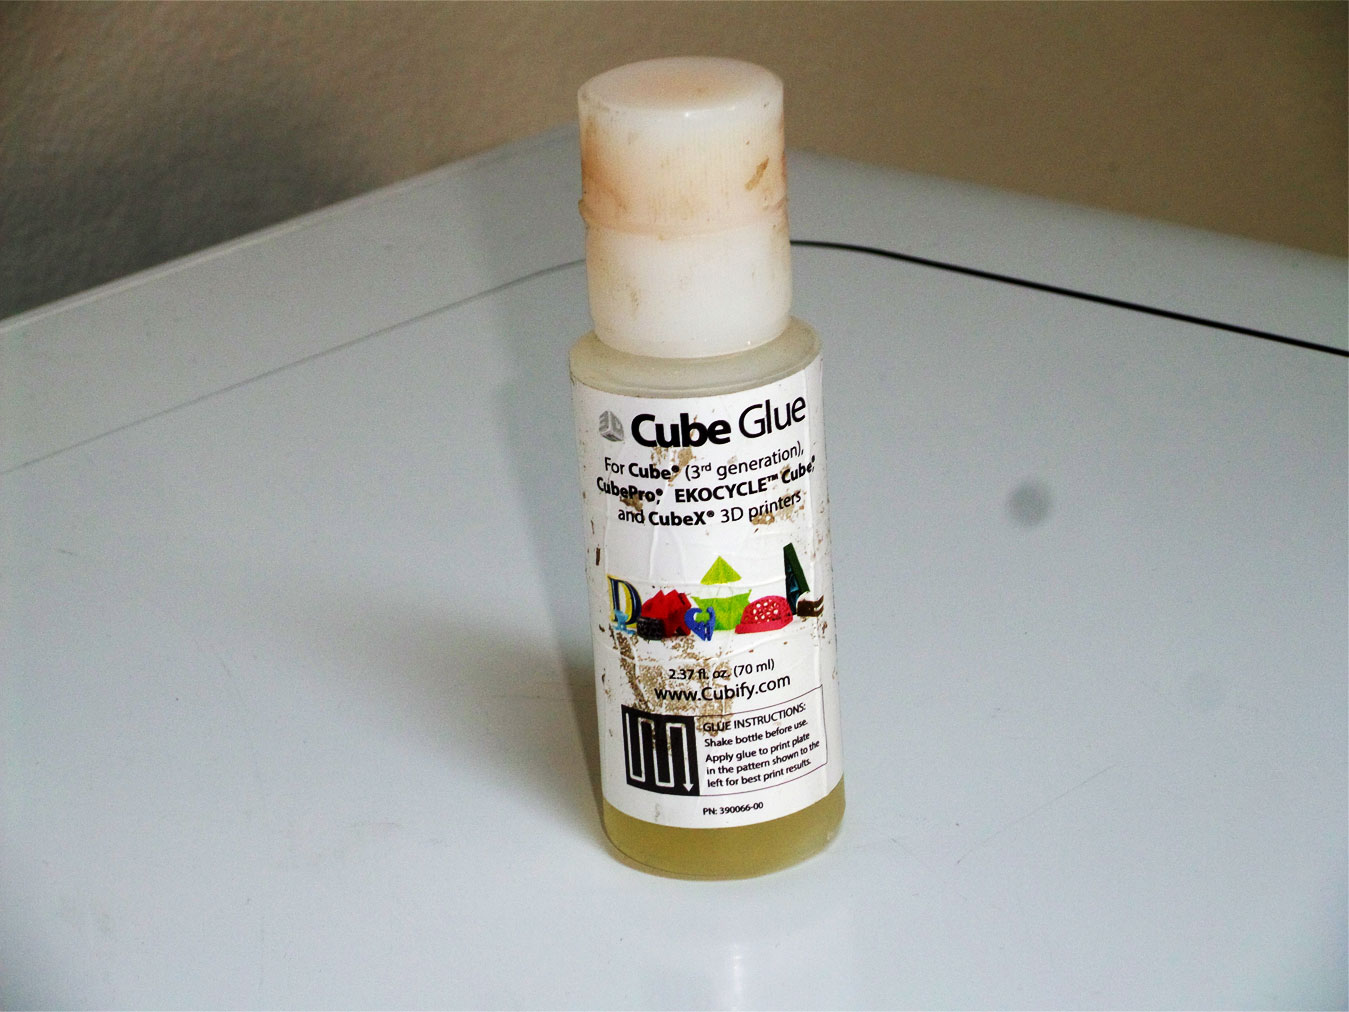
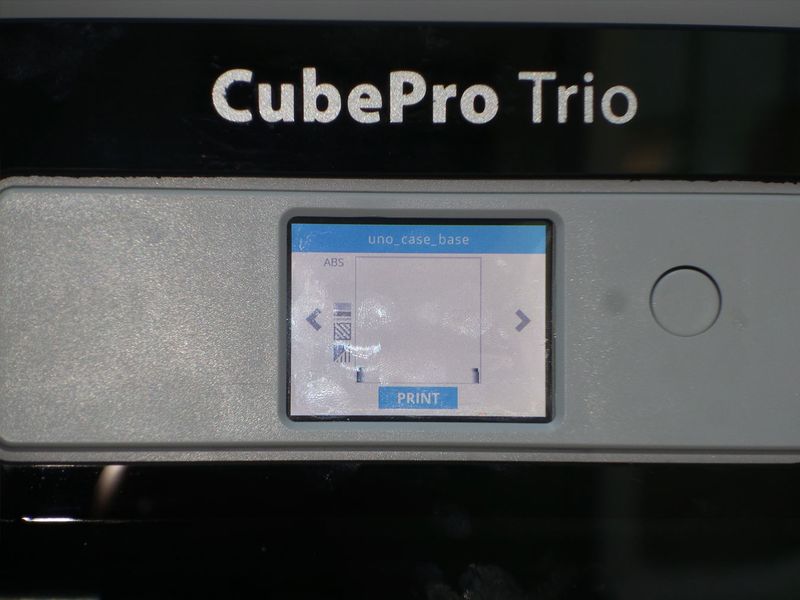
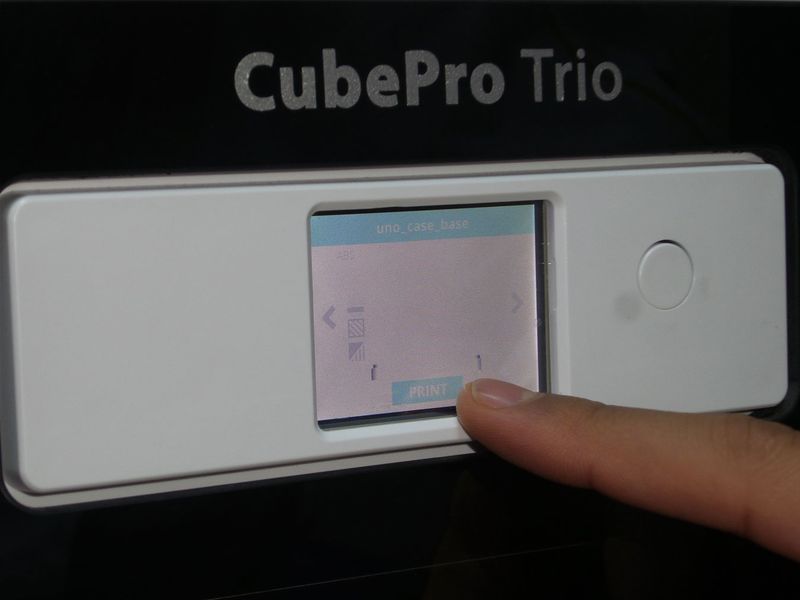
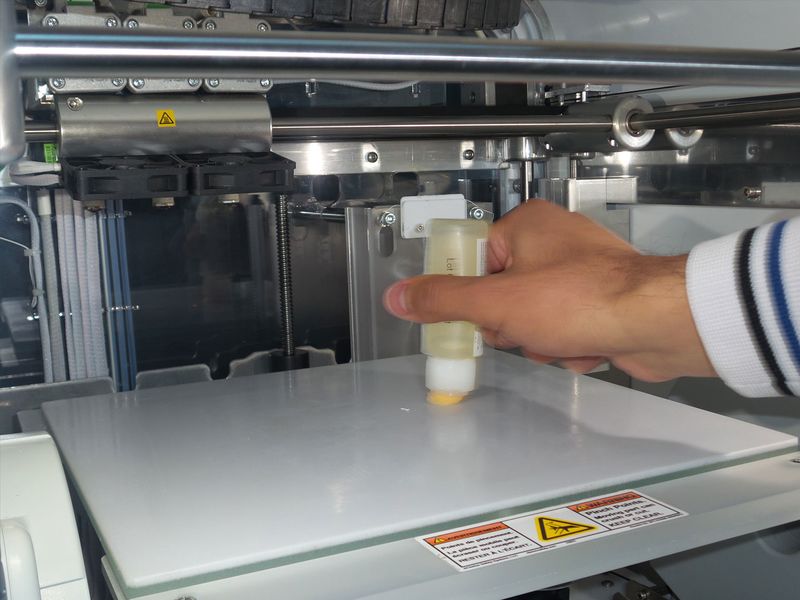
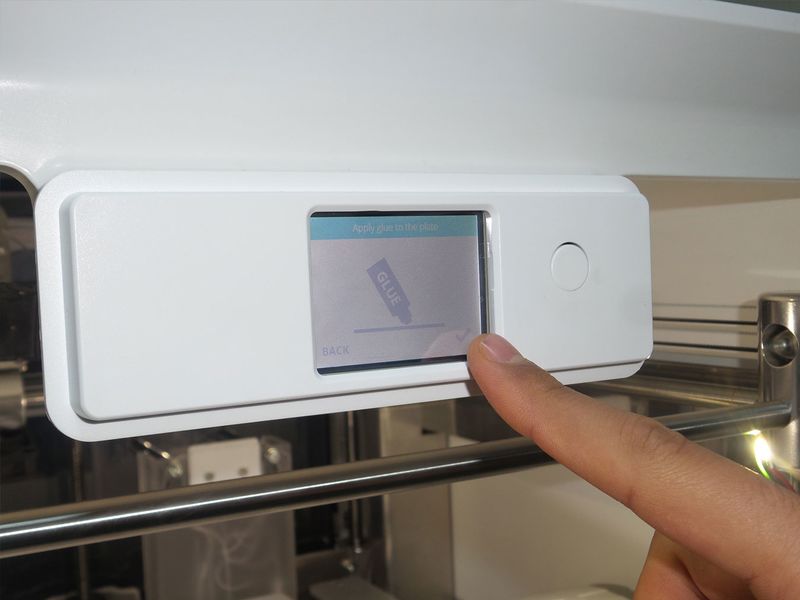
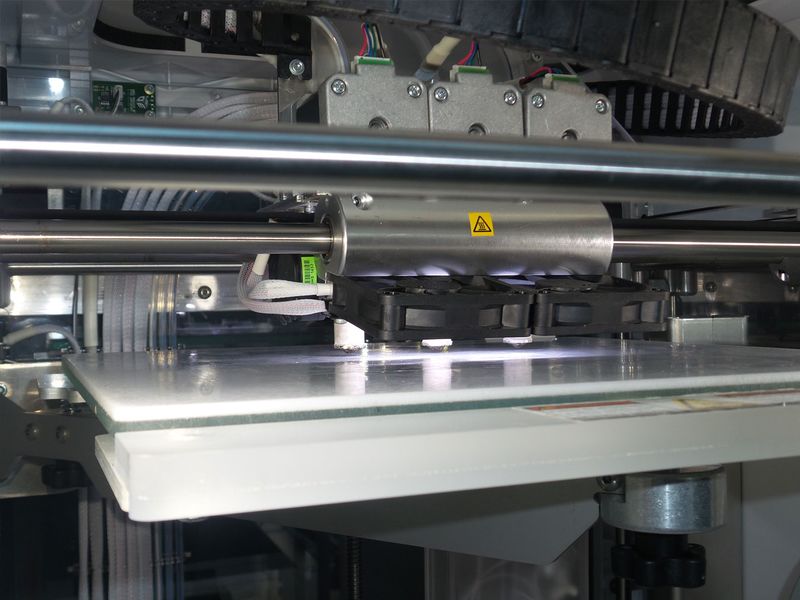
So after we send the file to the machine. We click on PRINT, we apply glue on the printed area, and we wait for the extruder's to heat. And the printing is started!
Étape 10 - PRINTING !
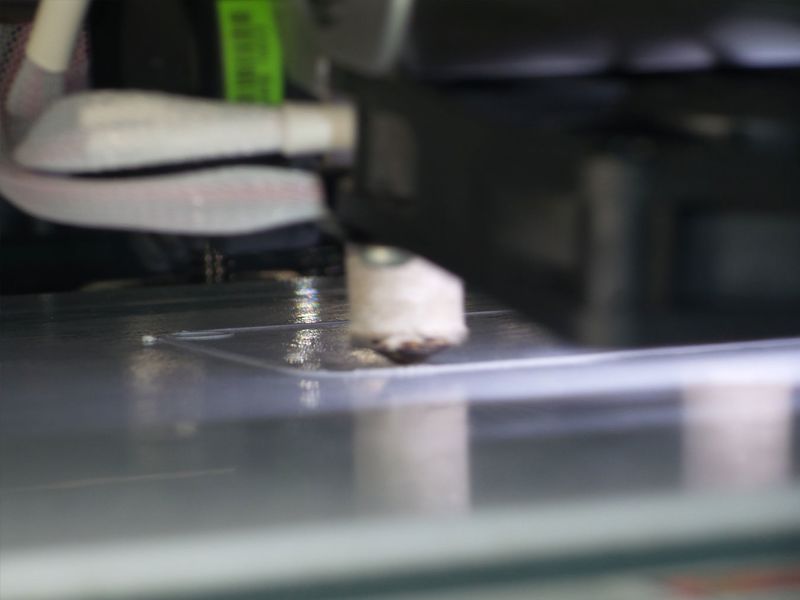
We wait for the file to be printed!
Étape 11 - Final Step
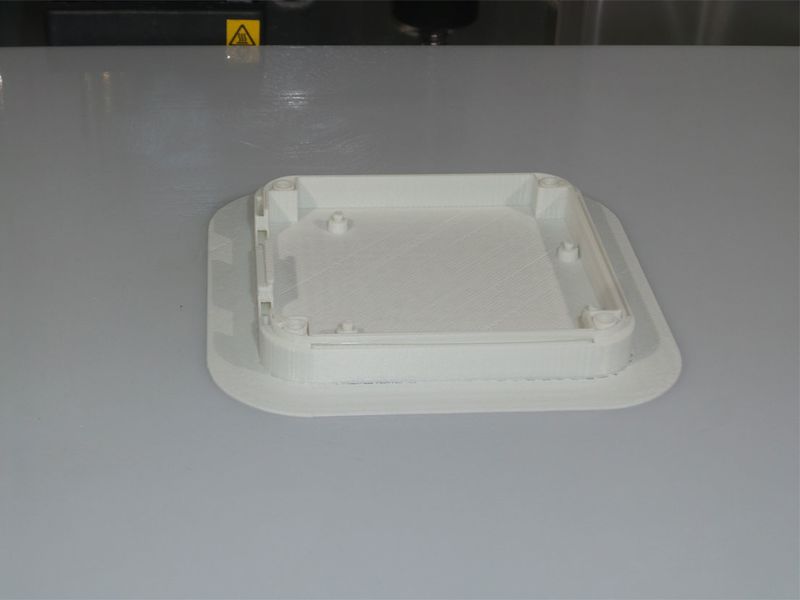
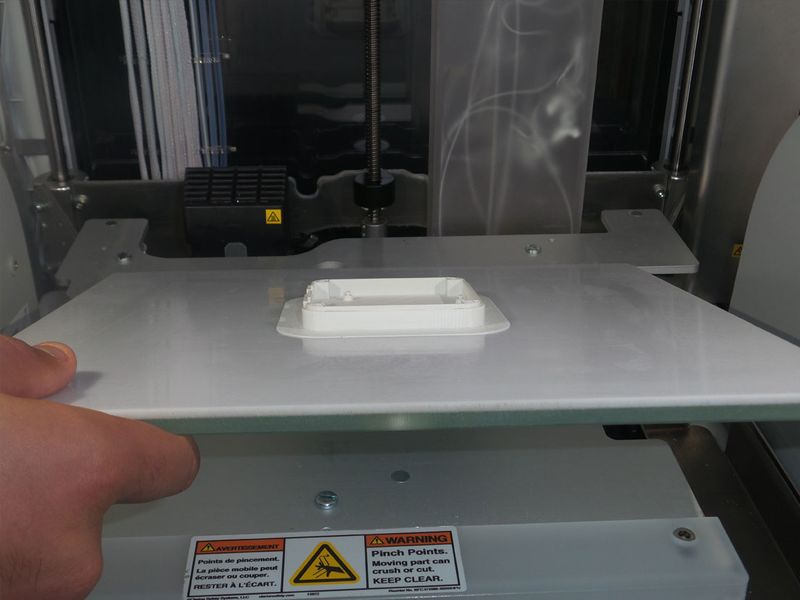
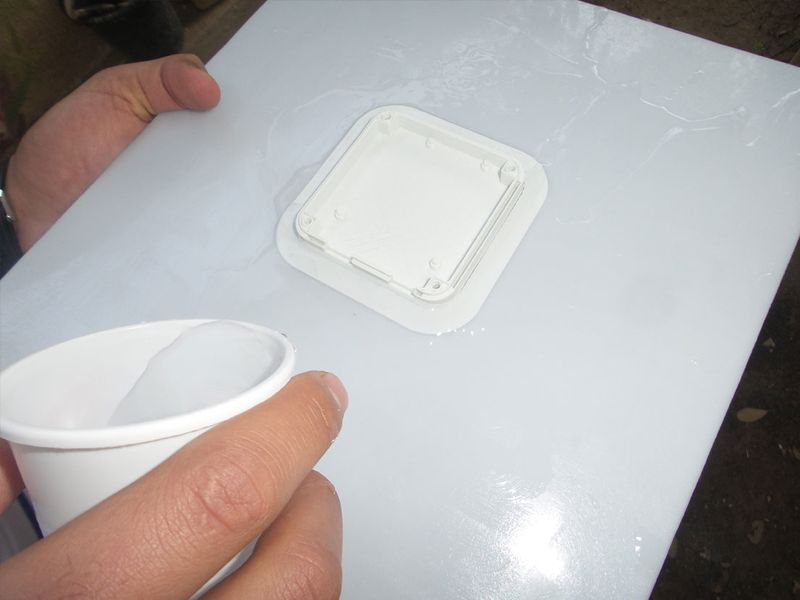
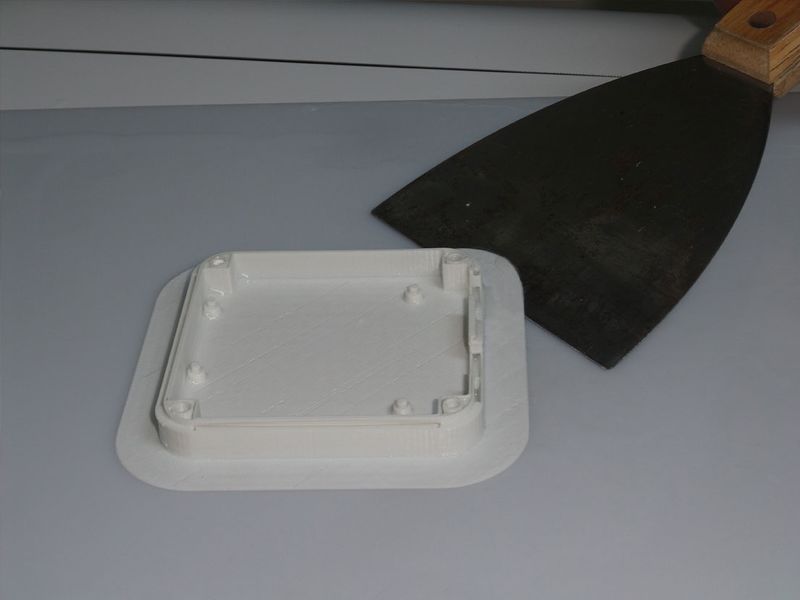
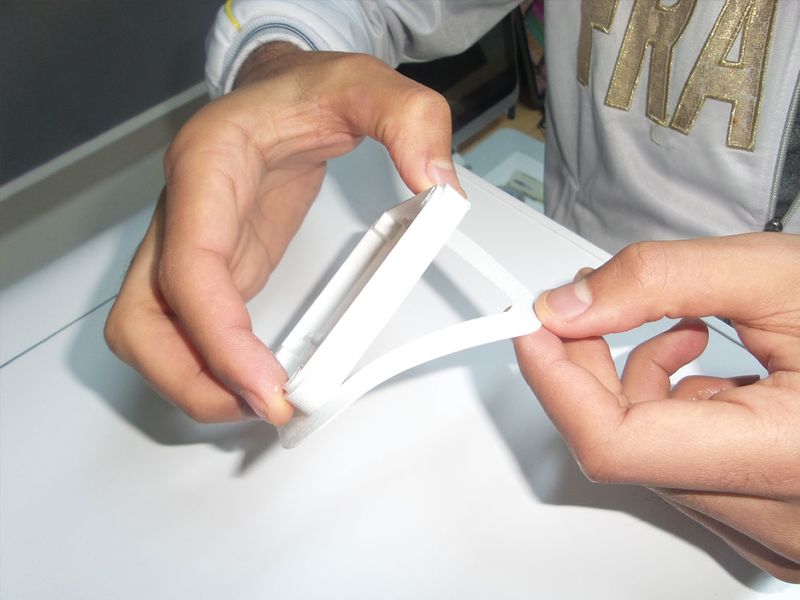
When the object is finally finished, we remove board, and we put some water on it, so the glue is removed, we take out the object slowly, and finally we remove the support!
Notes et références
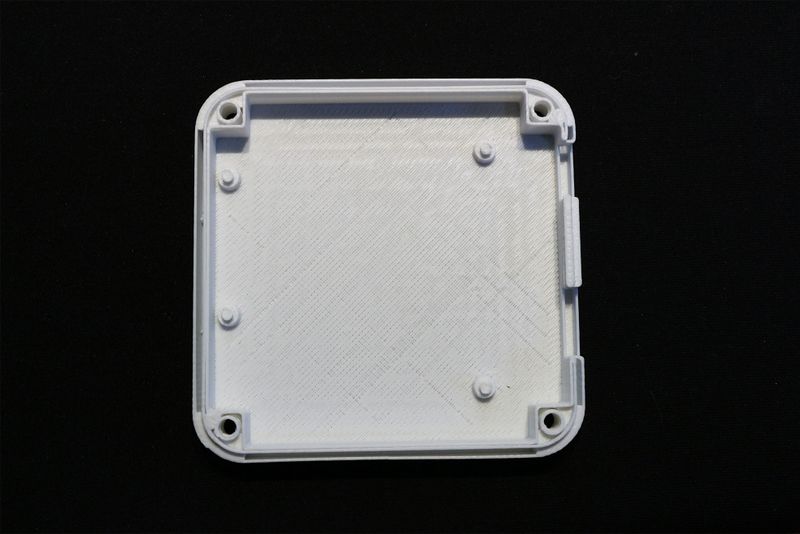
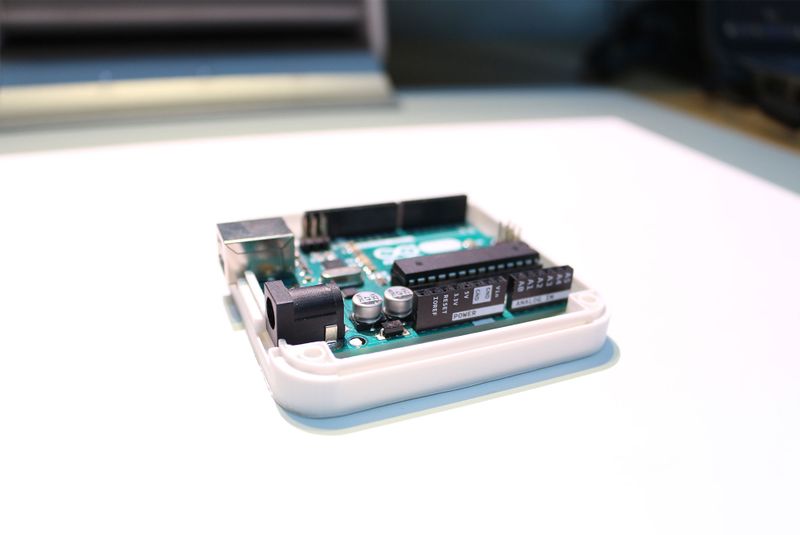
We thank ZygmuntW from Thingiverse for sharing the 3D file. You can download it from here http://www.thingiverse.com/thing:628929/ for free.
 Français
 English
 Deutsch
 Español
 Italiano
 Português