| Ligne 34 : | Ligne 34 : | ||
|ExternalAttachmentsLinks={{ {{tntn|ExternalAttachmentsLinks}} | |ExternalAttachmentsLinks={{ {{tntn|ExternalAttachmentsLinks}} | ||
|ExternalAttachmentsLinks=https://github.com/drphonon/Inkscape_LivingHinge | |ExternalAttachmentsLinks=https://github.com/drphonon/Inkscape_LivingHinge | ||
| + | }}{{ {{tntn|ExternalAttachmentsLinks}} | ||
| + | |ExternalAttachmentsLinks=https://mega.nz/#!oIEVQSDI!M_UMzyT2Cs4U_l14MwyeFGdNeGxEwZtZr6RPnJGgC28 | ||
}} | }} | ||
}} | }} | ||
Version du 2 juillet 2019 à 13:38
Comment créer des charnières vivantes ?
Difficulté
Moyen
Durée
30 minute(s)
Catégories
Machines & Outils
Coût
0 EUR (€)
Introduction
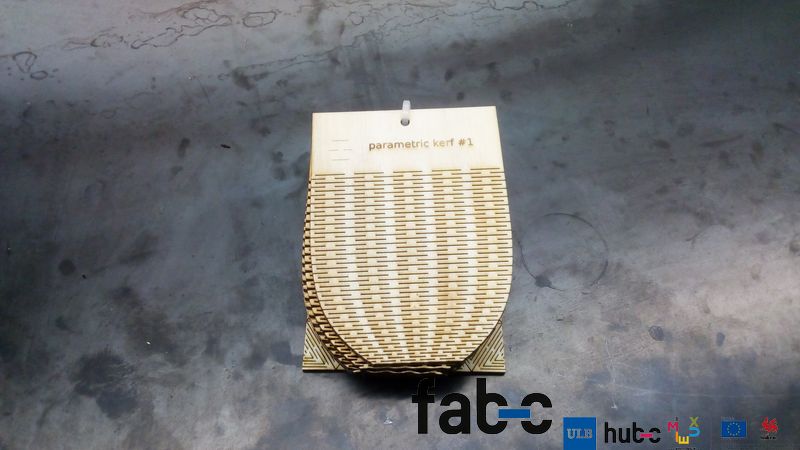
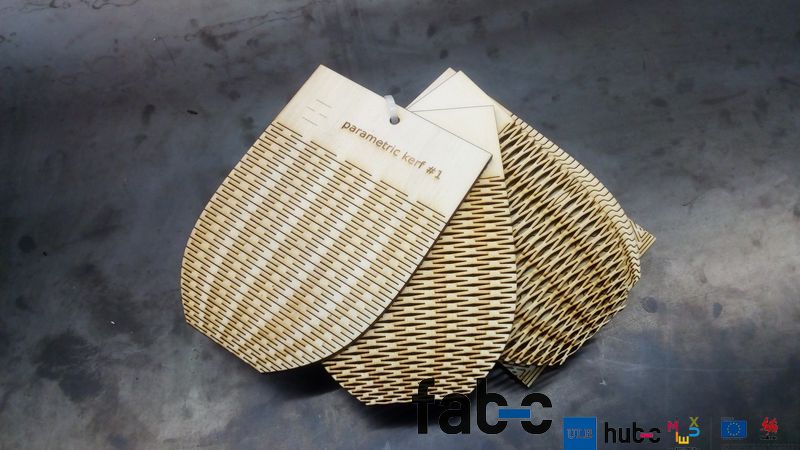
Plier le bois, le plexi, c'est possible avec cette technique.
Étape 1 - Patterns
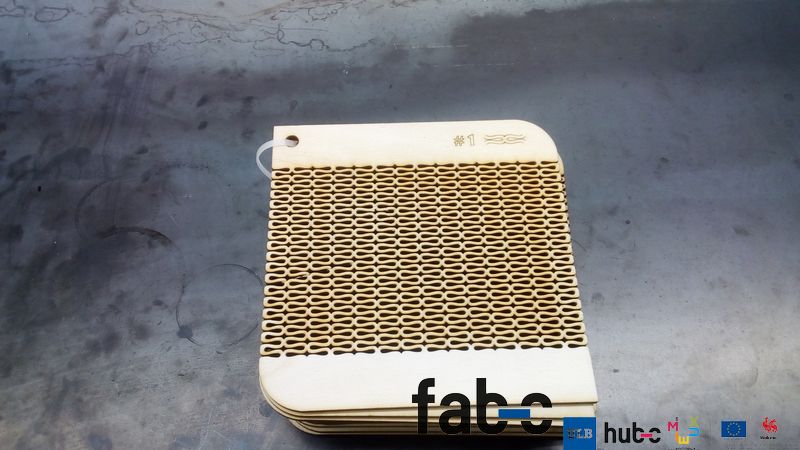
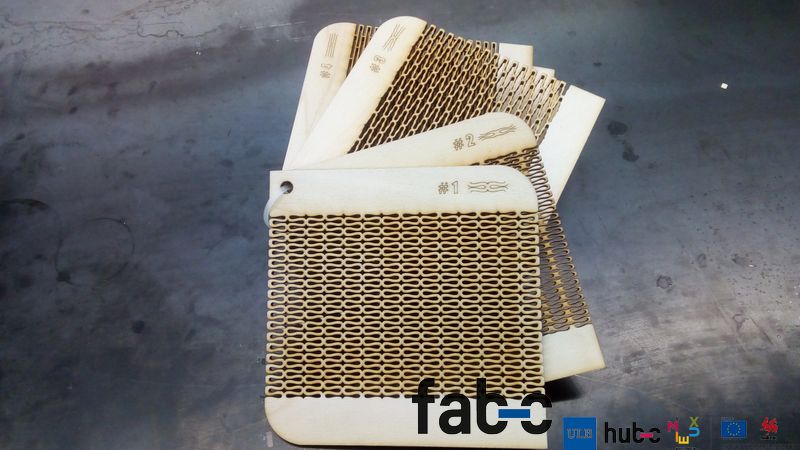
En prenant le fichier pattern, vous pourrez reproduire ces charnières. Vous prenez la forme que vous dupliquez/clonez et c'est parti !!!
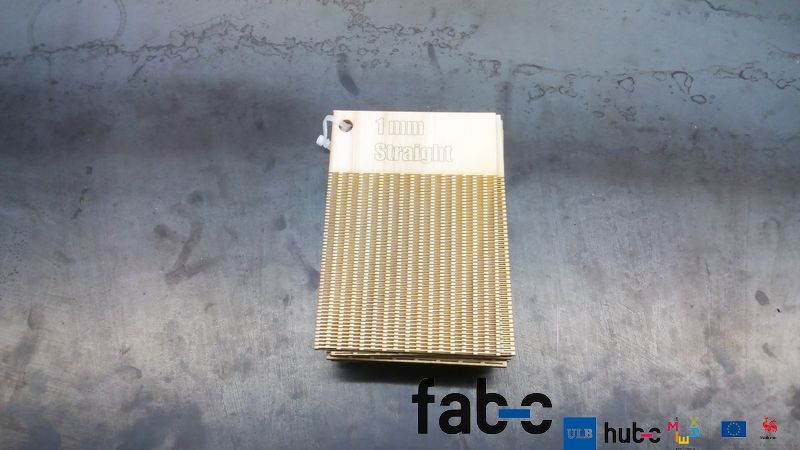
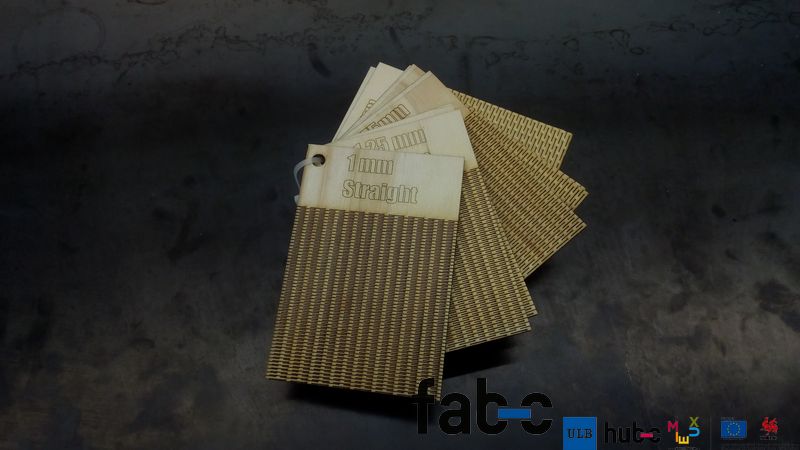
Étape 3 - Straight
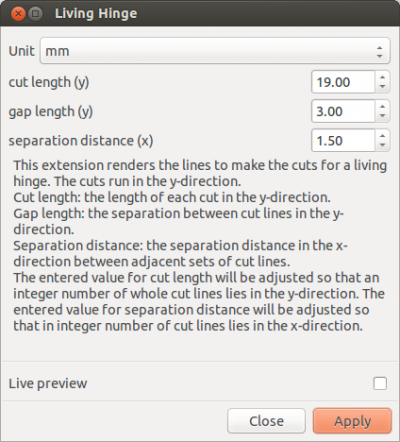
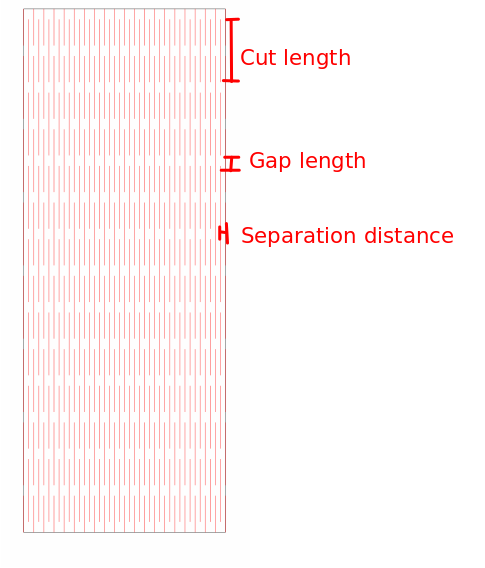
Attention, ici vous aurez besoin d'installer dans votre inkscape l'extenion : Inkscape_LivingHinge . Ensuite, dans extensions >> rendu >> living hinge, vous allez configurer les valeurs.
Published
 Français
 English
 Deutsch
 Español
 Italiano
 Português