(Imported page from en.wikifab.org) |
(convert properties for internationnalized Wikifab) |
||
| Ligne 1 : | Ligne 1 : | ||
| − | {{Tuto Details | + | {{ {{tntn|Tuto Details}} |
|SourceLanguage=en | |SourceLanguage=en | ||
|Language=en | |Language=en | ||
| Ligne 5 : | Ligne 5 : | ||
|Type=Creation | |Type=Creation | ||
|Area=Electronics, Food and Agriculture, Science and Biology | |Area=Electronics, Food and Agriculture, Science and Biology | ||
| − | |Description=The main finality of the Radiation Sensor Board for Arduino and Raspberry Pi is to help people in Japan to measure the levels of radiation in their everyday life after the unfortunate earthquake and tsunami struck Japan in March 2011 and cause the nuclear radiation leakages in Fukushima. We want to give the chance to measure by themselves this levels instead of trusting in the general advises which are being broadcasted. The usage of this sensor board along with the affordable and easy to use Arduino platform helps people to get radiation values from specific places. | + | |Description=<translate>The main finality of the Radiation Sensor Board for Arduino and Raspberry Pi is to help people in Japan to measure the levels of radiation in their everyday life after the unfortunate earthquake and tsunami struck Japan in March 2011 and cause the nuclear radiation leakages in Fukushima. We want to give the chance to measure by themselves this levels instead of trusting in the general advises which are being broadcasted. The usage of this sensor board along with the affordable and easy to use Arduino platform helps people to get radiation values from specific places.</translate> |
|Difficulty=Medium | |Difficulty=Medium | ||
|Cost=200 | |Cost=200 | ||
| Ligne 14 : | Ligne 14 : | ||
|Main_Picture=RadiationSensorOS_2.JPG | |Main_Picture=RadiationSensorOS_2.JPG | ||
}} | }} | ||
| − | {{Introduction}} | + | {{ {{tntn|Introduction}}|}} |
| − | {{Materials | + | {{ {{tntn|Materials}} |
|Step_Picture_00=RadiationSensorOS_Medium.JPG | |Step_Picture_00=RadiationSensorOS_Medium.JPG | ||
|Step_Picture_01=No-image-yet.jpg | |Step_Picture_01=No-image-yet.jpg | ||
| Ligne 26 : | Ligne 26 : | ||
}} | }} | ||
{{Separator}} | {{Separator}} | ||
| − | {{Tuto Step | + | {{ {{tntn|Tuto Step}} |
|Step_Picture_00=SafecastWS_APIKey.jpg | |Step_Picture_00=SafecastWS_APIKey.jpg | ||
|Step_Picture_01=No-image-yet.jpg | |Step_Picture_01=No-image-yet.jpg | ||
| Ligne 34 : | Ligne 34 : | ||
|Step_Picture_05=No-image-yet.jpg | |Step_Picture_05=No-image-yet.jpg | ||
}} | }} | ||
| − | {{Tuto Step | + | {{ {{tntn|Tuto Step}} |
|Step_Picture_00=InvokeSafecastAPI.jpg | |Step_Picture_00=InvokeSafecastAPI.jpg | ||
|Step_Picture_01=No-image-yet.jpg | |Step_Picture_01=No-image-yet.jpg | ||
| Ligne 42 : | Ligne 42 : | ||
|Step_Picture_05=No-image-yet.jpg | |Step_Picture_05=No-image-yet.jpg | ||
}} | }} | ||
| − | {{Tuto Step | + | {{ {{tntn|Tuto Step}} |
|Step_Picture_00=No-image-yet.jpg | |Step_Picture_00=No-image-yet.jpg | ||
|Step_Picture_01=No-image-yet.jpg | |Step_Picture_01=No-image-yet.jpg | ||
| Ligne 50 : | Ligne 50 : | ||
|Step_Picture_05=No-image-yet.jpg | |Step_Picture_05=No-image-yet.jpg | ||
}} | }} | ||
| − | {{Tuto Step | + | {{ {{tntn|Tuto Step}} |
|Step_Picture_00=Yun_linino_connexion_ok.png | |Step_Picture_00=Yun_linino_connexion_ok.png | ||
|Step_Picture_01=No-image-yet.jpg | |Step_Picture_01=No-image-yet.jpg | ||
| Ligne 58 : | Ligne 58 : | ||
|Step_Picture_05=No-image-yet.jpg | |Step_Picture_05=No-image-yet.jpg | ||
}} | }} | ||
| − | {{Tuto Step | + | {{ {{tntn|Tuto Step}} |
|Step_Picture_00=Yun-PackageManager-01.png | |Step_Picture_00=Yun-PackageManager-01.png | ||
|Step_Picture_01=No-image-yet.jpg | |Step_Picture_01=No-image-yet.jpg | ||
| Ligne 66 : | Ligne 66 : | ||
|Step_Picture_05=No-image-yet.jpg | |Step_Picture_05=No-image-yet.jpg | ||
}} | }} | ||
| − | {{Tuto Step | + | {{ {{tntn|Tuto Step}} |
|Step_Picture_00=ArduinoProgram.png | |Step_Picture_00=ArduinoProgram.png | ||
|Step_Picture_01=No-image-yet.jpg | |Step_Picture_01=No-image-yet.jpg | ||
| Ligne 74 : | Ligne 74 : | ||
|Step_Picture_05=No-image-yet.jpg | |Step_Picture_05=No-image-yet.jpg | ||
}} | }} | ||
| − | {{Tuto Step | + | {{ {{tntn|Tuto Step}} |
|Step_Picture_00=DataOnMap.jpg | |Step_Picture_00=DataOnMap.jpg | ||
|Step_Picture_01=No-image-yet.jpg | |Step_Picture_01=No-image-yet.jpg | ||
| Ligne 82 : | Ligne 82 : | ||
|Step_Picture_05=No-image-yet.jpg | |Step_Picture_05=No-image-yet.jpg | ||
}} | }} | ||
| − | {{Tuto Step | + | {{ {{tntn|Tuto Step}} |
|Step_Picture_00=MillemontGreenHouse.jpg | |Step_Picture_00=MillemontGreenHouse.jpg | ||
|Step_Picture_01=No-image-yet.jpg | |Step_Picture_01=No-image-yet.jpg | ||
| Ligne 90 : | Ligne 90 : | ||
|Step_Picture_05=No-image-yet.jpg | |Step_Picture_05=No-image-yet.jpg | ||
}} | }} | ||
| − | {{Notes}} | + | {{ {{tntn|Notes}}|}} |
{{Tuto_Status | {{Tuto_Status | ||
|Complete=Check this box when the tutorial is complete | |Complete=Check this box when the tutorial is complete | ||
}} | }} | ||
{{Separator}} | {{Separator}} | ||
Version du 11 août 2017 à 11:03
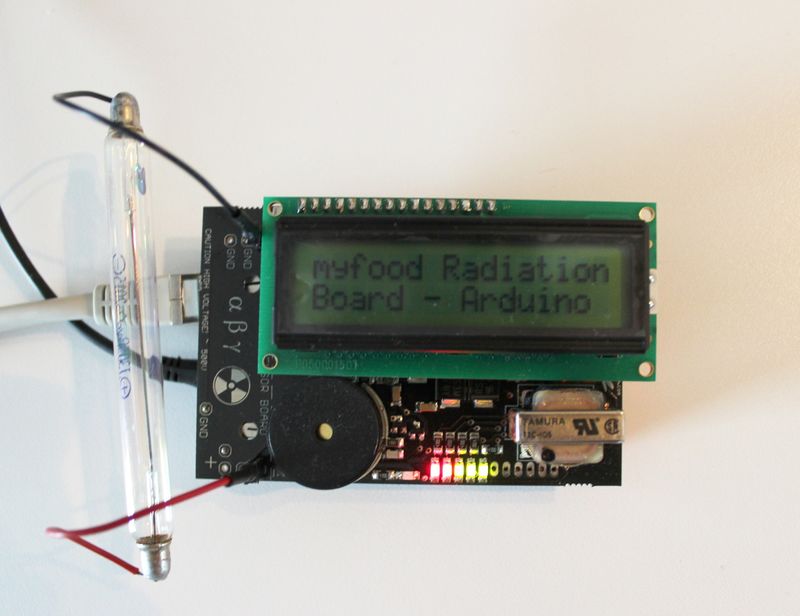
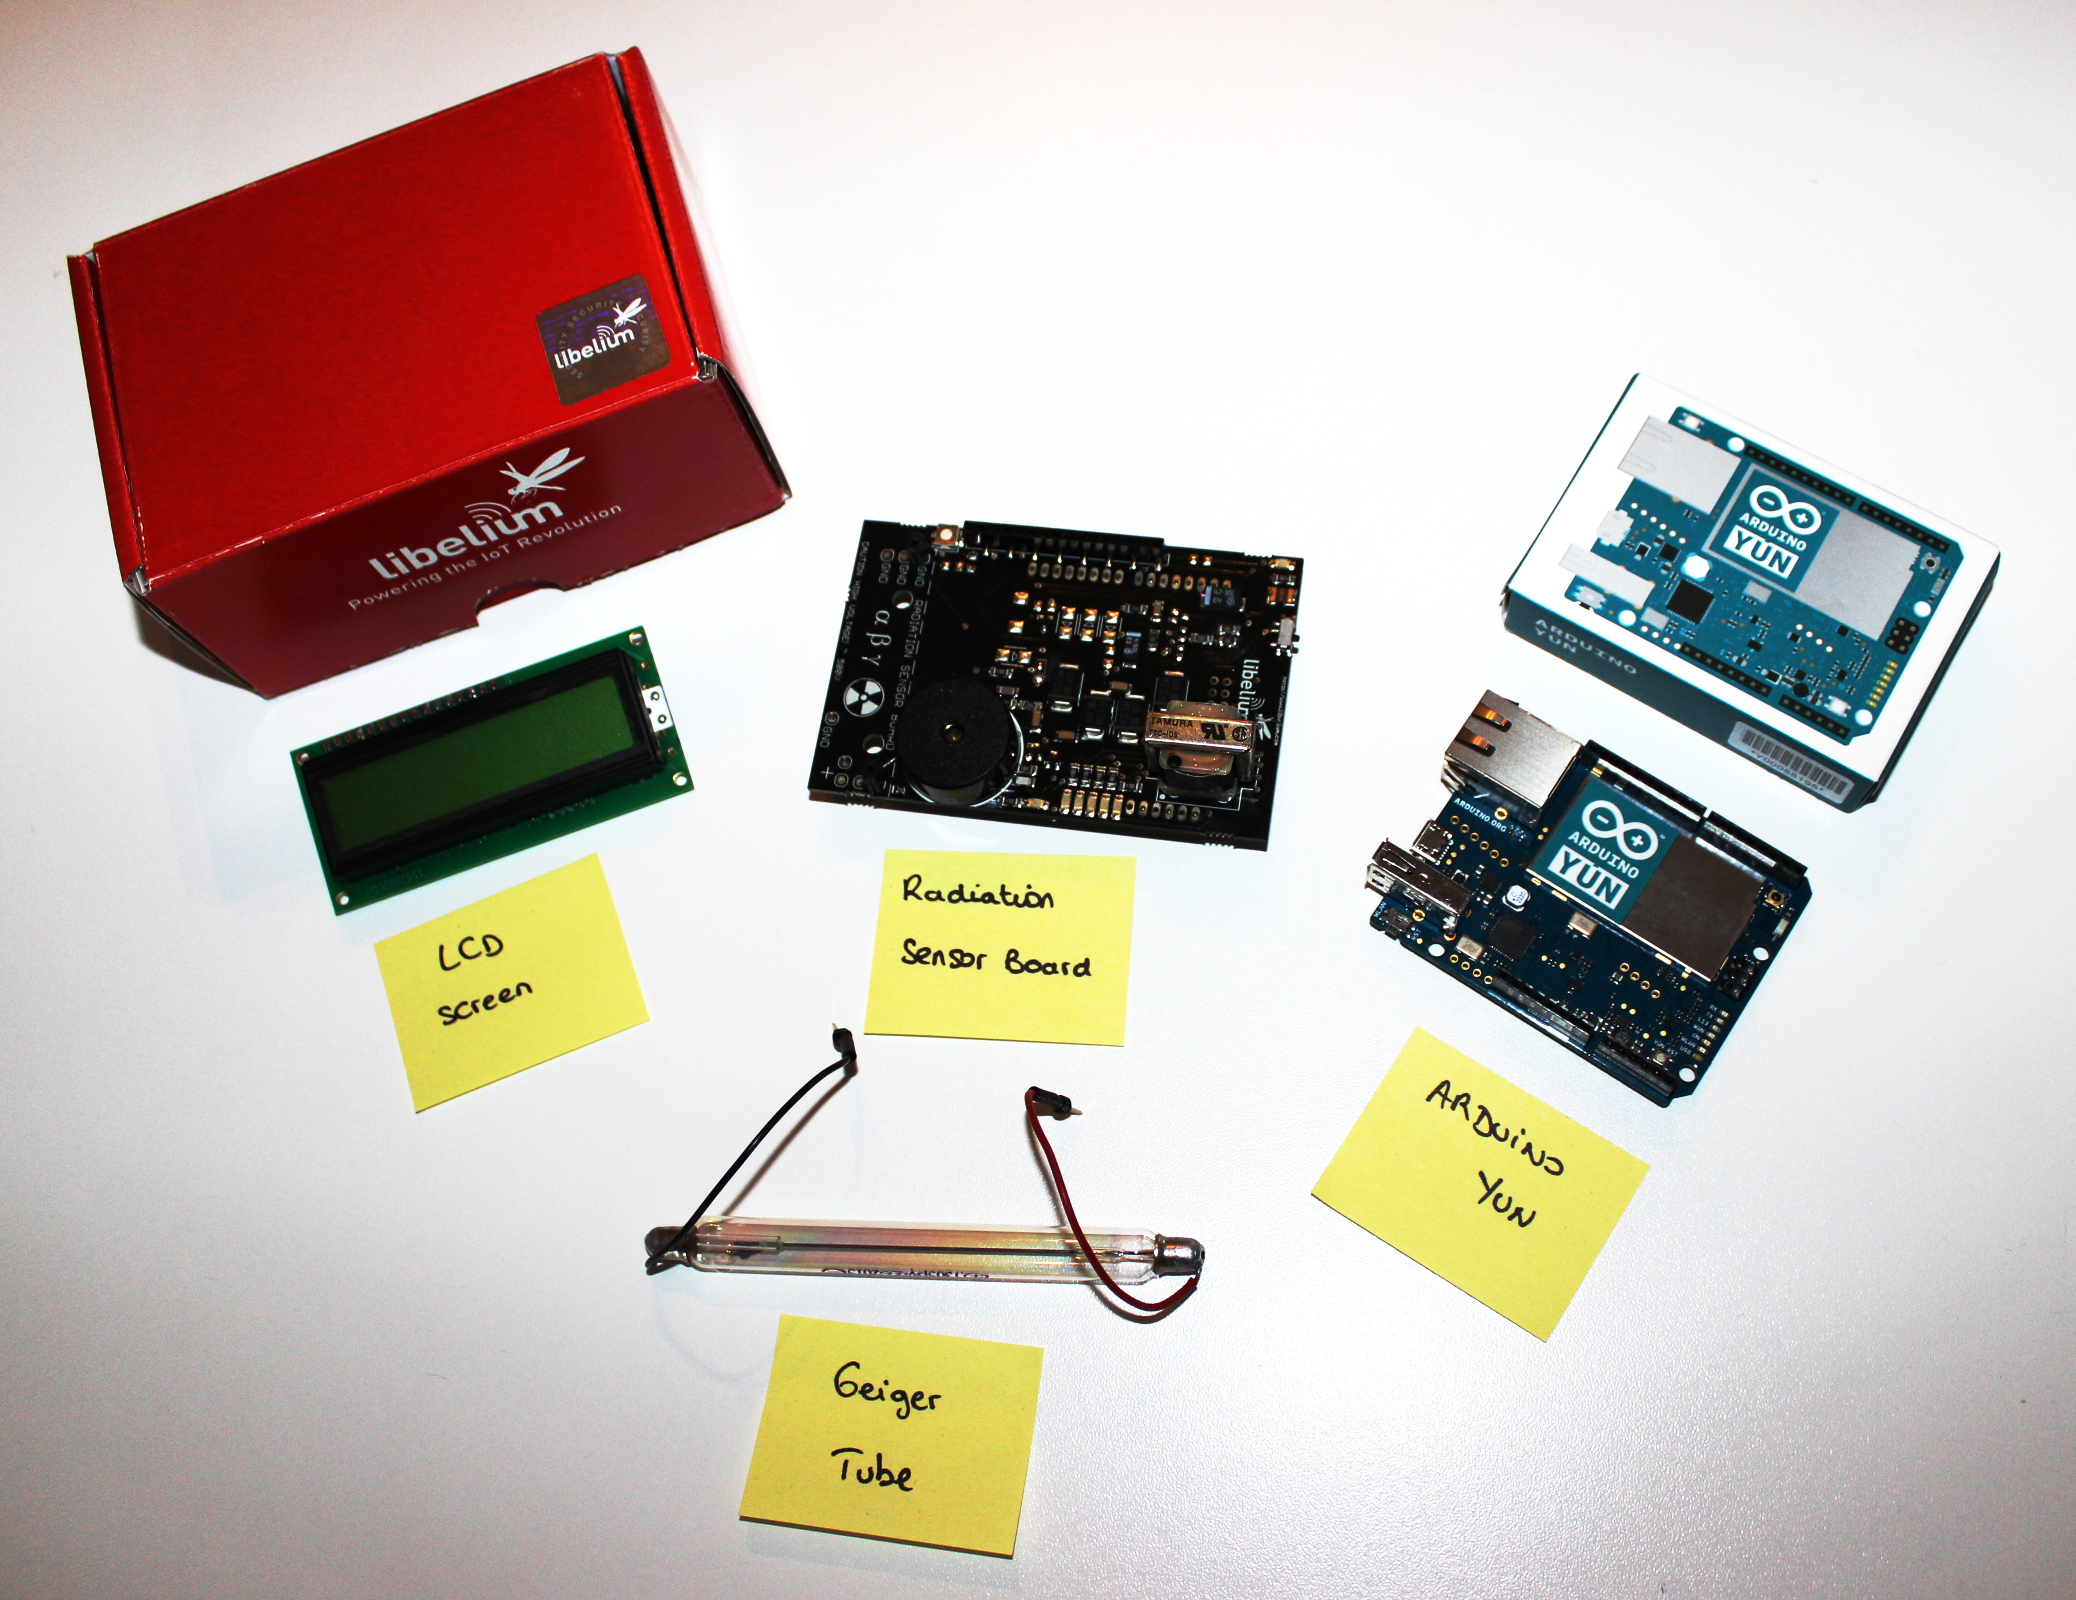
The main finality of the Radiation Sensor Board for Arduino and Raspberry Pi is to help people in Japan to measure the levels of radiation in their everyday life after the unfortunate earthquake and tsunami struck Japan in March 2011 and cause the nuclear radiation leakages in Fukushima. We want to give the chance to measure by themselves this levels instead of trusting in the general advises which are being broadcasted. The usage of this sensor board along with the affordable and easy to use Arduino platform helps people to get radiation values from specific places.
Difficulté
Moyen
Durée
2 heure(s)
Catégories
Électronique, Alimentation & Agriculture, Science & Biologie
Coût
200 EUR (€)
Check this box when the tutorial is complete

 Français
 English
 Deutsch
 Español
 Italiano
 Português