| Ligne 20 : | Ligne 20 : | ||
Steps | Steps | ||
| − | 1- Modularity: | + | 1- Modularity: Loosely combined Parts can be comb |
2- Gathering materials: - Show the options to buy parts from kitspace, but also add links to the original github repository, stating that due to modularity, not all parts are necessary for basic functionality. (on the repository there are more detailed bill of material files) | 2- Gathering materials: - Show the options to buy parts from kitspace, but also add links to the original github repository, stating that due to modularity, not all parts are necessary for basic functionality. (on the repository there are more detailed bill of material files) | ||
Version du 4 septembre 2018 à 17:36
Introduction
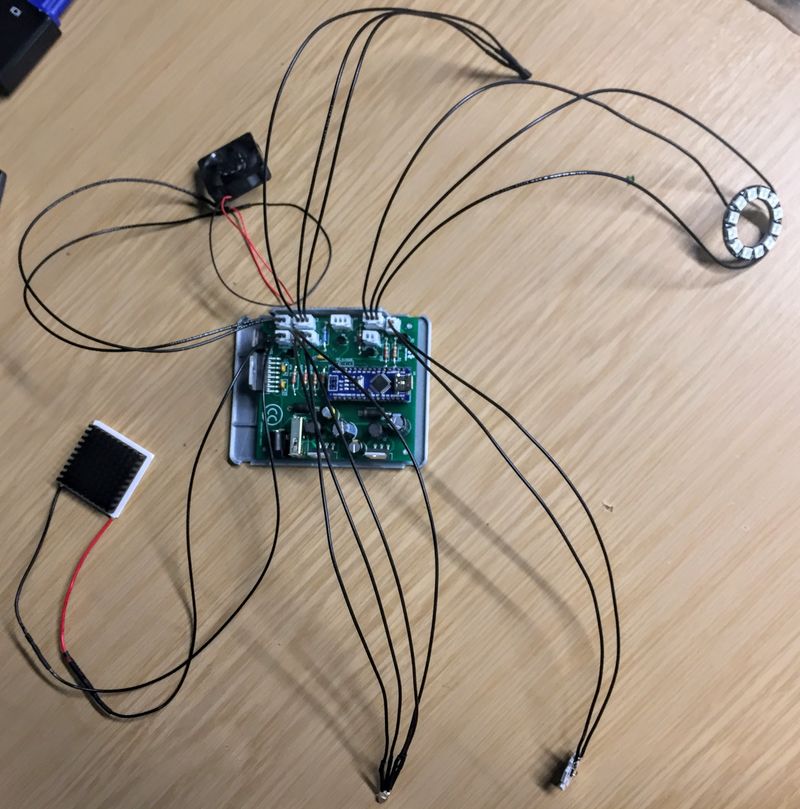
In this tutorial, I share the journey of how I built the FlyPi biology tool, without any previous electronics experience, so I could feed my insatiable urge to see how things work. Microscopy offers a lens to explore each visual frontier with its new wonderful perspectives and illumination of a minuscule life regularly unobserved. This is an amazing experiences for anyone curious of what lies beneath our immediate visual capabilities. One main constraint for curious students, researchers and/or educators to look deeper into the micro world, is access to effective scientific tools. This is likely due to high prices set by development under a patent/scarcity methodology. Building your own FlyPi is a relatively easy and cost effective way to to get around this limiting factor. FlyPi is an all-in-one biology lab with powerful “off-the-shelf” electronic elements (Raspberry Pi & Arduino nano). It's modularity offers a fast, effective and low cost way to have better experimental control by customizing for specific needs and most importantly enables accessibility for exploration and research of the micro world around. Just putting it together is a great learning experience for everyone not immediately comfortable with electronics. Some People have even begun to join scientific efforts in pursuing solutions to their local problems!
Steps
1- Modularity: Loosely combined Parts can be comb
2- Gathering materials: - Show the options to buy parts from kitspace, but also add links to the original github repository, stating that due to modularity, not all parts are necessary for basic functionality. (on the repository there are more detailed bill of material files)
3- Building hardware: Explain module flexibilities
4- Software Installation: How to install useful software on SD card
5- Launching FlyPi program: Putting it all together to start collecting image data!
Matériaux
Monitor
Computer mouse - USB
Keyboard - USB
3D print files (.stl) : Under 'Files' tab above
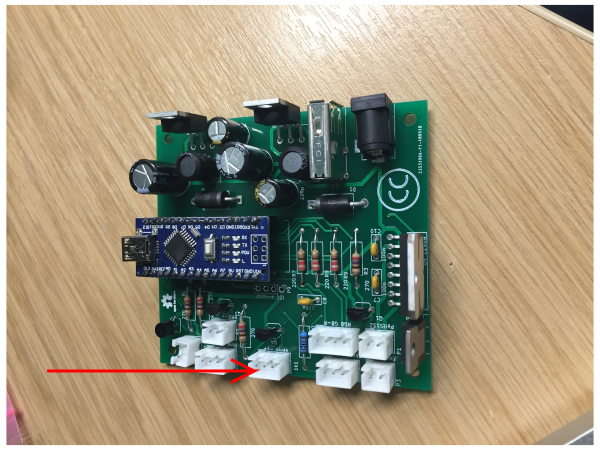
Custom PCB (Principle Component Board parts can be found on: https://kitspace.org/boards/github.com/prometheus-science/flypi/ )
Outils
Soldering Iron, Solder
Computer with:
- ability to connect SD card
- internet Connection
3D printer
Étape 1 - Modularity
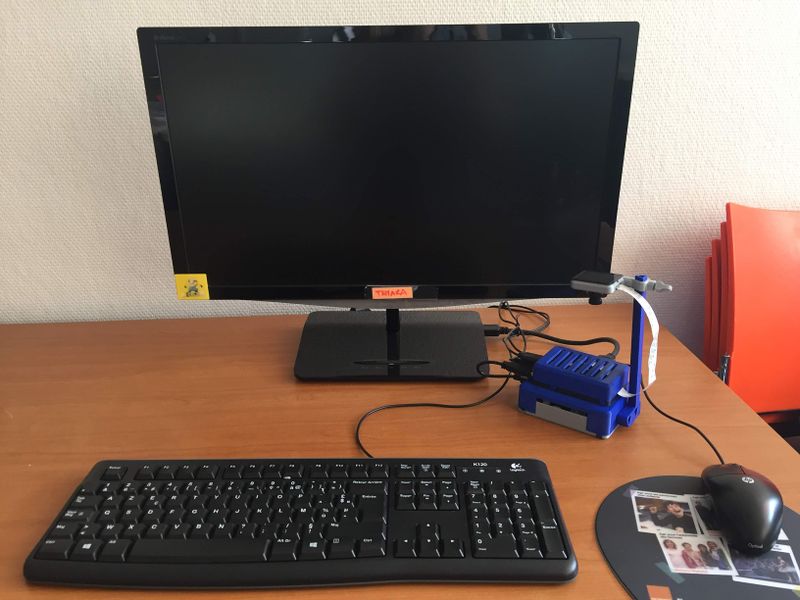
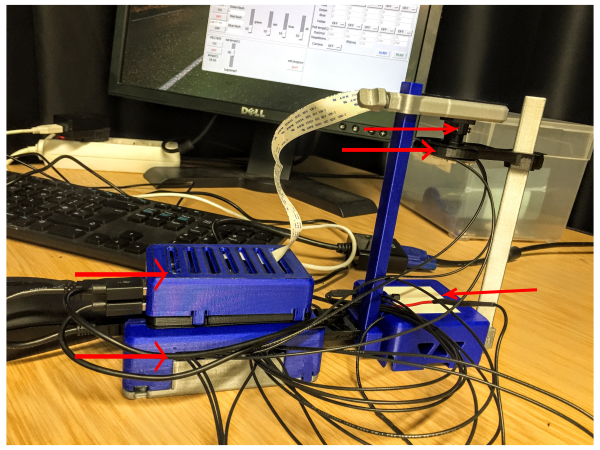
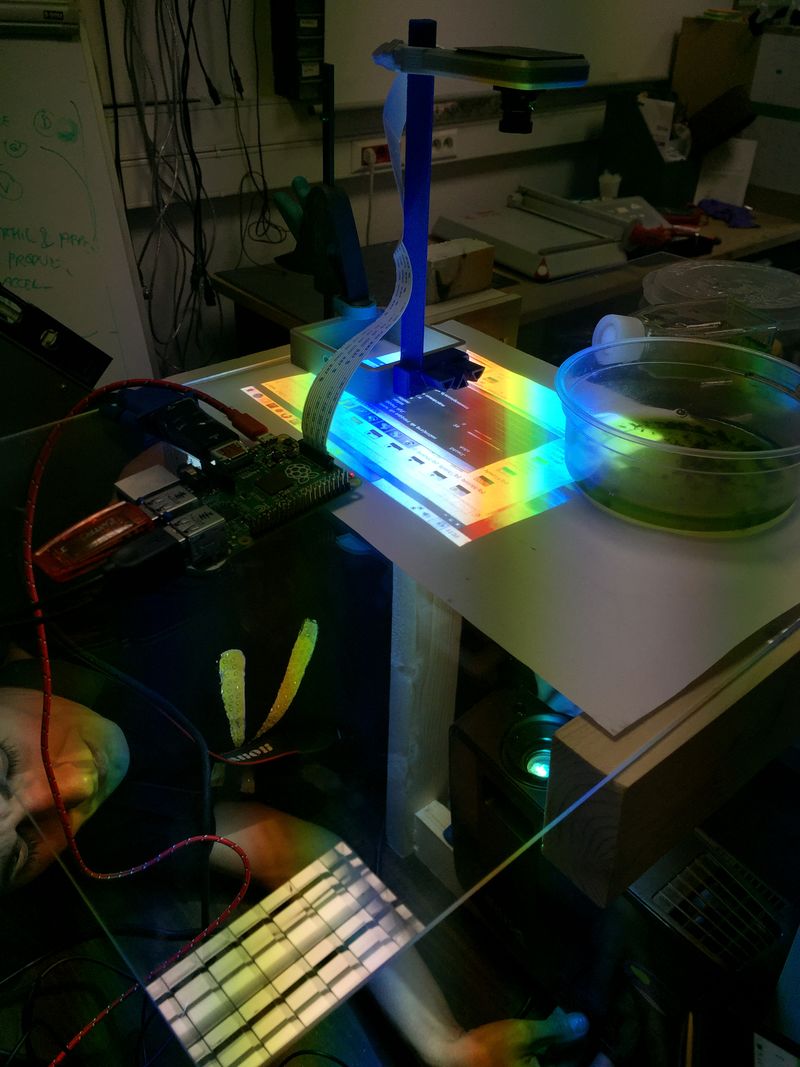
1- Modularity: show some images/examples of the setup built, Explain Modularity principle
Étape 2 - Gathering Materials & Creating Parts
2- Gathering materials: - Show the options to buy parts from kitspace, but also add links to the original github repository, stating that due to modularity, not all parts are necessary for basic functionality. (on the repository there are more detailed bill of material files)
Electronic parts can be ordered from this kitspace page (lists have been conveniently compiled in various online market shopping carts):
https://kitspace.org/boards/github.com/prometheus-science/flypi/
3D print files can be found in the files tab
Étape 3 - Building hardware
3- Building hardware: Explain module flexibilities
Étape 4 - Software Installation
4- Software Installation: How to install useful software on SD card
Étape 5 - Launching the FlyPi
5- Launching FlyPi program: Putting it all together to start collecting image data!
Draft
 Français
 English
 Deutsch
 Español
 Italiano
 Português