(update property name) |
|||
| (Une révision intermédiaire par un autre utilisateur non affichée) | |||
| Ligne 1 : | Ligne 1 : | ||
| − | {{ | + | {{Tuto Details |
|Main_Picture=Communication_Dish_Picture1.jpg | |Main_Picture=Communication_Dish_Picture1.jpg | ||
|Licences=Attribution (CC BY) | |Licences=Attribution (CC BY) | ||
| Ligne 15 : | Ligne 15 : | ||
|IsTranslation=0 | |IsTranslation=0 | ||
}} | }} | ||
| − | {{ | + | {{Introduction |
|Introduction= | |Introduction= | ||
}} | }} | ||
| − | {{ | + | {{Materials |
|Step_Picture_00=Communication_Dish_Picture5.jpg | |Step_Picture_00=Communication_Dish_Picture5.jpg | ||
|Material= Plywood | |Material= Plywood | ||
| Ligne 43 : | Ligne 43 : | ||
Pensil | Pensil | ||
}} | }} | ||
| − | {{ | + | {{Separator}} |
| − | {{ | + | {{Tuto Step |
|Step_Title=Measuring and Sketching | |Step_Title=Measuring and Sketching | ||
|Step_Content=Measure and sketch the correct measurements required to make the dish on the plywood.(The measurement should be precisely done as this affects how the dish will turn out) | |Step_Content=Measure and sketch the correct measurements required to make the dish on the plywood.(The measurement should be precisely done as this affects how the dish will turn out) | ||
| Ligne 50 : | Ligne 50 : | ||
|Step_Picture_01=Communication_Dish_Picture4.jpg | |Step_Picture_01=Communication_Dish_Picture4.jpg | ||
}} | }} | ||
| − | {{ | + | {{Tuto Step |
|Step_Title=Cutting and subdividing sections | |Step_Title=Cutting and subdividing sections | ||
|Step_Content=After you are done with the measurements on the plywood, check to ensure that this is correctly done | |Step_Content=After you are done with the measurements on the plywood, check to ensure that this is correctly done | ||
| Ligne 58 : | Ligne 58 : | ||
|Step_Picture_01=Communication_Dish_Picture6.jpg | |Step_Picture_01=Communication_Dish_Picture6.jpg | ||
}} | }} | ||
| − | {{ | + | {{Tuto Step |
|Step_Title=Drilling holes on the plywood | |Step_Title=Drilling holes on the plywood | ||
|Step_Content= Drill holes into specific points on the plywood which will later be used for fixing the mesh wire | |Step_Content= Drill holes into specific points on the plywood which will later be used for fixing the mesh wire | ||
| Ligne 64 : | Ligne 64 : | ||
Using cable ties, join the plywood pieces together to form the base of the dish | Using cable ties, join the plywood pieces together to form the base of the dish | ||
}} | }} | ||
| − | {{ | + | {{Tuto Step |
|Step_Title= | |Step_Title= | ||
|Step_Content=Using the cable ties, join your mesh wire to the plywood background | |Step_Content=Using the cable ties, join your mesh wire to the plywood background | ||
}} | }} | ||
| − | {{ | + | {{Tuto Step |
|Step_Title=Cutting and subdividing sections | |Step_Title=Cutting and subdividing sections | ||
|Step_Content=After you are done with the measurements on the plywood, check to ensure that this is correctly done | |Step_Content=After you are done with the measurements on the plywood, check to ensure that this is correctly done | ||
| Ligne 76 : | Ligne 76 : | ||
|Step_Picture_01=Communication_Dish_Picture6.jpg | |Step_Picture_01=Communication_Dish_Picture6.jpg | ||
}} | }} | ||
| − | {{ | + | {{Tuto Step |
|Step_Title=Drilling holes on the plywood | |Step_Title=Drilling holes on the plywood | ||
|Step_Content= Drill holes into specific points on the plywood which will later be used for fixing the mesh wire | |Step_Content= Drill holes into specific points on the plywood which will later be used for fixing the mesh wire | ||
| Ligne 82 : | Ligne 82 : | ||
Using cable ties, join the plywood pieces together to form the base of the dish | Using cable ties, join the plywood pieces together to form the base of the dish | ||
}} | }} | ||
| − | {{ | + | {{Tuto Step |
|Step_Title= | |Step_Title= | ||
|Step_Content=Using the cable ties, join your mesh wire to the plywood background | |Step_Content=Using the cable ties, join your mesh wire to the plywood background | ||
|Step_Picture_00=Communication_Dish_Picture7.jpg | |Step_Picture_00=Communication_Dish_Picture7.jpg | ||
}} | }} | ||
| − | {{ | + | {{Tuto Step |
|Step_Title=Cable tie reinforcement | |Step_Title=Cable tie reinforcement | ||
|Step_Content=Reinforce the cable ties to ensure that these are well done and to also ensure that you have a strong dish. | |Step_Content=Reinforce the cable ties to ensure that these are well done and to also ensure that you have a strong dish. | ||
}} | }} | ||
| − | {{ | + | {{Tuto Step |
|Step_Title=Testing | |Step_Title=Testing | ||
|Step_Content=Test to see if the dish is working | |Step_Content=Test to see if the dish is working | ||
}} | }} | ||
| − | {{ | + | {{Tuto Step |
|Step_Title=Tips and Usage | |Step_Title=Tips and Usage | ||
|Step_Content=Extending wifi connection | |Step_Content=Extending wifi connection | ||
| Ligne 103 : | Ligne 103 : | ||
Number of people needed at least a minimum5 people | Number of people needed at least a minimum5 people | ||
}} | }} | ||
| − | {{ | + | {{Tuto Step |
|Step_Title=Recommendation | |Step_Title=Recommendation | ||
|Step_Content='''Recommendation''' | |Step_Content='''Recommendation''' | ||
| Ligne 111 : | Ligne 111 : | ||
To avoid losing on the plywood, ensure you measure accurately as well as in cutting | To avoid losing on the plywood, ensure you measure accurately as well as in cutting | ||
}} | }} | ||
| − | {{ | + | {{Tuto Step |
|Step_Title=Testing | |Step_Title=Testing | ||
|Step_Content=Test to see if the dish is working | |Step_Content=Test to see if the dish is working | ||
}} | }} | ||
| − | {{ | + | {{Tuto Step |
|Step_Title=Tips and Usage | |Step_Title=Tips and Usage | ||
|Step_Content=Extending wifi connection | |Step_Content=Extending wifi connection | ||
| Ligne 123 : | Ligne 123 : | ||
Number of people needed at least a minimum5 people | Number of people needed at least a minimum5 people | ||
}} | }} | ||
| − | {{ | + | {{Tuto Step |
|Step_Title=Recommendation | |Step_Title=Recommendation | ||
|Step_Content='''Recommendation''' | |Step_Content='''Recommendation''' | ||
| Ligne 129 : | Ligne 129 : | ||
The dish should directly face the antennae of your radio, phone, | The dish should directly face the antennae of your radio, phone, | ||
| − | To avoid | + | To avoid wastage for the plywood, ensure you measure accurately as well as in cutting |
| + | }} | ||
| + | {{Tuto Step | ||
| + | |Step_Title= | ||
| + | |Step_Content= | ||
}} | }} | ||
| − | {{ | + | {{Notes |
|Notes= | |Notes= | ||
}} | }} | ||
| − | {{ | + | {{Tuto Status |
|Complete=Draft | |Complete=Draft | ||
}} | }} | ||
Version actuelle datée du 9 décembre 2019 à 12:29
Sommaire
- 1 Étape 1 - Measuring and Sketching
- 2 Étape 2 - Cutting and subdividing sections
- 3 Étape 3 - Drilling holes on the plywood
- 4 Étape 4 -
- 5 Étape 5 - Cutting and subdividing sections
- 6 Étape 6 - Drilling holes on the plywood
- 7 Étape 7 -
- 8 Étape 8 - Cable tie reinforcement
- 9 Étape 9 - Testing
- 10 Étape 10 - Tips and Usage
- 11 Étape 11 - Recommendation
- 12 Étape 12 - Testing
- 13 Étape 13 - Tips and Usage
- 14 Étape 14 - Recommendation
- 15 Étape 15 -
- 16 Commentaires
Étape 1 - Measuring and Sketching
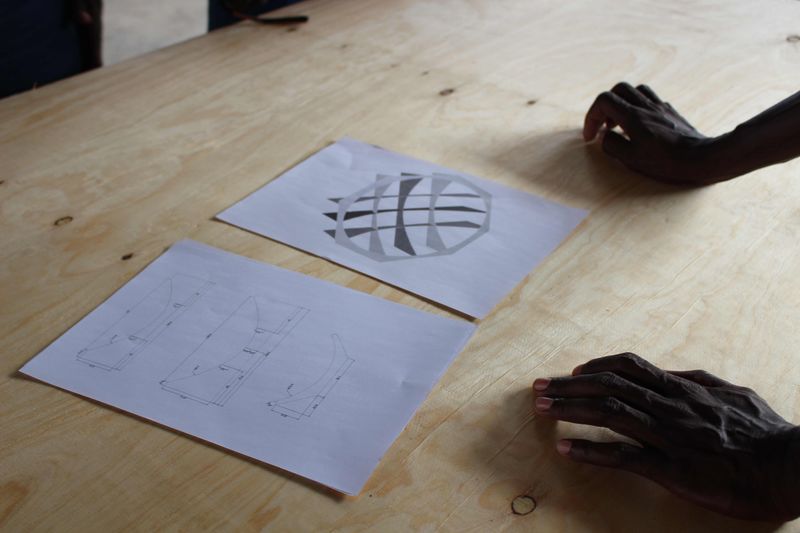
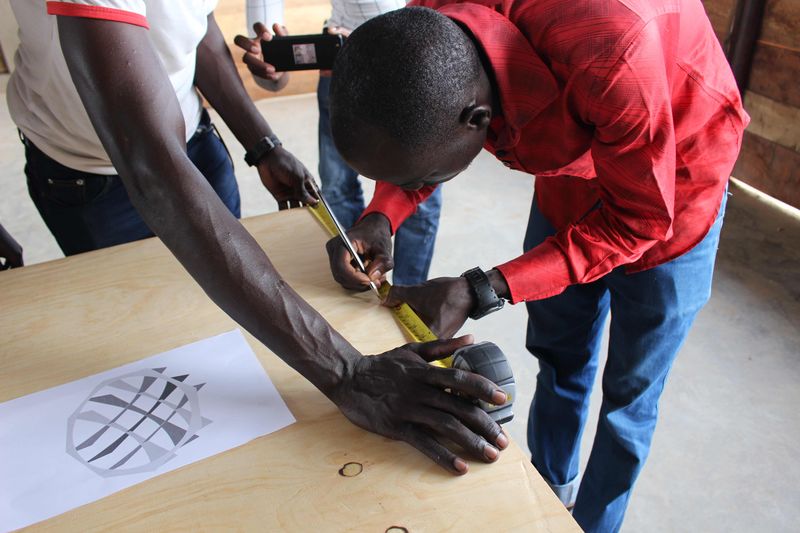
Measure and sketch the correct measurements required to make the dish on the plywood.(The measurement should be precisely done as this affects how the dish will turn out)
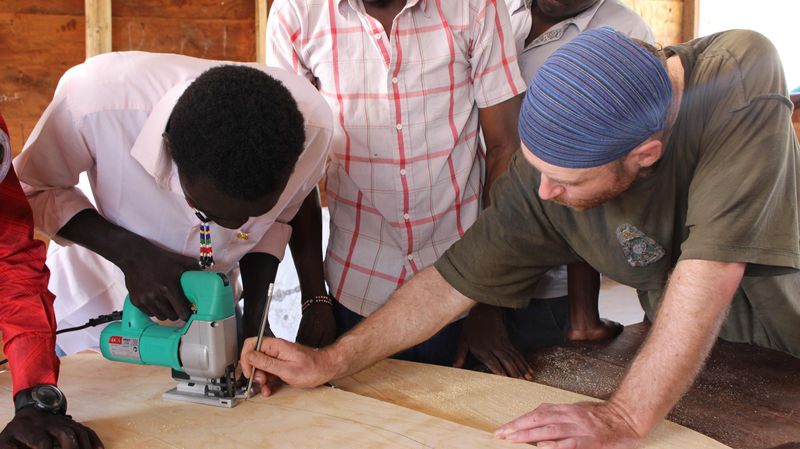
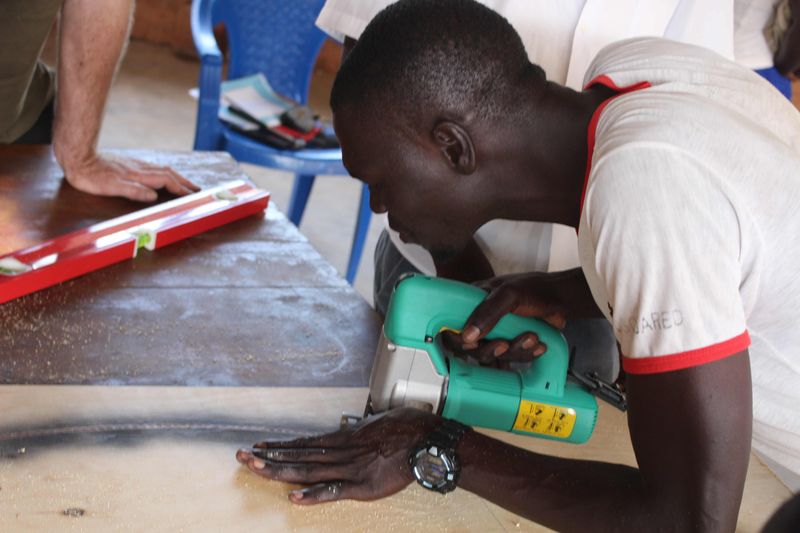
Étape 2 - Cutting and subdividing sections
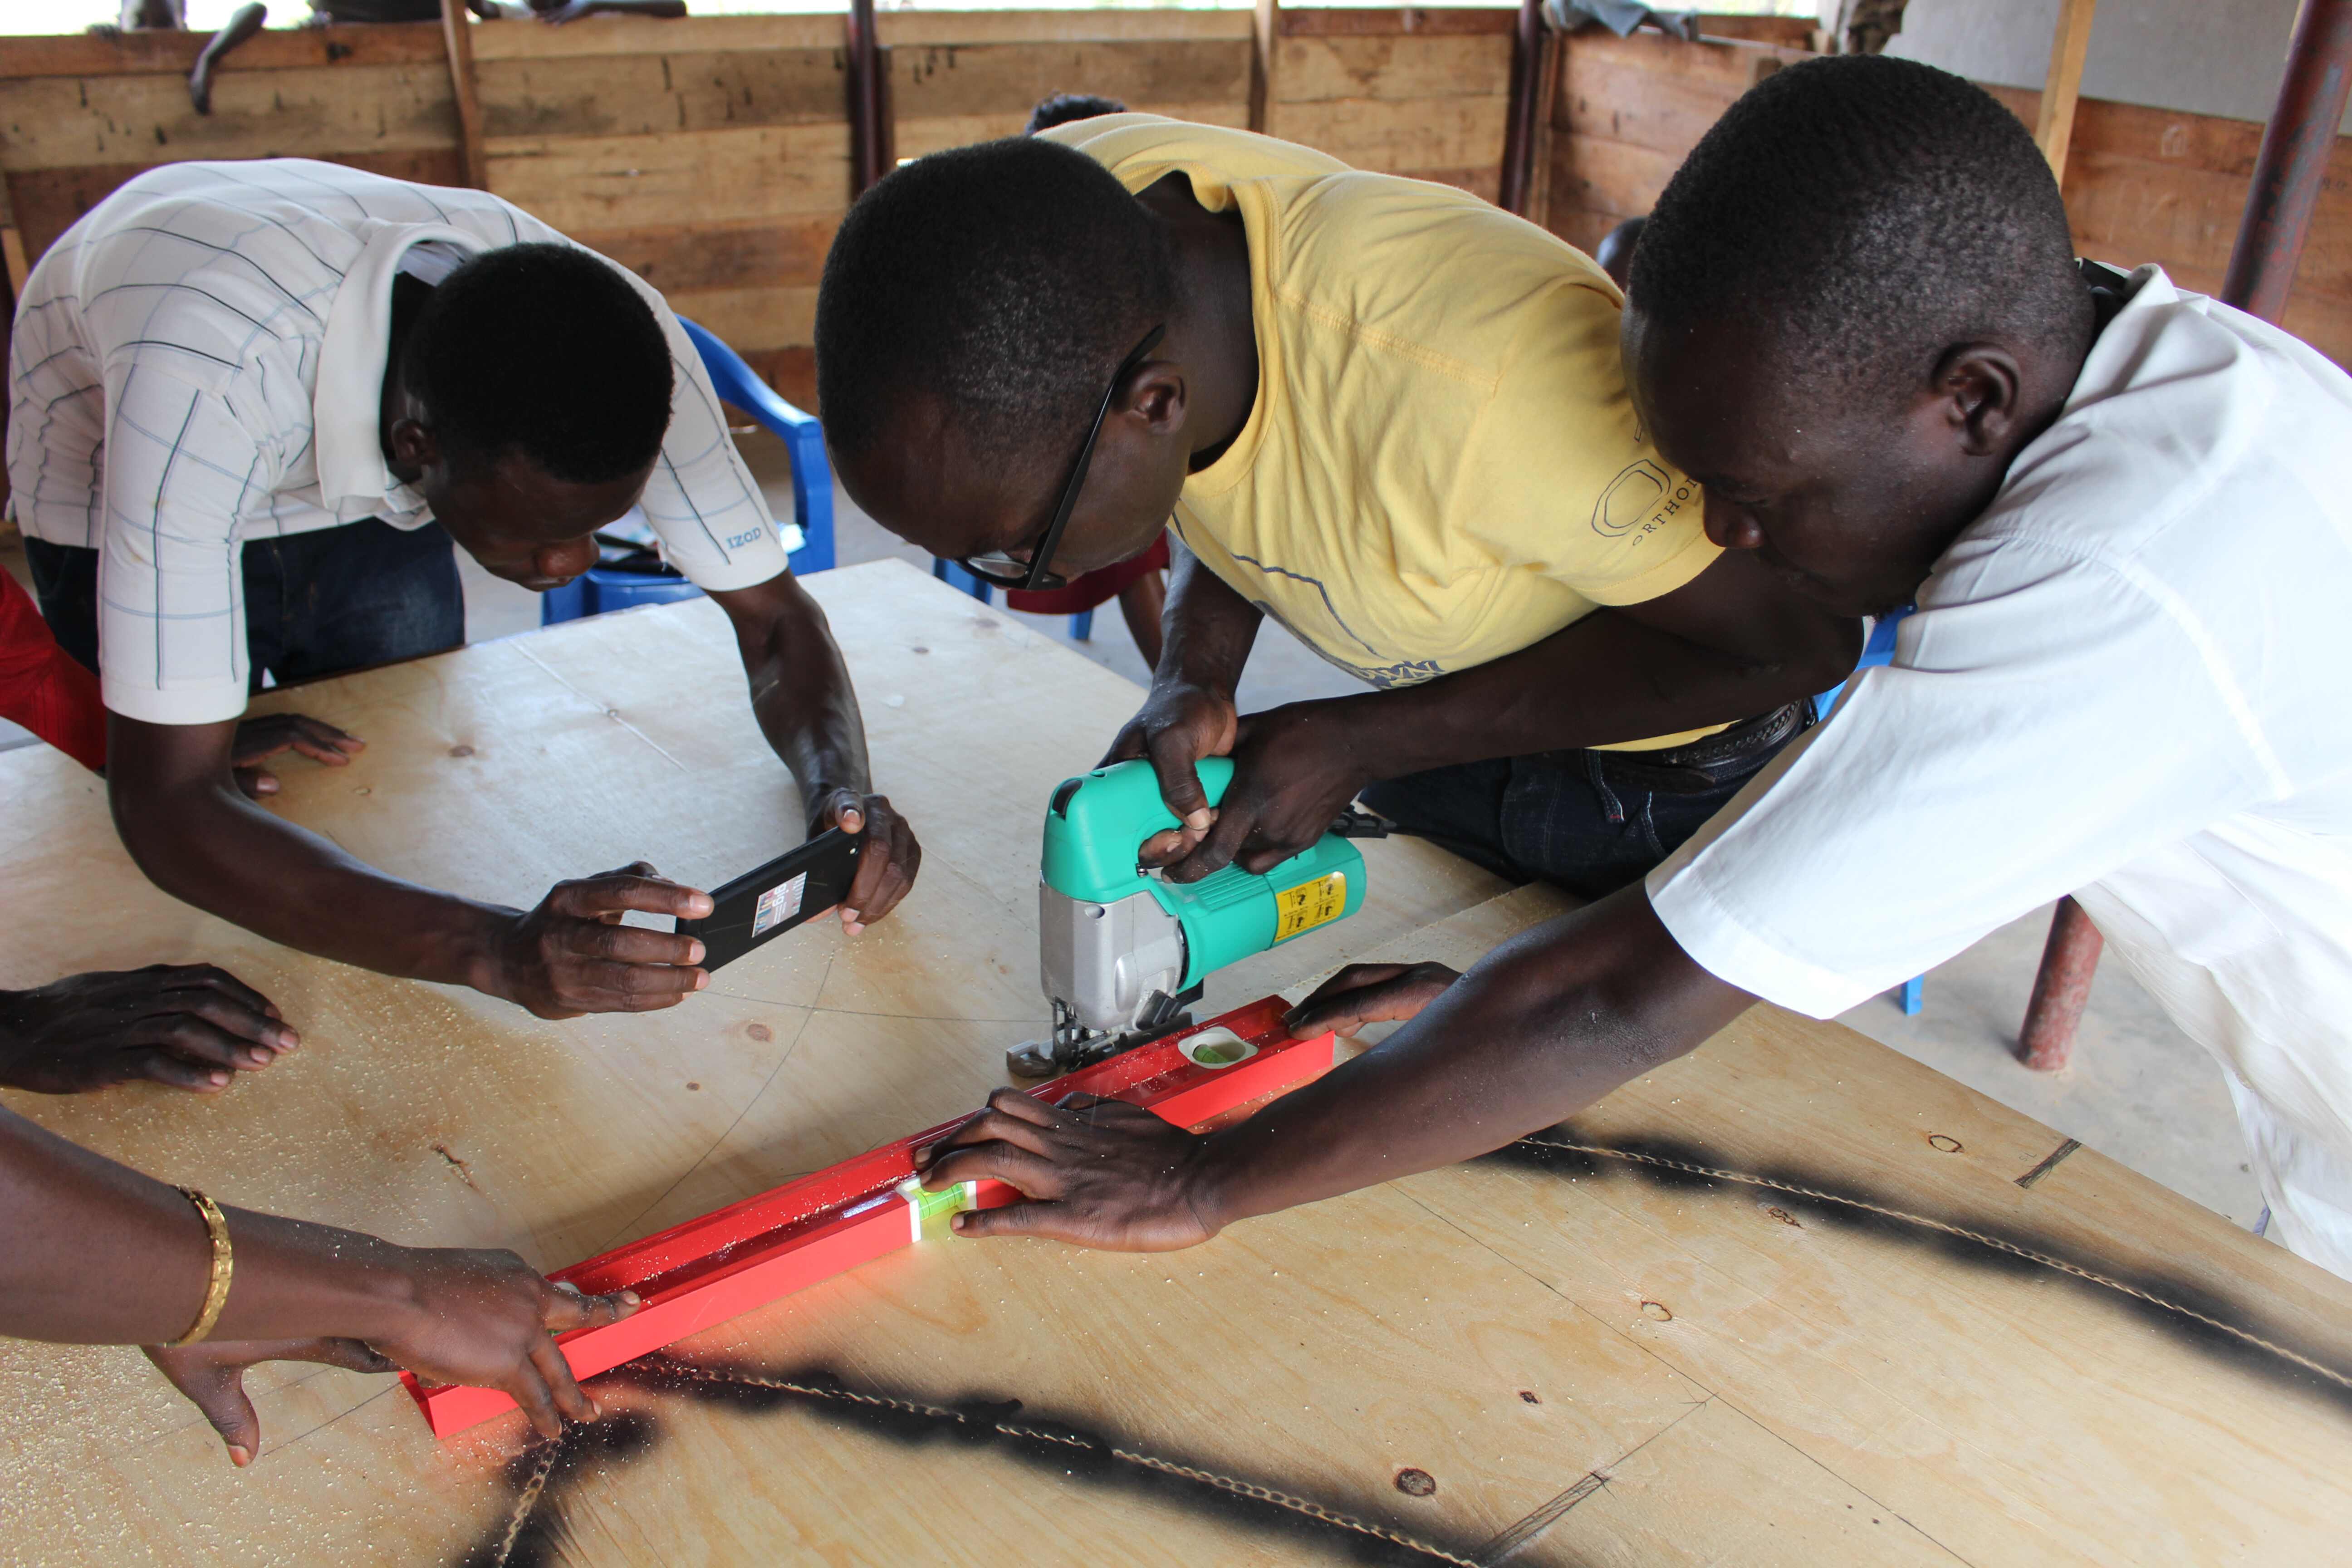
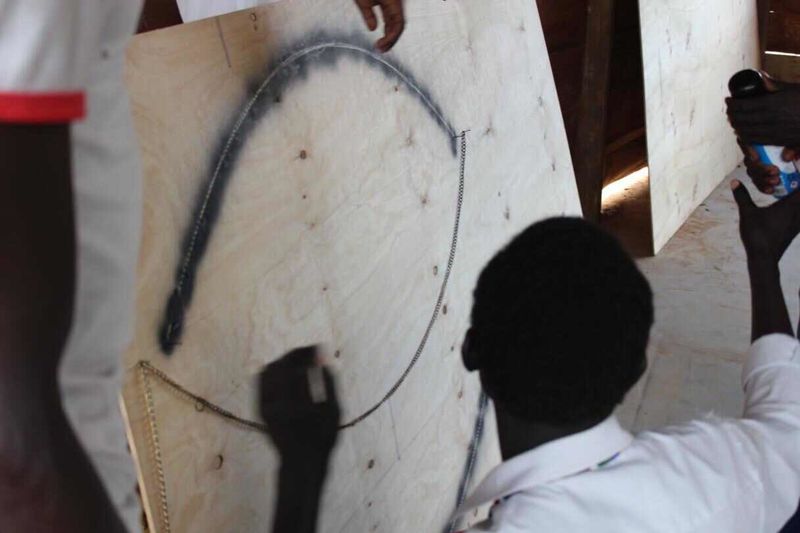
After you are done with the measurements on the plywood, check to ensure that this is correctly done
Begin by cutting the different parts of the plywood using a jigsaw.(Note, ensure that this is precisely done.
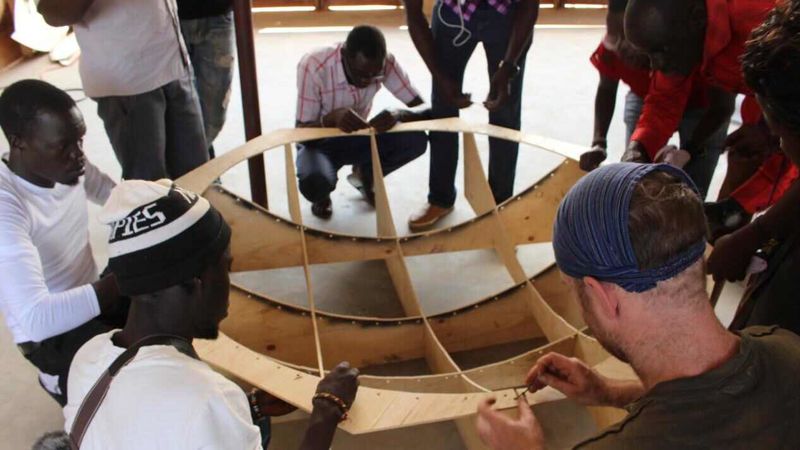
Étape 3 - Drilling holes on the plywood
Drill holes into specific points on the plywood which will later be used for fixing the mesh wire
Using cable ties, join the plywood pieces together to form the base of the dish
Étape 4 -
Using the cable ties, join your mesh wire to the plywood background
Étape 5 - Cutting and subdividing sections
After you are done with the measurements on the plywood, check to ensure that this is correctly done
Begin by cutting the different parts of the plywood using a jigsaw.(Note, ensure that this is precisely done.
Étape 6 - Drilling holes on the plywood
Drill holes into specific points on the plywood which will later be used for fixing the mesh wire
Using cable ties, join the plywood pieces together to form the base of the dish
Étape 8 - Cable tie reinforcement
Reinforce the cable ties to ensure that these are well done and to also ensure that you have a strong dish.
Étape 9 - Testing
Test to see if the dish is working
Étape 10 - Tips and Usage
Extending wifi connection
Amplifying radio and telephone signals
Number of people needed at least a minimum5 people
Étape 11 - Recommendation
Recommendation
The dish should directly face the antennae of your radio, phone,
To avoid losing on the plywood, ensure you measure accurately as well as in cutting
Étape 12 - Testing
Test to see if the dish is working
Étape 13 - Tips and Usage
Extending wifi connection
Amplifying radio and telephone signals
Number of people needed at least a minimum5 people
Étape 14 - Recommendation
Recommendation
The dish should directly face the antennae of your radio, phone,
To avoid wastage for the plywood, ensure you measure accurately as well as in cutting
Étape 15 -
Draft
 Français
 English
 Deutsch
 Español
 Italiano
 Português