(Page créée avec « {{Tuto Details |Main_Picture=Cheap_and_Cute_Digital_PhotoFrame_Without_SD_Card_on_ESP8266and1-8inch_TFT_001.jpg |Main_Picture_annotation={"version":"2.4.6","objects":[{"ty... ») |
|||
| Ligne 3 : | Ligne 3 : | ||
|Main_Picture_annotation={"version":"2.4.6","objects":[{"type":"image","version":"2.4.6","originX":"left","originY":"top","left":-46,"top":-6,"width":1024,"height":687,"fill":"rgb(0,0,0)","stroke":null,"strokeWidth":0,"strokeDashArray":null,"strokeLineCap":"butt","strokeDashOffset":0,"strokeLineJoin":"miter","strokeMiterLimit":4,"scaleX":0.67,"scaleY":0.67,"angle":0,"flipX":false,"flipY":false,"opacity":1,"shadow":null,"visible":true,"clipTo":null,"backgroundColor":"","fillRule":"nonzero","paintFirst":"fill","globalCompositeOperation":"source-over","transformMatrix":null,"skewX":0,"skewY":0,"crossOrigin":"","cropX":0,"cropY":0,"src":"https://wikifab.org/images/9/9b/Cheap_and_Cute_Digital_PhotoFrame_Without_SD_Card_on_ESP8266and1-8inch_TFT_001.jpg","filters":[]}],"height":450.3614457831325,"width":600} | |Main_Picture_annotation={"version":"2.4.6","objects":[{"type":"image","version":"2.4.6","originX":"left","originY":"top","left":-46,"top":-6,"width":1024,"height":687,"fill":"rgb(0,0,0)","stroke":null,"strokeWidth":0,"strokeDashArray":null,"strokeLineCap":"butt","strokeDashOffset":0,"strokeLineJoin":"miter","strokeMiterLimit":4,"scaleX":0.67,"scaleY":0.67,"angle":0,"flipX":false,"flipY":false,"opacity":1,"shadow":null,"visible":true,"clipTo":null,"backgroundColor":"","fillRule":"nonzero","paintFirst":"fill","globalCompositeOperation":"source-over","transformMatrix":null,"skewX":0,"skewY":0,"crossOrigin":"","cropX":0,"cropY":0,"src":"https://wikifab.org/images/9/9b/Cheap_and_Cute_Digital_PhotoFrame_Without_SD_Card_on_ESP8266and1-8inch_TFT_001.jpg","filters":[]}],"height":450.3614457831325,"width":600} | ||
|Description=<translate>Cheap & Cute PhotoFrame Without SD Card on ESP8266 + 1.8inch TFT</translate> | |Description=<translate>Cheap & Cute PhotoFrame Without SD Card on ESP8266 + 1.8inch TFT</translate> | ||
| − | |Area=Decoration | + | |Area=Decoration, Furniture, House, Play and Hobbies |
|Type=Digital Photoframe | |Type=Digital Photoframe | ||
|Difficulty=Medium | |Difficulty=Medium | ||
| Ligne 19 : | Ligne 19 : | ||
|VideoURLYoutube=https://www.youtube.com/watch?v=2yeeBgClBrs&feature=emb_title | |VideoURLYoutube=https://www.youtube.com/watch?v=2yeeBgClBrs&feature=emb_title | ||
}} | }} | ||
| − | {{Materials}} | + | {{Materials |
| + | |ItemList={{ItemList}} | ||
| + | }} | ||
{{Tuto Step | {{Tuto Step | ||
|Step_Title=<translate>Parts</translate> | |Step_Title=<translate>Parts</translate> | ||
| Ligne 83 : | Ligne 85 : | ||
}} | }} | ||
{{PageLang | {{PageLang | ||
| + | |Language=en | ||
|SourceLanguage=none | |SourceLanguage=none | ||
|IsTranslation=0 | |IsTranslation=0 | ||
| − | |||
}} | }} | ||
{{Tuto Status | {{Tuto Status | ||
| − | |Complete= | + | |Complete=Published |
}} | }} | ||
Version actuelle datée du 27 janvier 2020 à 21:04
Introduction
Youtube
Matériaux
Outils
Étape 1 - Parts
1.8 TFT Panel ST7735 https://www.aliexpress.com/item/32913848470.html
1.8 TFT Panel ST7735 https://www.banggood.com/1_441_82_02_22_42_8-Inch-TFT-LCD-Display-Module-Colorful-Screen-Module-SPI-Interface-p-1494883.html
ESP8266 WEMOS D1 https://www.aliexpress.com/item/33036965281.html
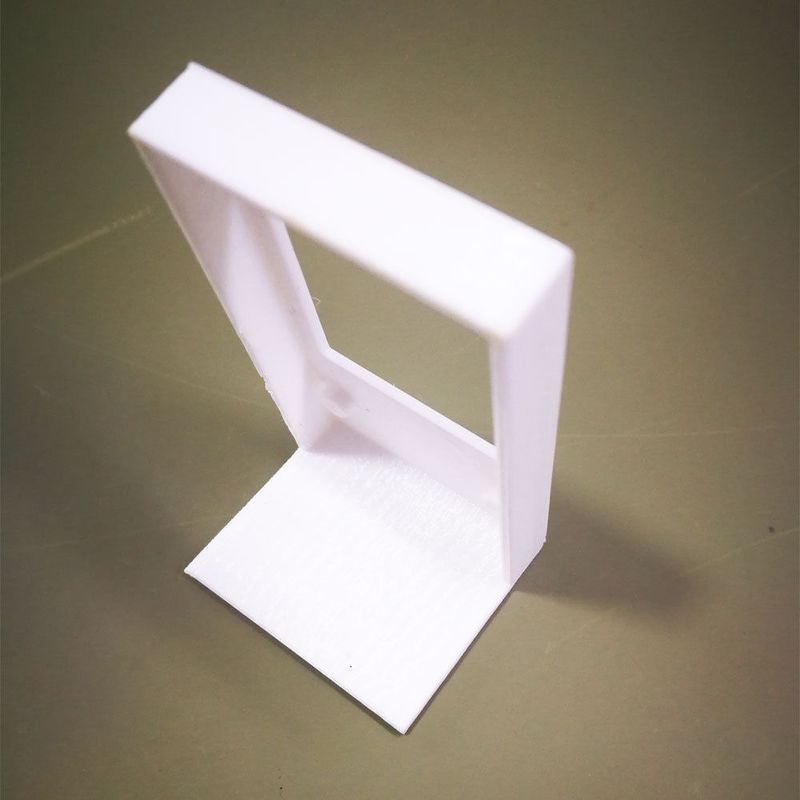
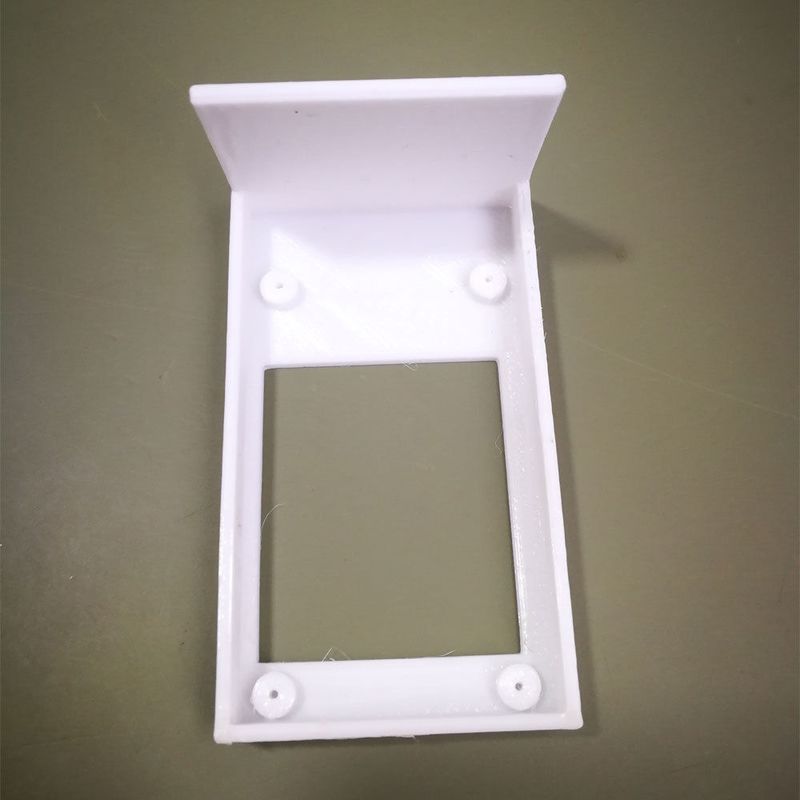
3D Printed Case https://www.thingiverse.com/thing:4097143
Some Wires & Soldering Iron.
Étape 2 - 3D printed Object
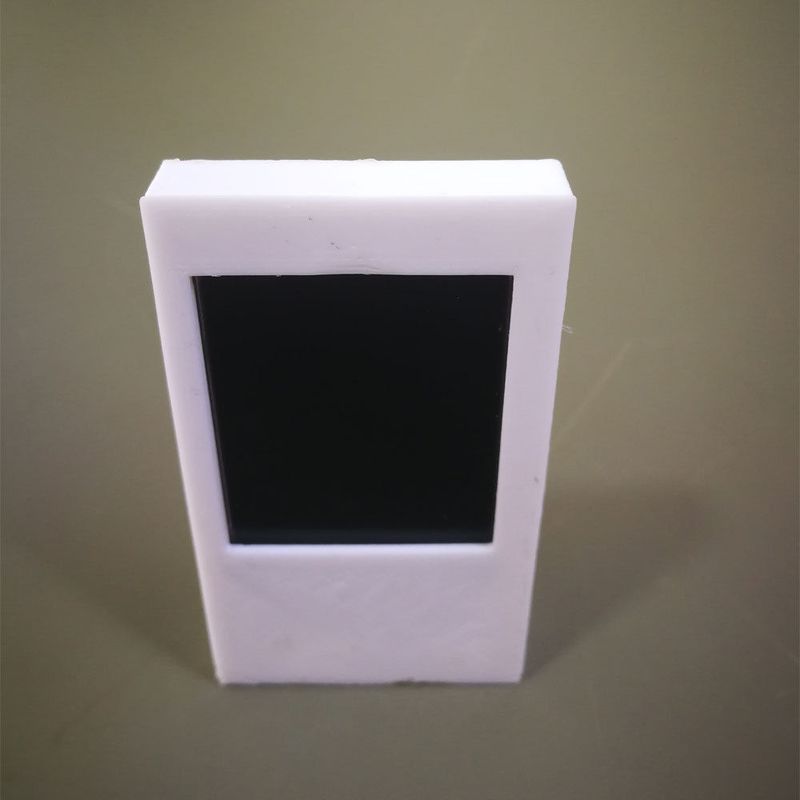
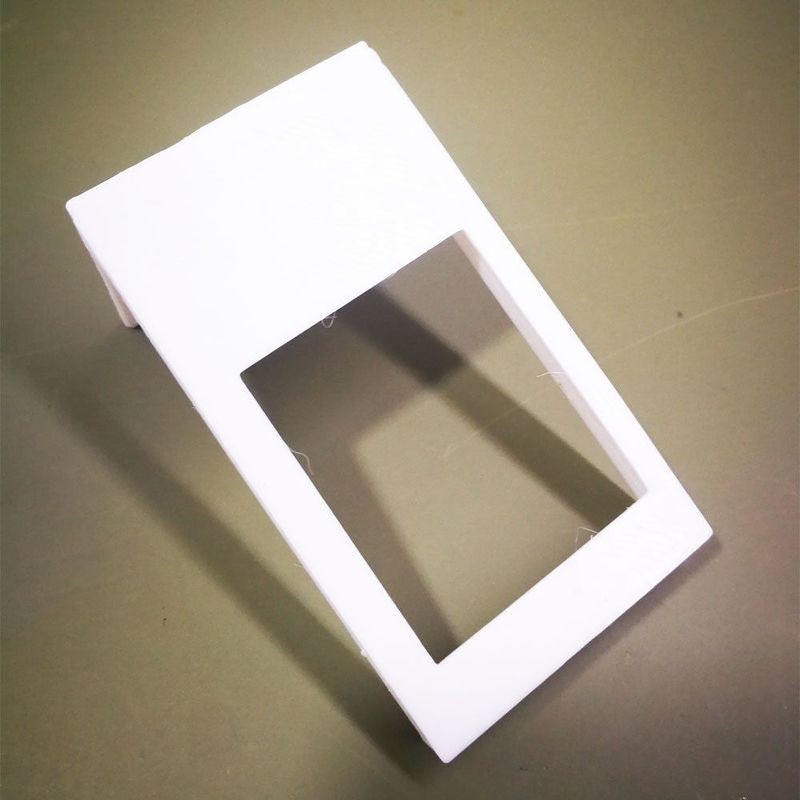
I've prepare parts and printed frame on my 3D Printer.
Model Download: https://www.tinkercad.com/things/1oIgHjgjMjd
Étape 3 - Mounting Parts & Technical Information
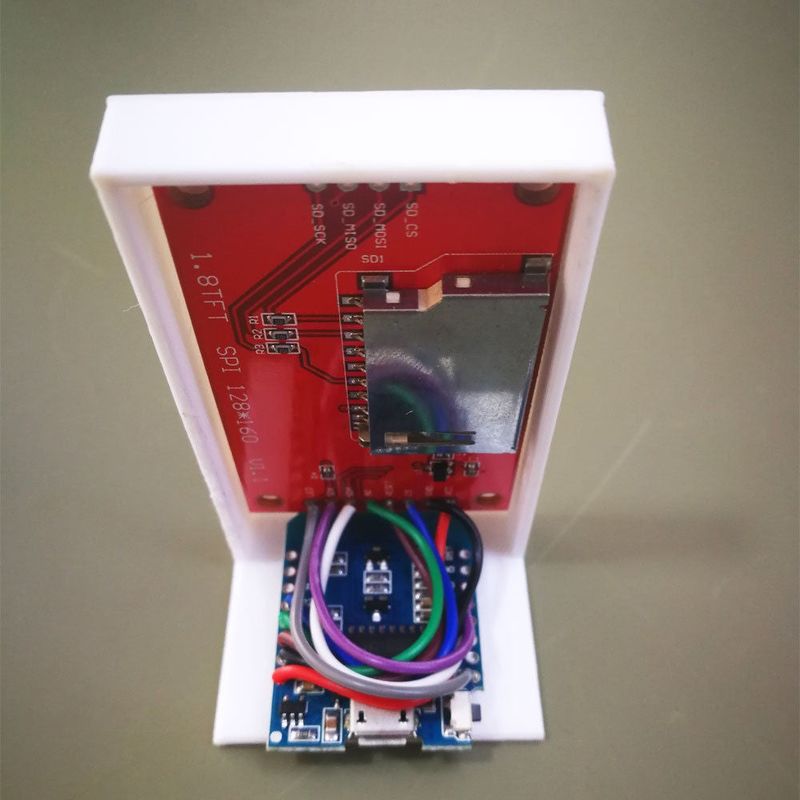
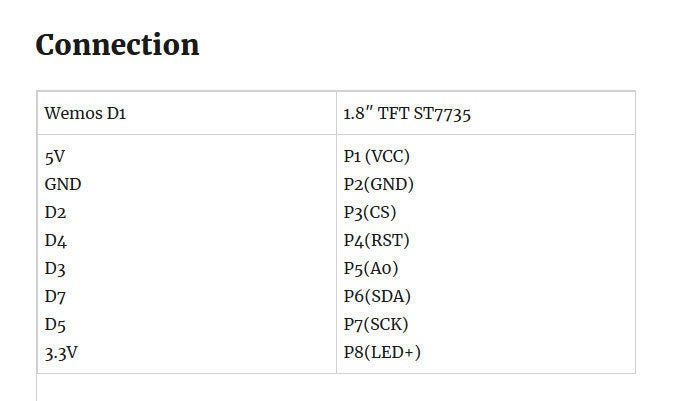
Solder and mount parts on 3D Printed case as shown above images.
1.8" (Actually 1.77") TFT Panel datasheet
Wemos D1 datasheet
Étape 4 - Programming
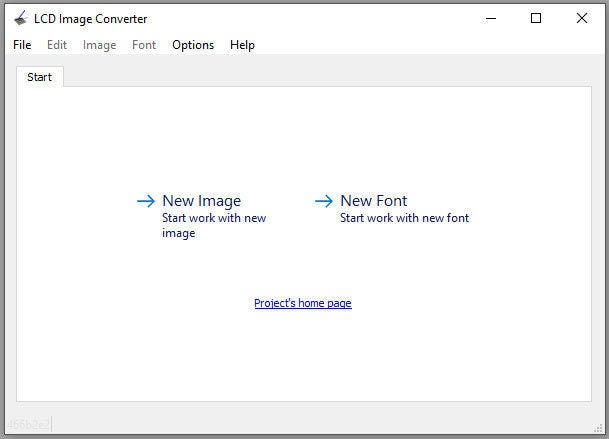
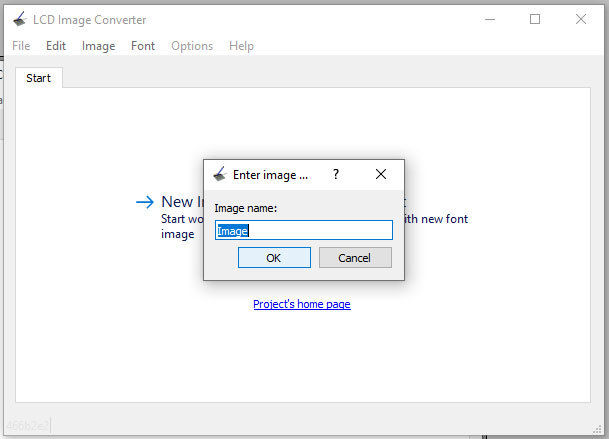
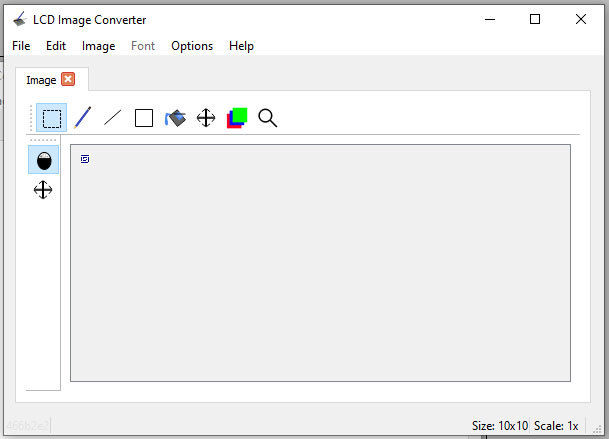
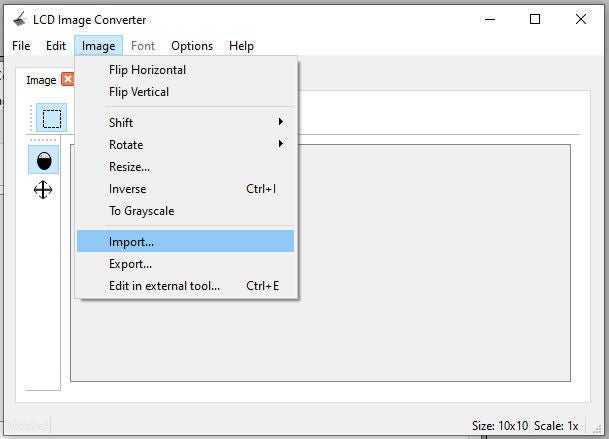
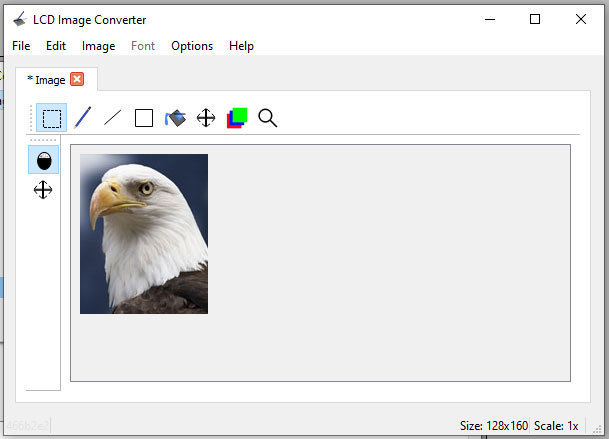
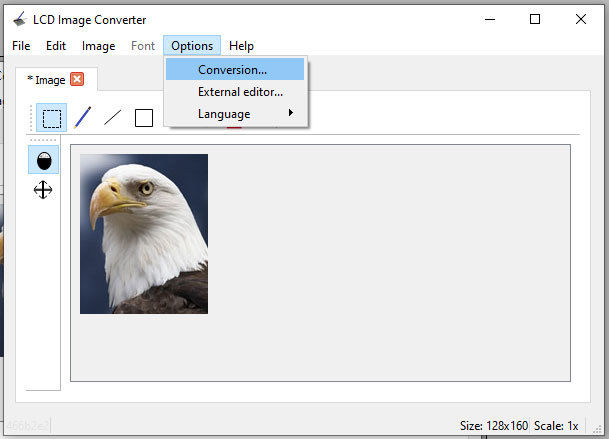
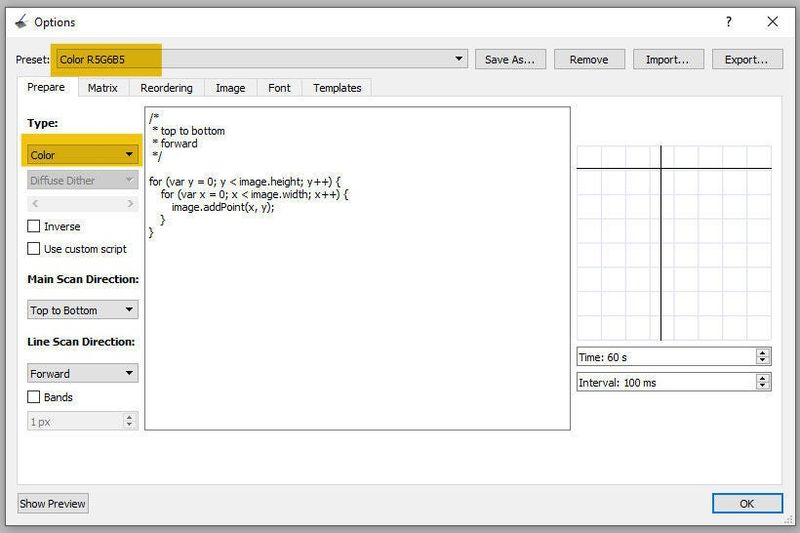
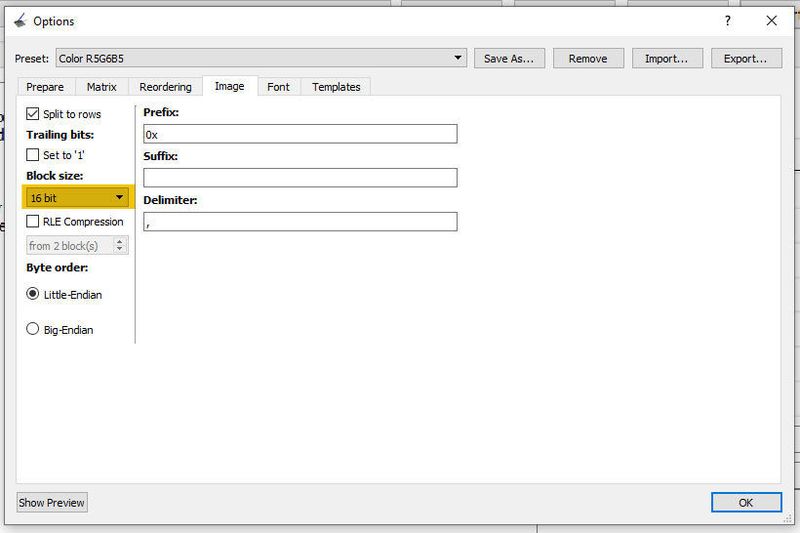
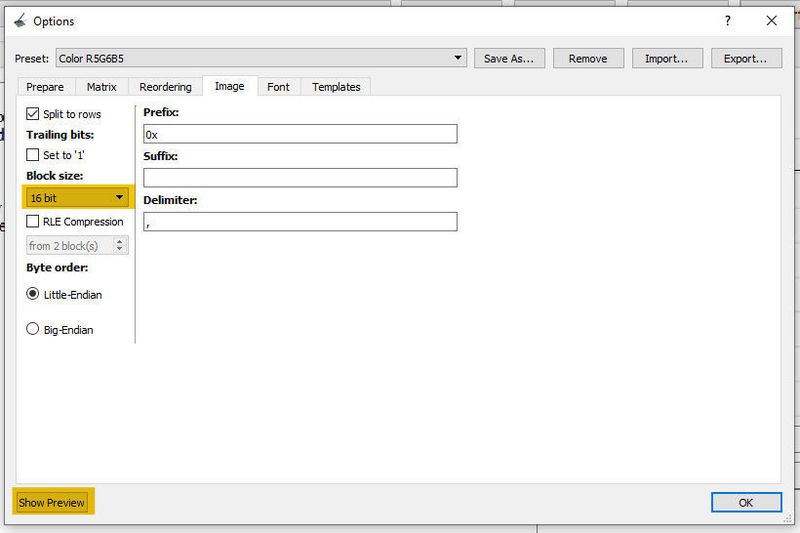
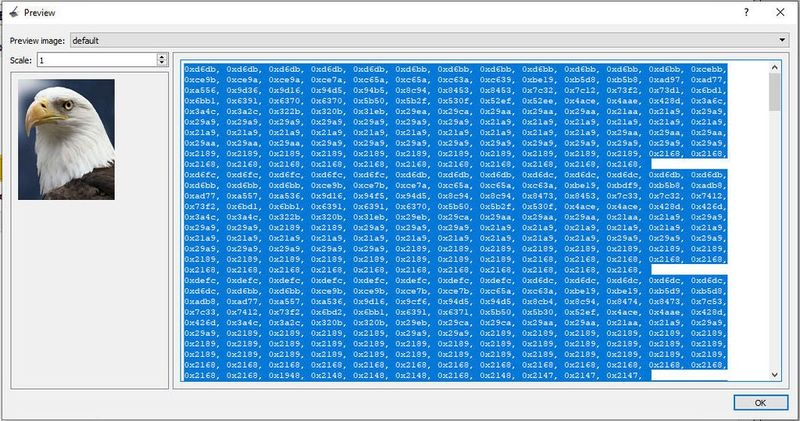
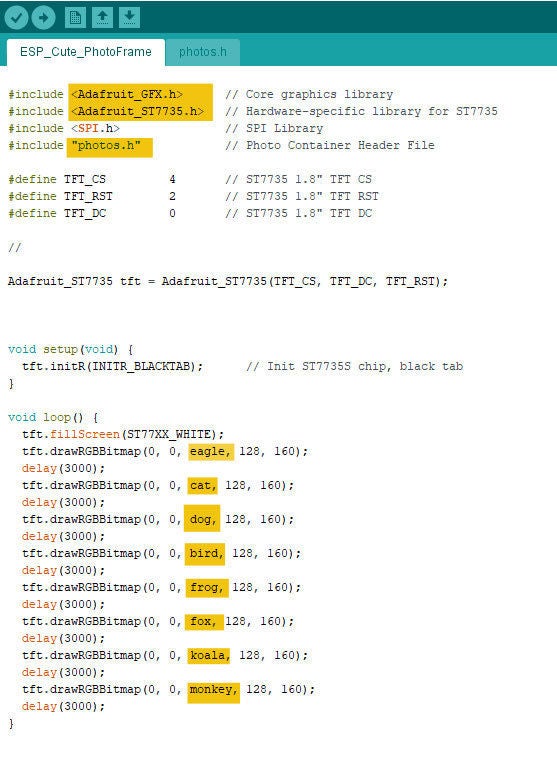
This photoframe uses internal flash of ESP8266 module. So you don't need any external SD Card. You may convert 128x160 pixel photo to C array with LCDimageConverter. ESP8266's 4MB flash memory is enough to store many photos. You can download software and convert C Array your photos.
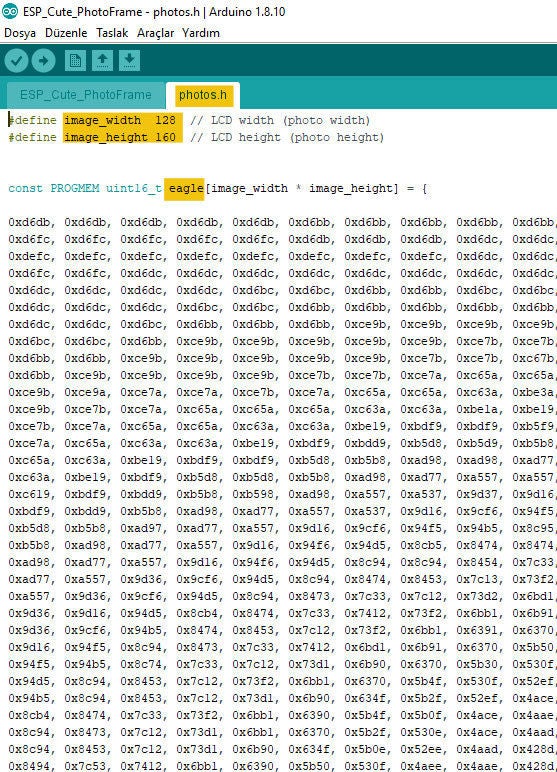
Étape 6 - C Array Photo
You can sore your c array photos on photos.h file. Also need Adafruit GFX library and Adafruit ST7735 header file for this application.
Published


 Français
 English
 Deutsch
 Español
 Italiano
 Português