| Ligne 9 : | Ligne 9 : | ||
|Cost=20 | |Cost=20 | ||
|Currency=USD ($) | |Currency=USD ($) | ||
| − | |Tags=solar, energy | + | |Tags=solar, energy, charger |
|SourceLanguage=none | |SourceLanguage=none | ||
|Language=en | |Language=en | ||
| Ligne 56 : | Ligne 56 : | ||
{{ {{tntn|Tuto Step}} | {{ {{tntn|Tuto Step}} | ||
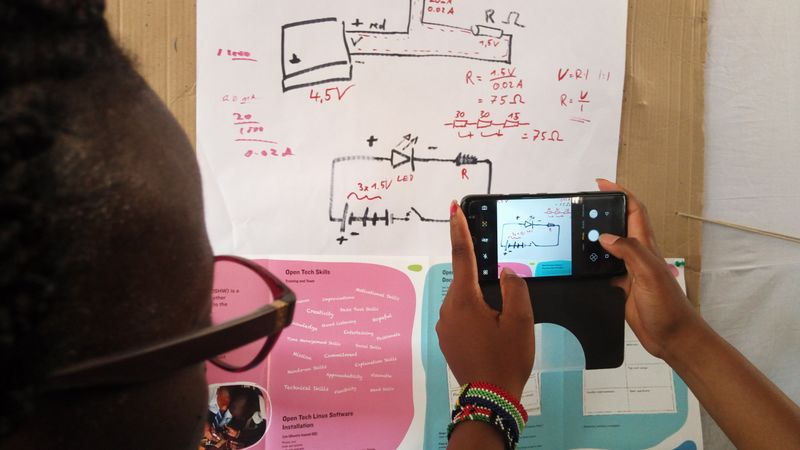
|Step_Title=Drawing | |Step_Title=Drawing | ||
| − | |Step_Content=Draw the diagram of the charger | + | |Step_Content=Draw the electrical diagram diagram of the charger. |
|Step_Picture_00=DIY_Solar_Charger_img_6.jpg | |Step_Picture_00=DIY_Solar_Charger_img_6.jpg | ||
}} | }} | ||
{{ {{tntn|Tuto Step}} | {{ {{tntn|Tuto Step}} | ||
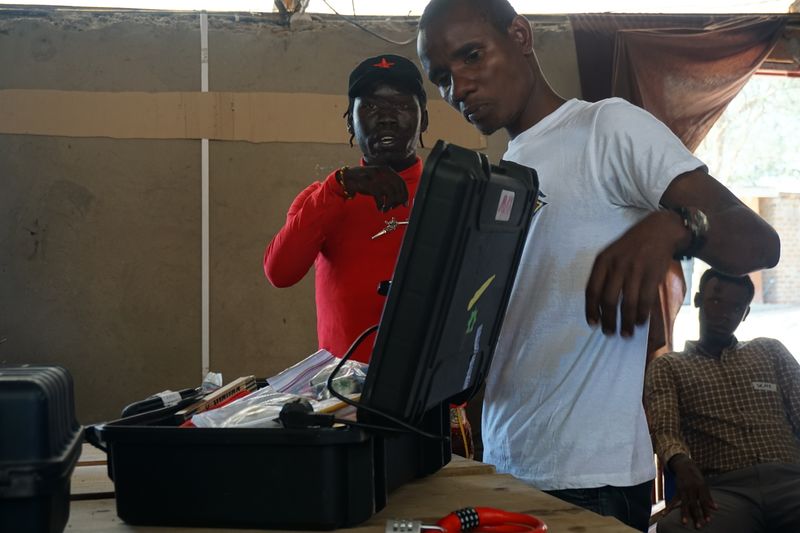
|Step_Title=Asknet Box | |Step_Title=Asknet Box | ||
| − | |Step_Content= | + | |Step_Content=Open the [https://openculture.agency/outcomes/askotec/ ASKotec kit] and get the tools and materials to use |
|Step_Picture_00=DIY_Solar_Charger_DSC00958.JPG | |Step_Picture_00=DIY_Solar_Charger_DSC00958.JPG | ||
}} | }} | ||
Version du 6 décembre 2018 à 18:29
Solar charger meant to charge
Difficulté
Moyen
Durée
2 heure(s)
Catégories
Électronique, Énergie
Coût
20 USD ($)
Matériaux
· Solar panel of (10v) optional
· Diode
· Resistors
· Regulator(5MA-20AM)
· Capacitors of (10-100)
· LED light of(2v or 3v)
· Jumper wire
· Circuit board
· Bread board
Outils
· Wires(red and black)
· Soldering iron
· Soldering wire
· Soldering grease
· Helping hand
· Sucker
· Scissor
· Multimeter
· LED tester
Étape 3 - Tools and materials
Identify the tools and materials
Draft


 Français
 English
 Deutsch
 Español
 Italiano
 Português