Hi! I am Clément, co-founder of Wikifab ! I have created this tutorial to let you learn by yourself how to use Wikifab. This tutorial is your sand box! Everybody can modify it! Don't be shy, clic on the "Edit" link in the top tabs and make your first contribution today!
Difficulté
Facile
Durée
2 heure(s)
Catégories
Décoration, Mobilier
Coût
20 USD ($)
Sommaire
- 1 Introduction
- 2 Étape 1 - Take measures
- 3 Étape 2 - cut the battens
- 4 Étape 3 - mark position of the holes
- 5 Étape 4 - Drill the holes
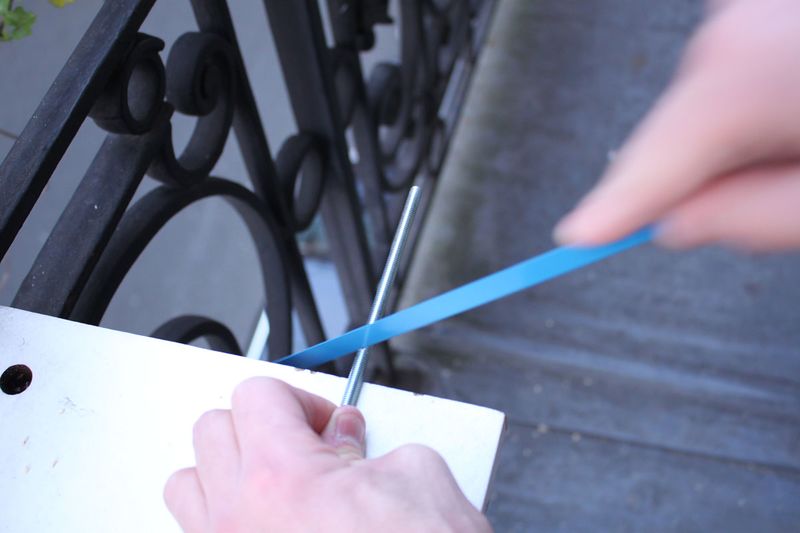
- 6 Étape 5 - cut the screw
- 7 Étape 6 - Add iron wire
- 8 Étape 7 - prepare the mould
- 9 Étape 8 - prepare the concrete
- 10 Étape 9 - Cast the concrete
- 11 Étape 10 - Sand the concrete
- 12 Étape 11 - assemble the light
- 13 Étape 12 - get the power
- 14 Étape 13 - add the bulb
- 15 Commentaires
Introduction
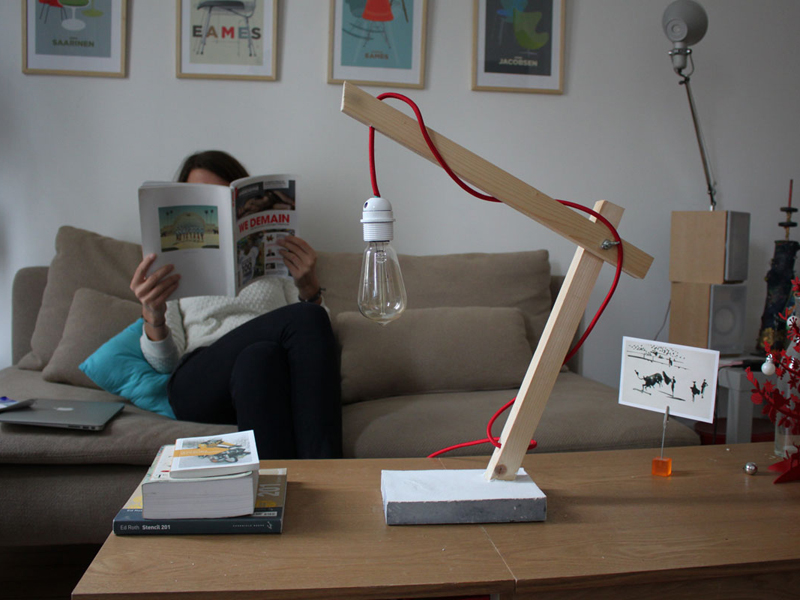
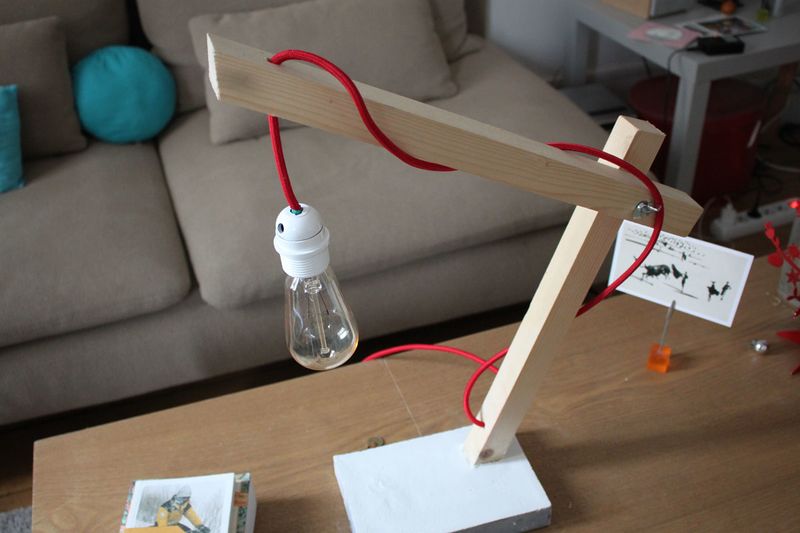
While leafing through decoration magazines, I came up with the idea of that simple desk lamp made of wood and concrete. Is this a good introduction to you?
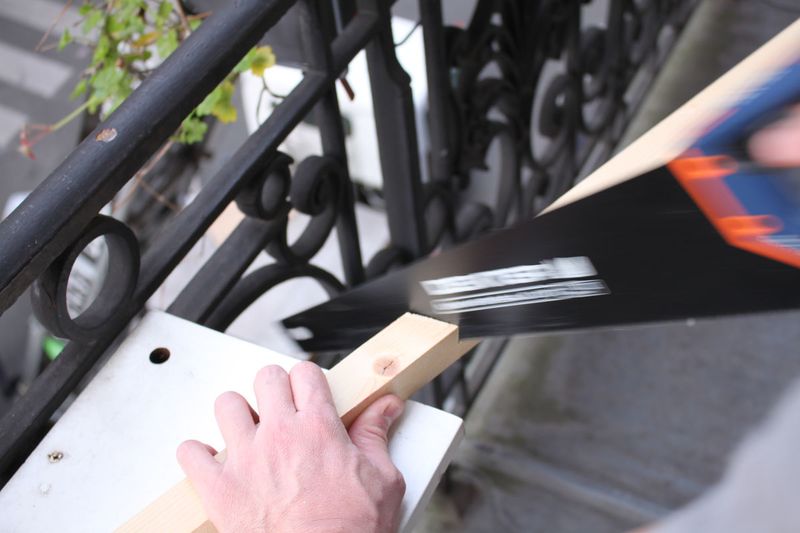
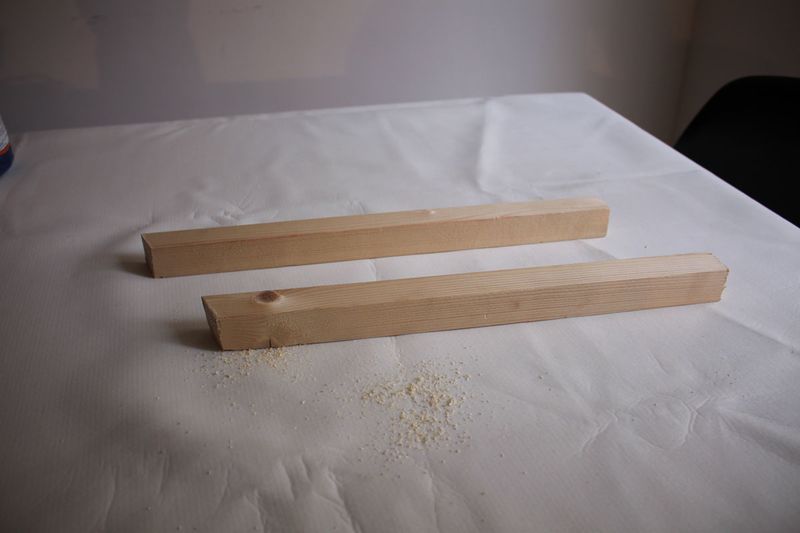
Étape 2 - cut the battens
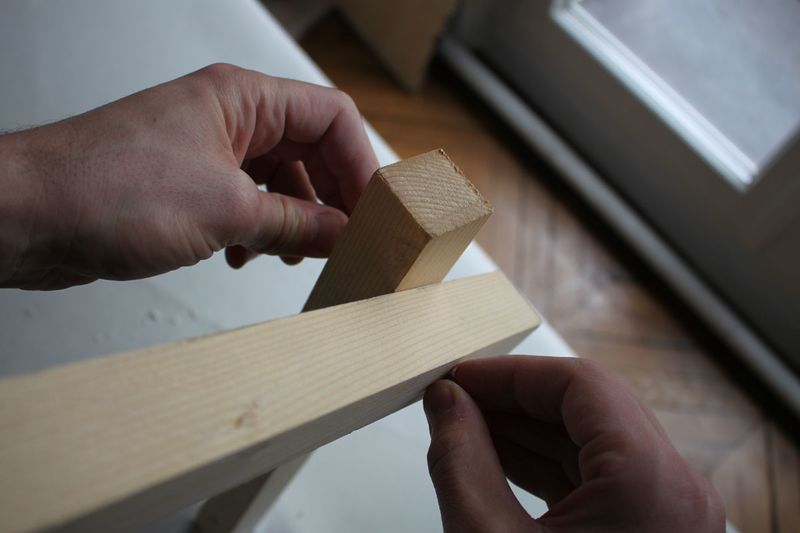
Cut the battens !
For better design, you can cut the top batten with a little slant on the top end.
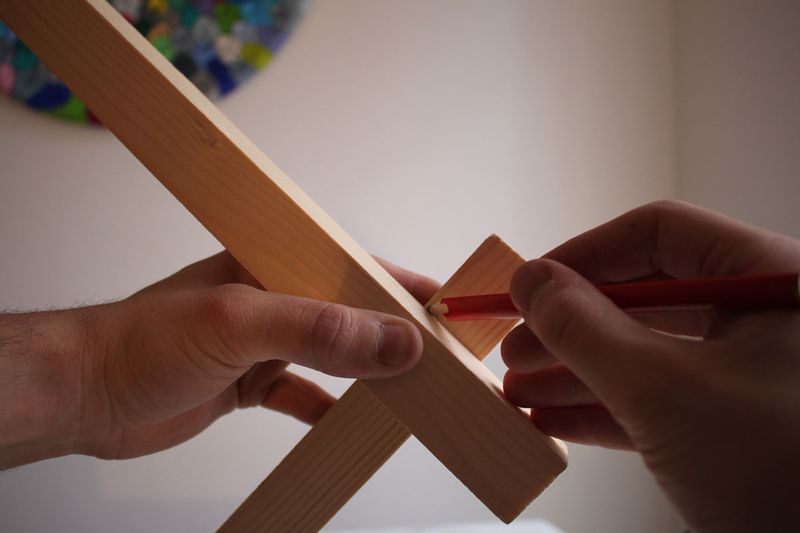
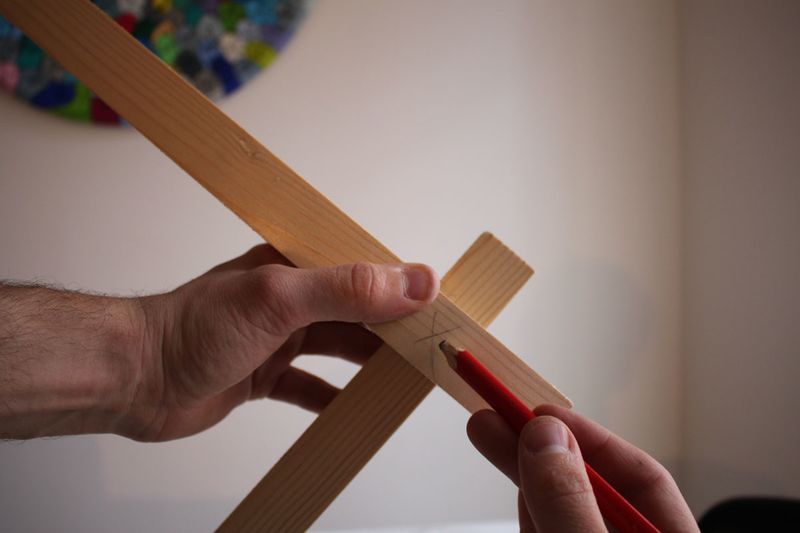
Étape 3 - mark position of the holes
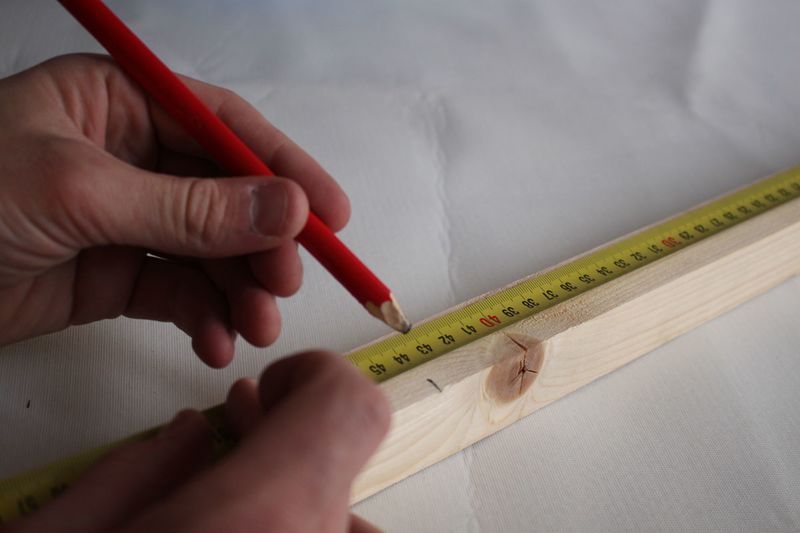
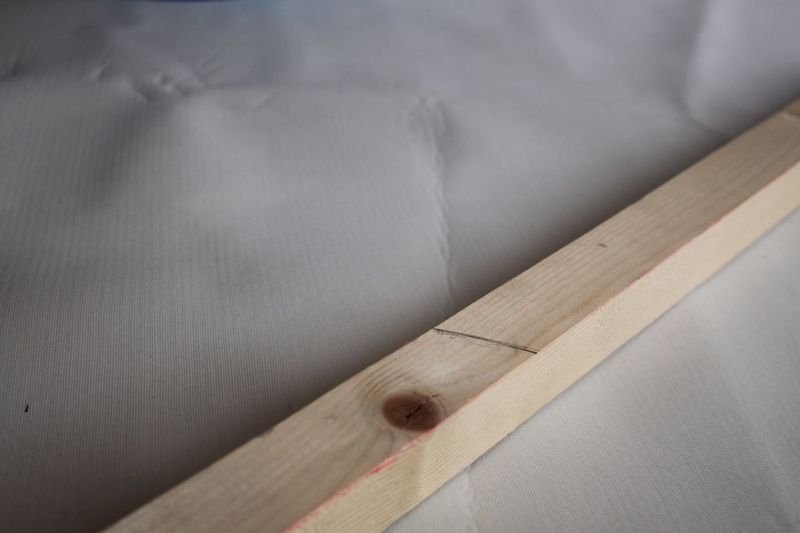
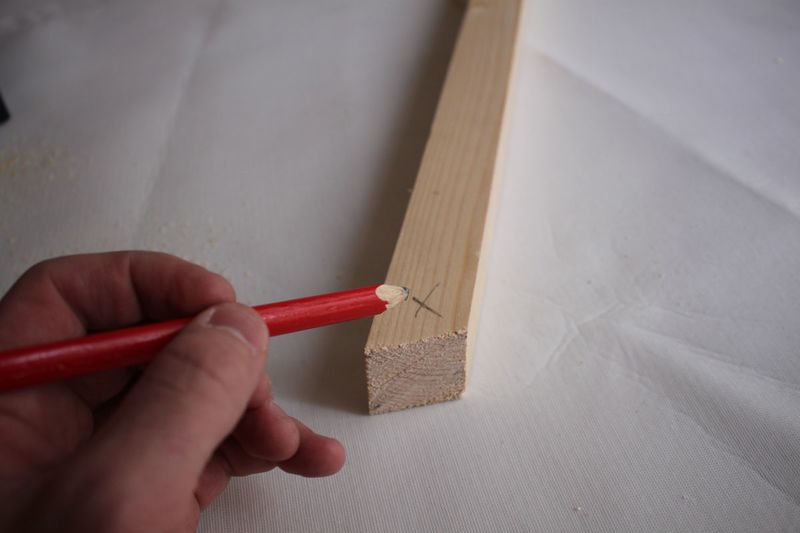
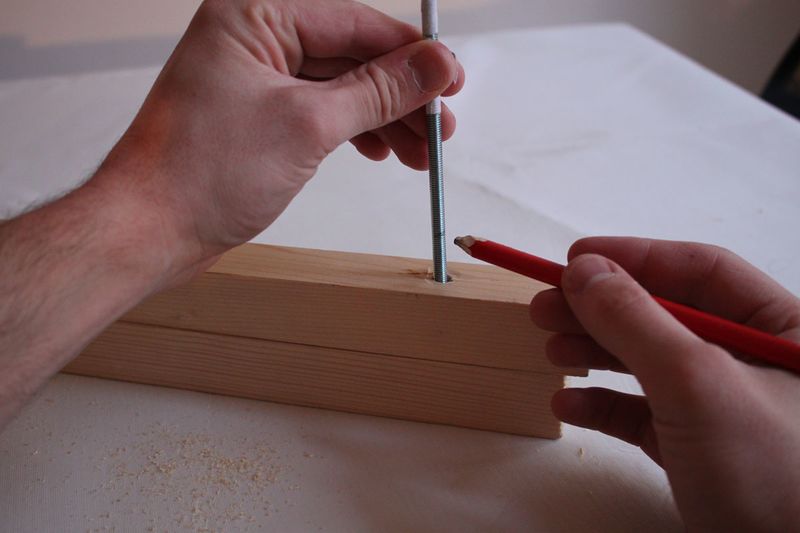
Mark the position of the holes.
We need :
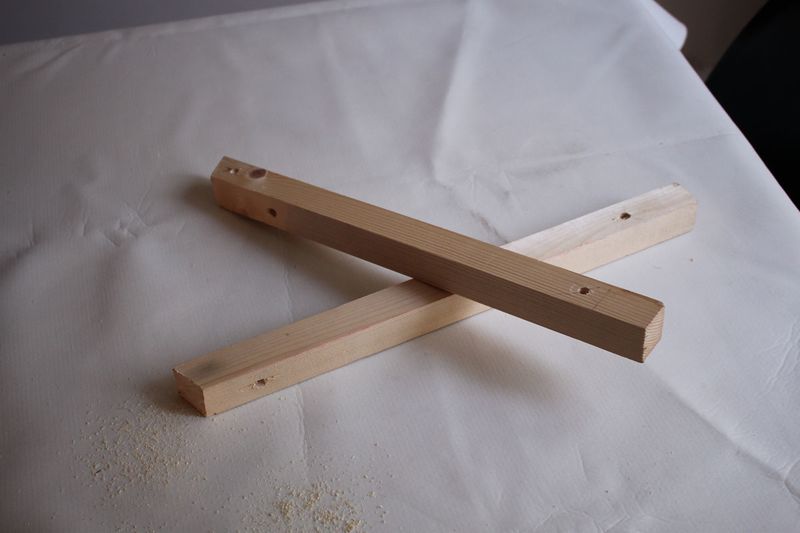
- one hole in each batten to fix them with screw
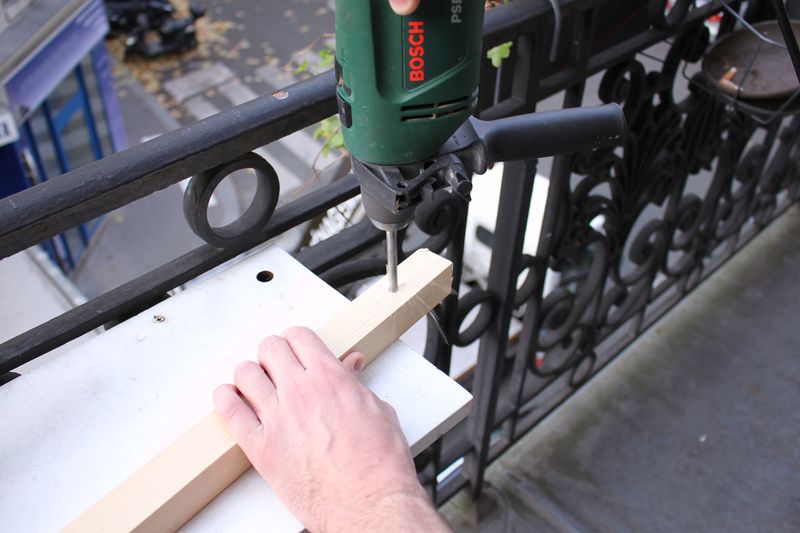
- some holes to pass the cable
- one holes at the bottom, which will be within the concrete
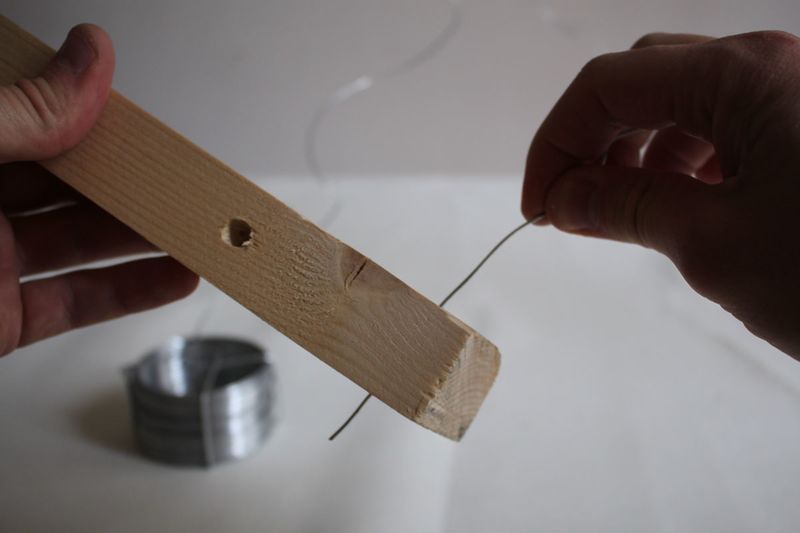
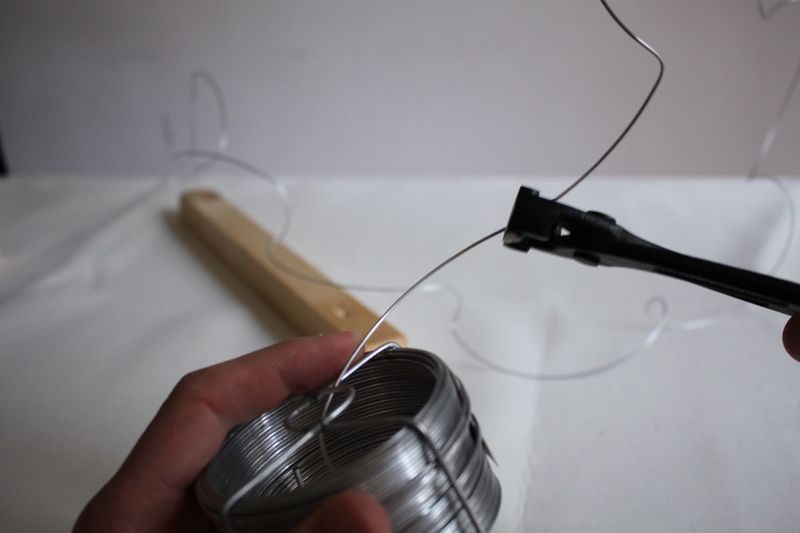
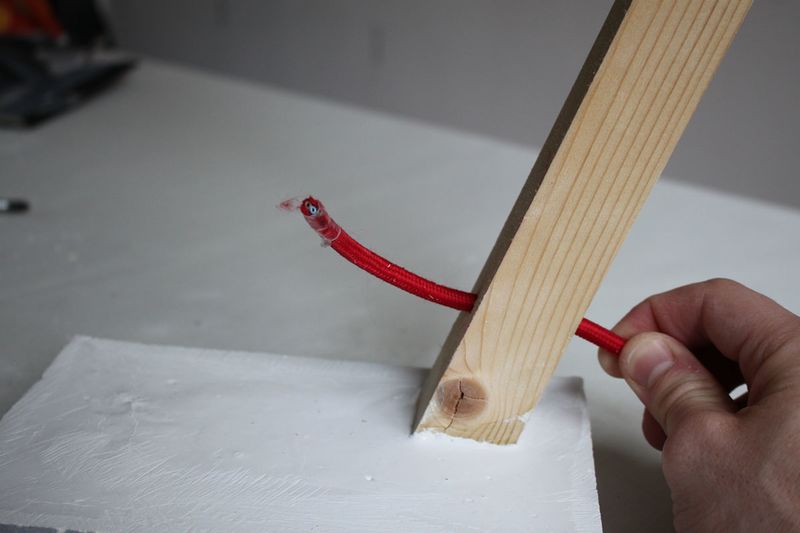
Étape 6 - Add iron wire
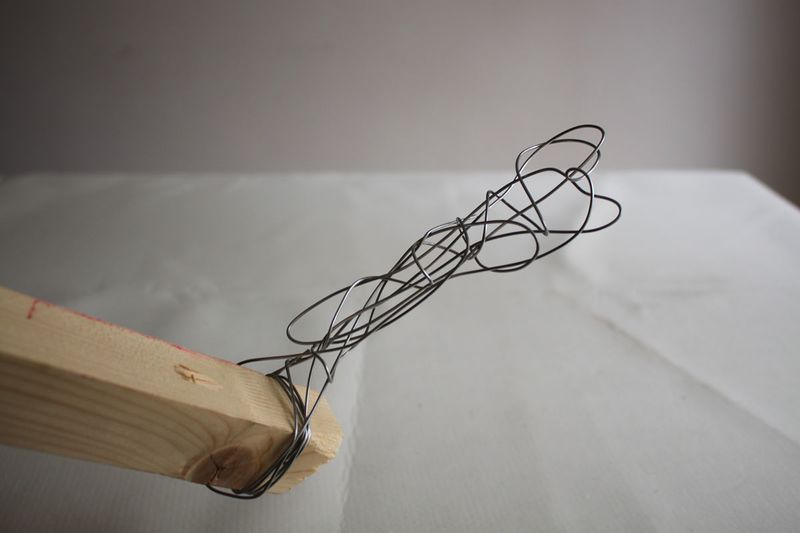
pass an iron wire into the bottom holes, and do a structure with it to get a good link between the wood and the concrete.
Étape 7 - prepare the mould
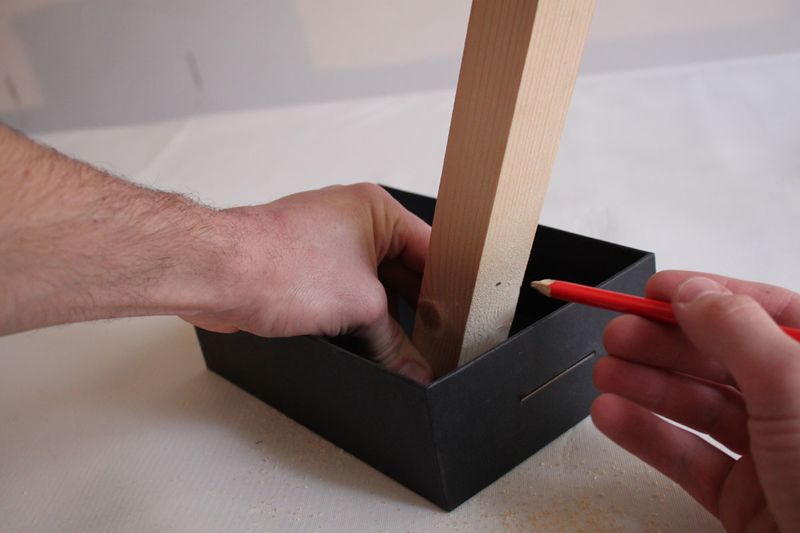
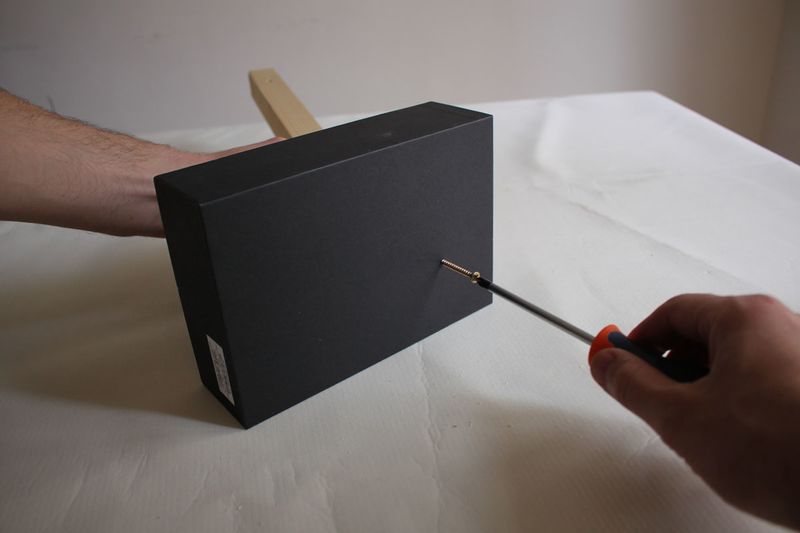
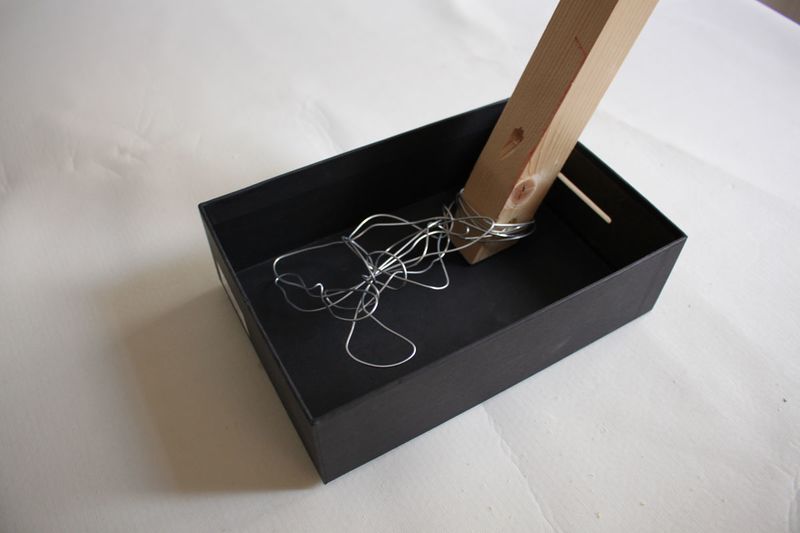
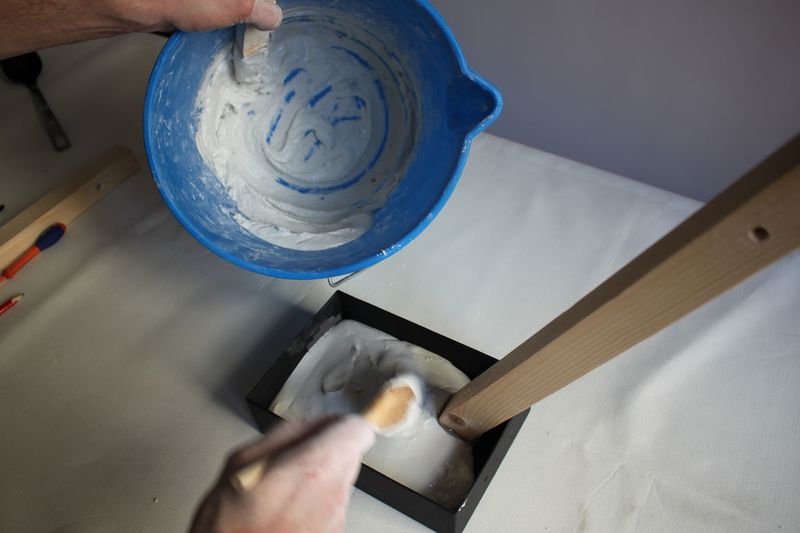
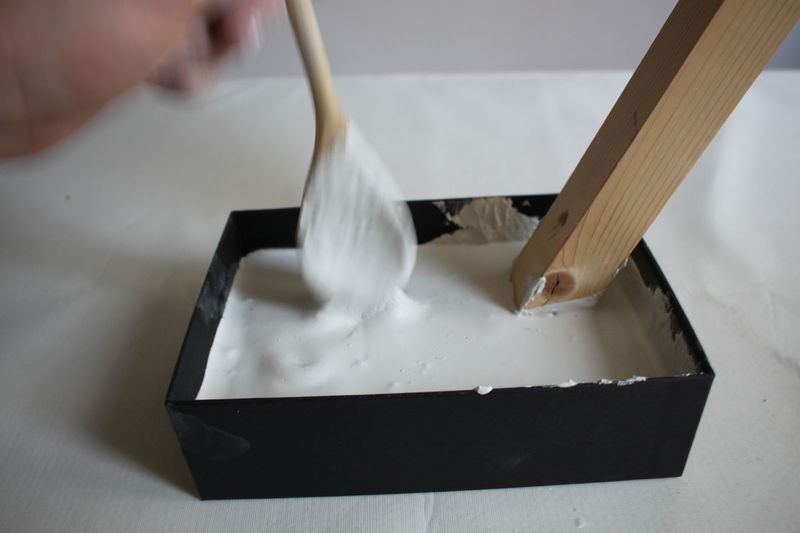
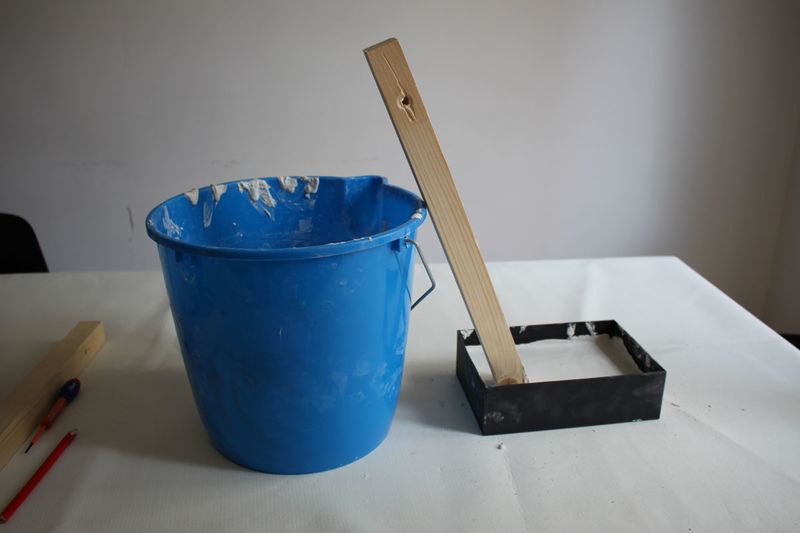
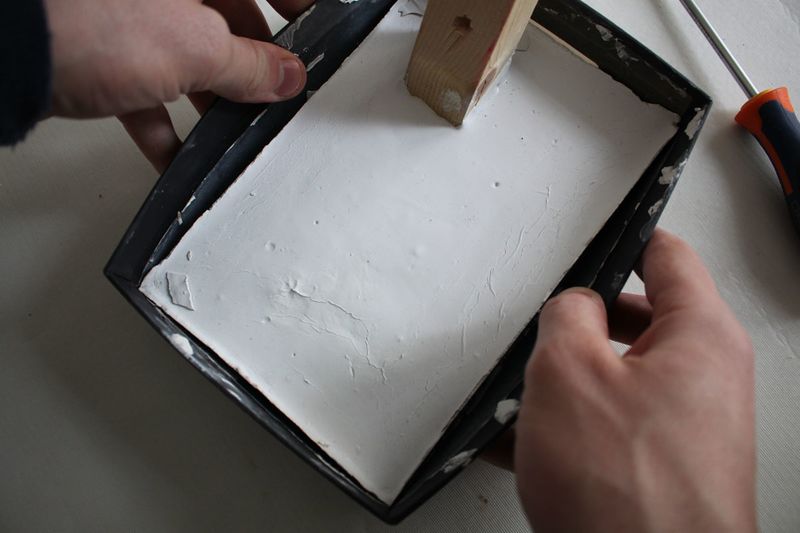
Prepare a box for the mould, and fix the batten in it with a screw.This screw will be removed after the concrete get solid.
Check this box when the tutorial is complete

 Français
 English
 Deutsch
 Español
 Italiano
 Português